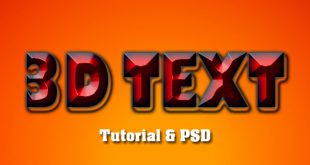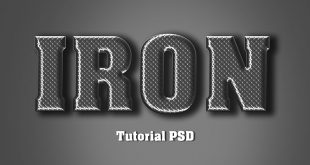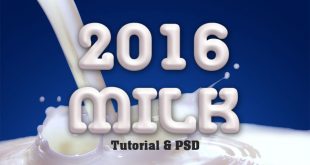
Hi!, Today i am bringing something new effect of diamond text effect photoshop tutorial, This diamond effect just created by using 9 simple steps and finally get very amazing output effect, you can see the final result of diamond text effect style in above, this type of new effect of diamond text style first time AllDesignCreative.com bringing in the web search. I have added PSD file also to download bottom of this page to get better understanding. Lets start the procedure!
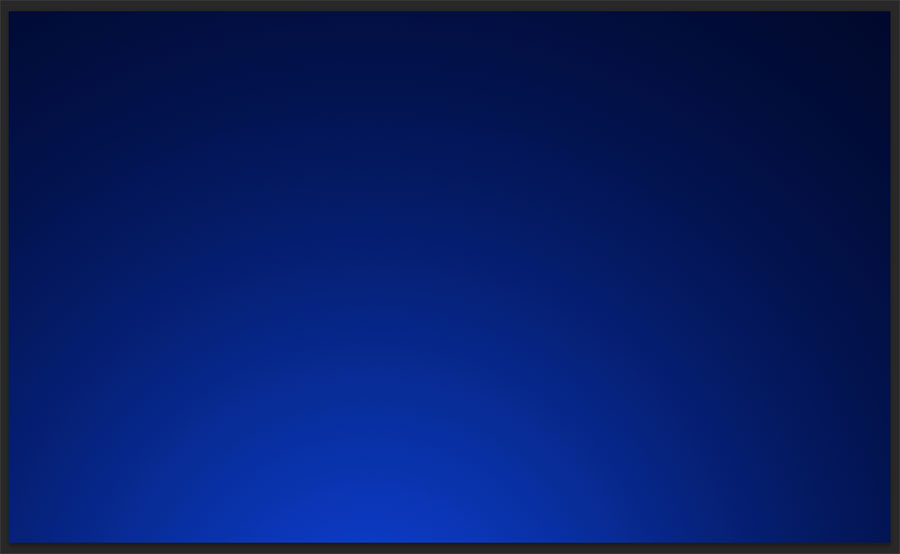
- Step-1: First take new document (Ctrl+N) and fill the gradient colors as a background as shown the below screen shot image. color values-#010b36, #06237e
- Step-2: Now Type any name after selecting the Type Tool (T) from the tool palette and fit it well in the page, here i took font family “AR JULIAN”, color-#000007.

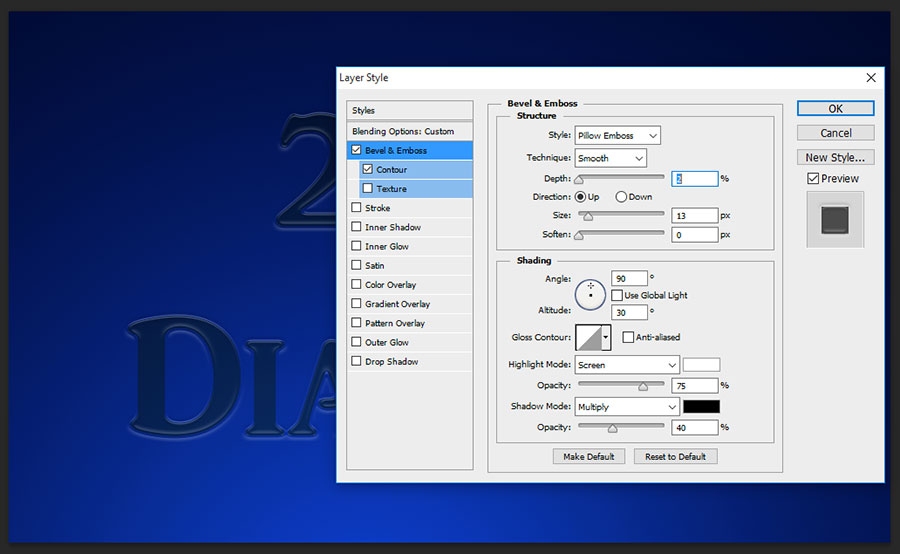
- Step-3: Now add Bevel and Emboss to the text and start to change the setting values as follows;
Style-Pillow Emboss,
Technique-Smooth, Depth-2%
Direction-Up,
Size-13px,
Angle-90 degree, Altitude-30 degree,
Highlight Mode-Screen, Color-White, Opacity-75%,
Shadow Mode-Multiply, Color-Black, Opacity-40%.
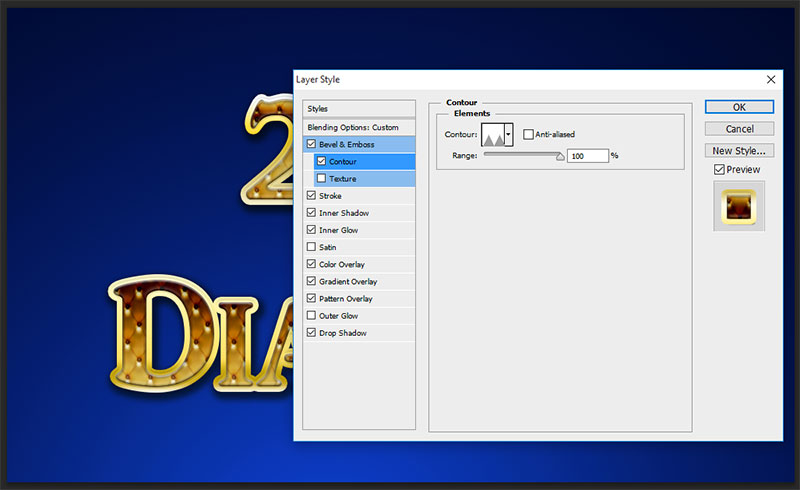
Select directly Contour and change the elements into Sawtooth1 and keep range-100%.
- Step-4: Now take Stroke, applying this stroke gives nice effect on the text edges, we need to this stroke give with yellow shinning as shown the screen shot, just change the setting as follows;
Size-7px,
Position-Outside
Blend Mode-Normal,
Opacity-100%,
Fill Type-Gradient,
Gradient Color-#ffffff, #ffd929, #dcc65d, fefbe5, #fce166, c4a40d, #cdab21, #ffffff.
Style-Linear,
Angle-Altitude,
Scale-142%.

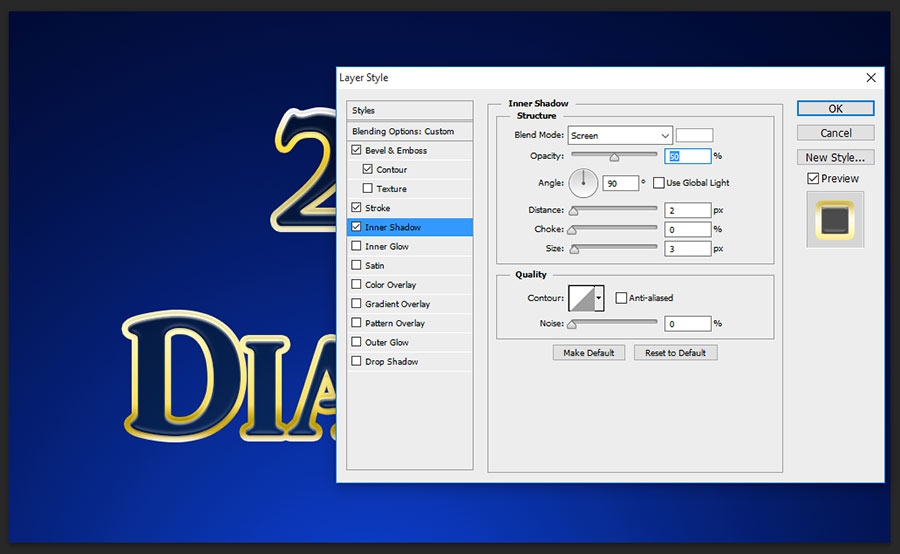
- Step-5: Choose Inner Shadow and change the setting as;
Blend Mode-Screen, Color-White
Opacity-50%,
Angle-90 degree,
Distance-2px,
Size-3px.
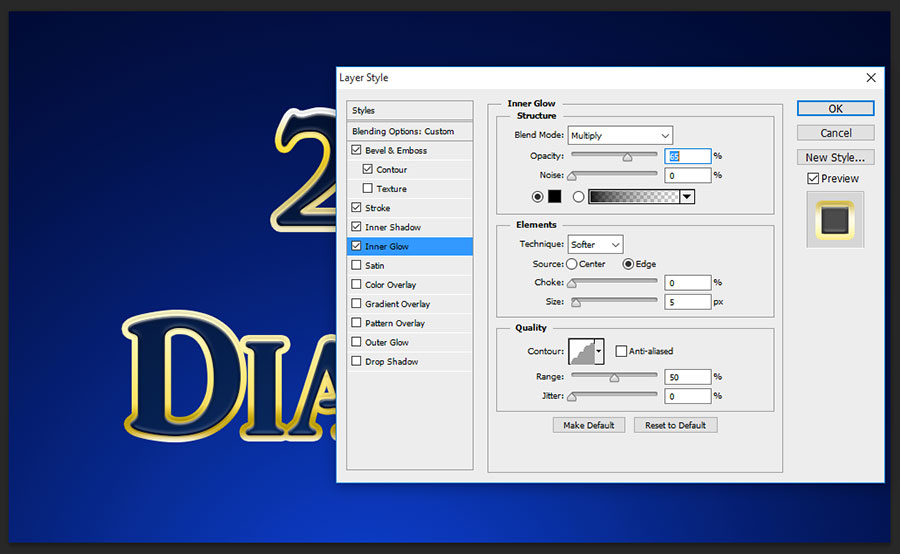
- Step-6: Now Take Inner Glow, this inner glow gives little black shadow inside the text.
Blend Mode-Opacity-^5%,
Color-Black, Just one side filling 100% Black color and another side 0% filling color,
Technique-Softer,
Source-Edge,
Size-5px,
Contour-Rounded steps,
Range-50%.
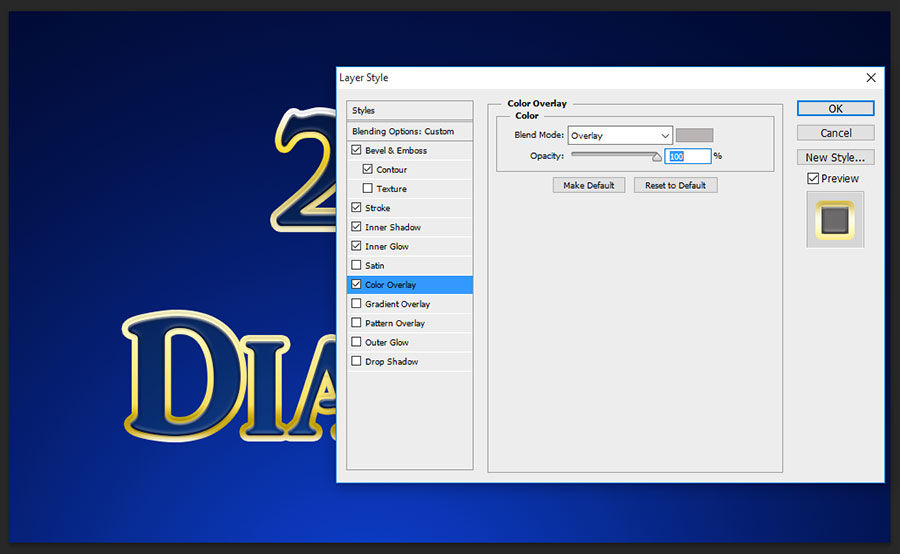
- Step-7: In the center of the text we need to bring more lighting then only it will become more shinning on the text, this color overlay effectiveness can see after applying the pattern overlay, now no problem, just change the setting as follow and check it after applying pattern overlay how does it works.
Blend Mode-Overlay,
Opacity-100%.
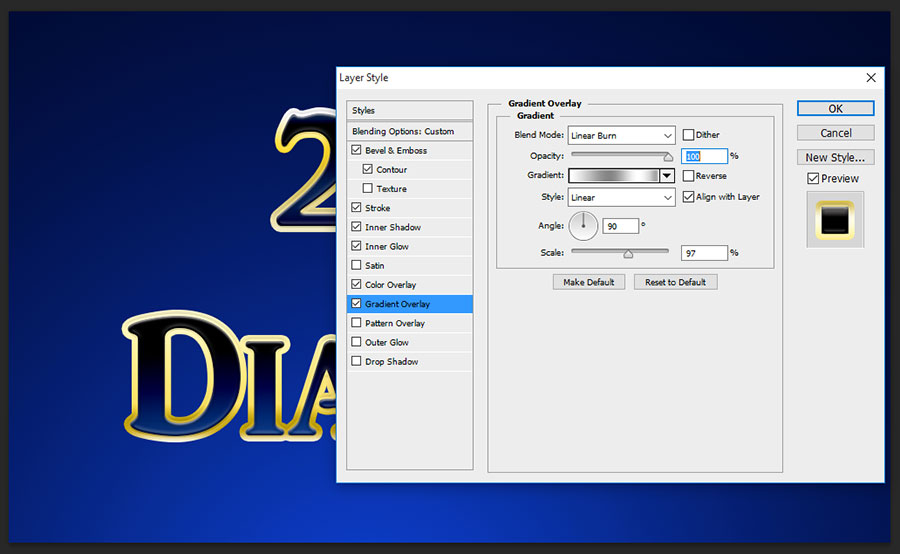
- Step-8: This gradient overlay works in great way on the text, this is gives excellent shading effect on the text, you can see this gradient over effectiveness after applying the pattern over;
Blend Mode-Linear Burn,
Opacity-100%,
Gradient-#ffffff, #858585, #ffffff, #a6a6a6, #ffffff
Style-Linear,
Angle-90 degree,
Scale-97%.
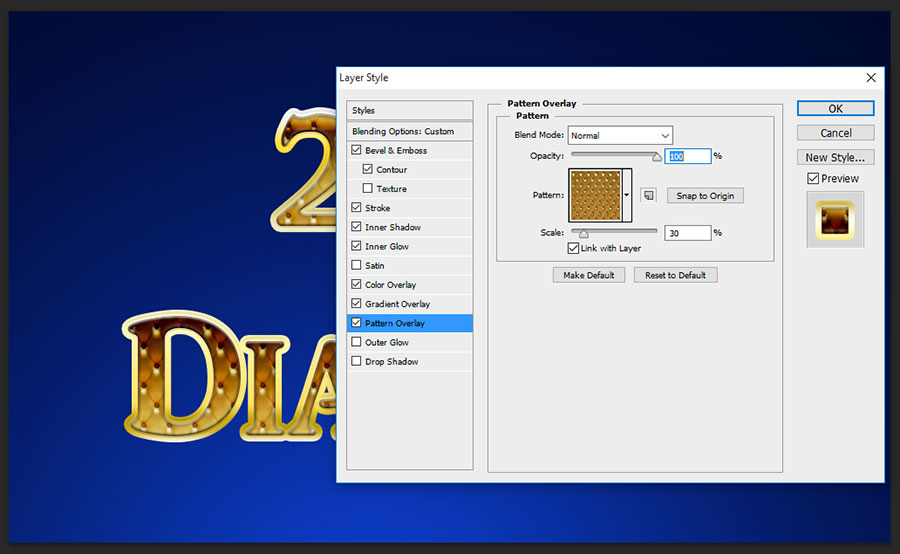
- Step-9: Now apply patter overlay, just make pattern as shown the screen shot image and define pattern and apply it.
Blend Mode-Normal,
Opacity-100%,
Scale-30%.
Thanks for reading this tutorial, visit regular to get more amazing effect of the tricks and tips.