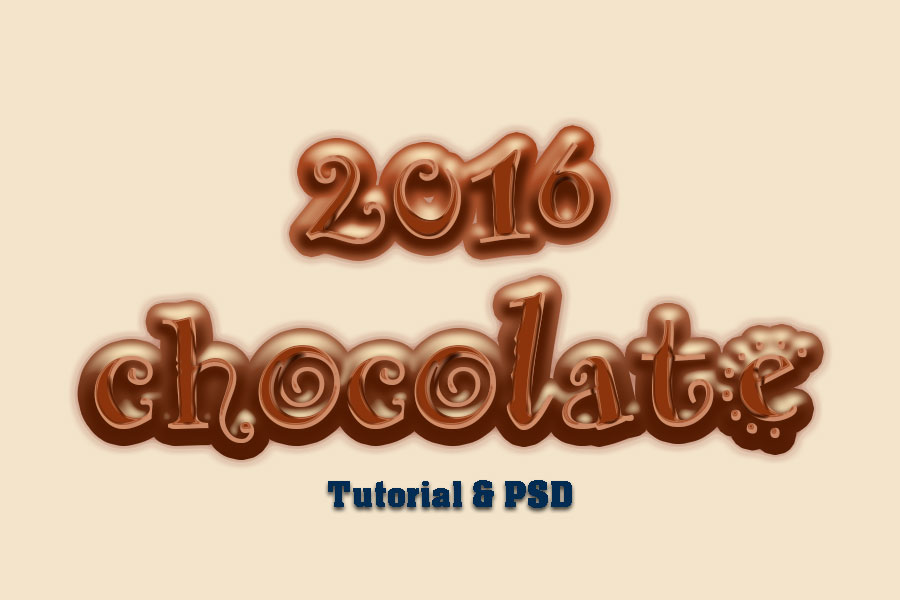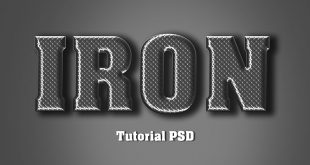
Hey! Today i am bringing new style effect of chocolate text design tutorial, i will disclose very simple way ‘ how to create a chocolate text effect in Photoshop’, first time this kind of awesome realistic chocolate text effects bringing by AllDesignCreative.com, always we will try to bring something new effect ever seen in the web search, if you can see all the tutorial in my website those are new trips and tricks tutorial and ever seen such a tricks in the web. To creating a best chocolate text effect takes many steps with two or three layer styles merging, but here very few steps i have shown realistic chocolate text effect and just used one layer style. This is awesome tutorial, just follow the procedure.
Even i have attached PSD file to download as a free and to get better understanding, this psd file is editable, just you can change your name with in movement by using my attached PSD file or create as following the procedure.
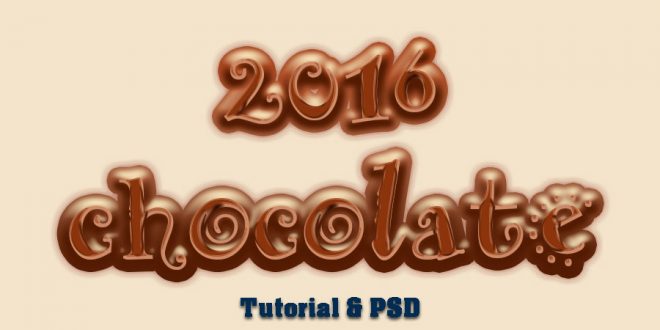
Step-1: Take new document in the size of width-960, height-640 and 72 default resolution and fill the background color #f3e4cb, write down any name on the stage, just select type tool (T) from tool palette, here font family choose “AR HERMANN”, this font gives better chocolate feeling over the text or if you don’t have this font in your system then choose any font which you like to create.
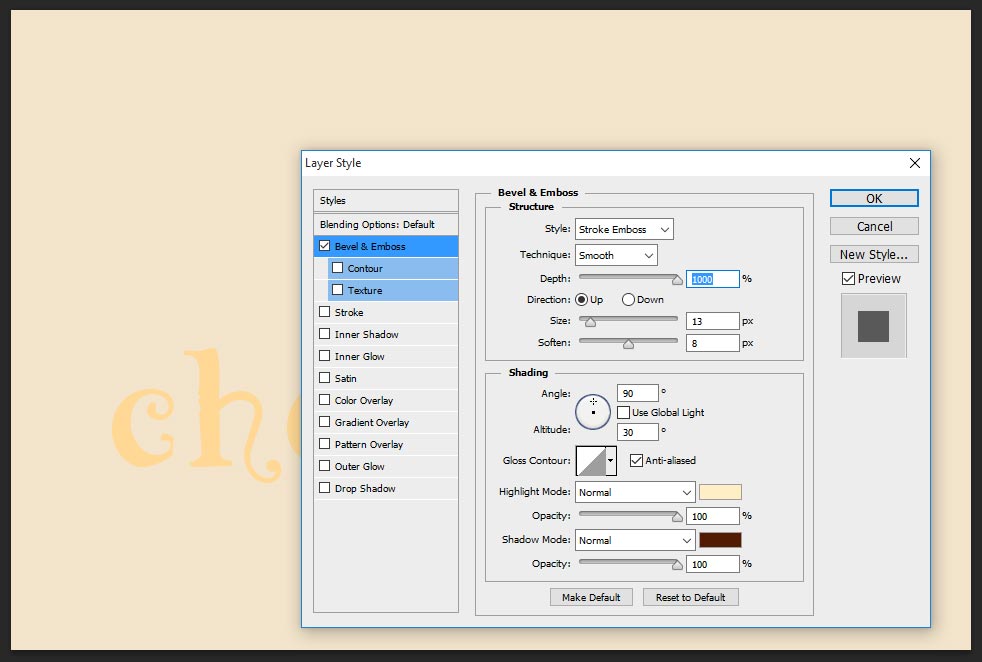
Step-2: Apply blending option to the layer style just go to menu layer> layer style> blending option, then appear layer style table here choose bevel and emboss and follow the values;
style- stroke emboss,
technique-smooth,
depth-1000%,
direction should be up,
size- 13 px,
soften-8 px,
angle-90 degree, altitude-30 degree,
highlight mode-normal, color-#ffefc5, opacity-100%,
shadow mode-normal, color-#531b02, opacity-100%.
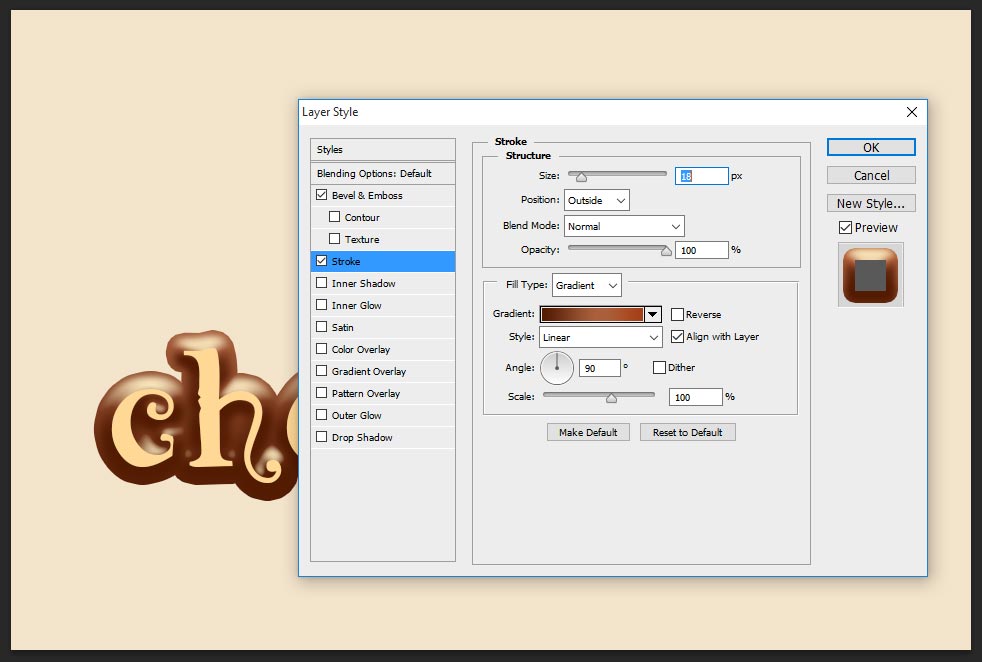
Step-3: Now choose stroke, this stroke gives effective effect in out side the font, just follow the values and see how does it works;
size-18px,
position-outside,
blend mode-normal,
opacity-100%,
fill type-gradient, color values-#531b02, #ab5e3c, #a33d14,
style-linear (default), angle-90 degree, scale-100%.
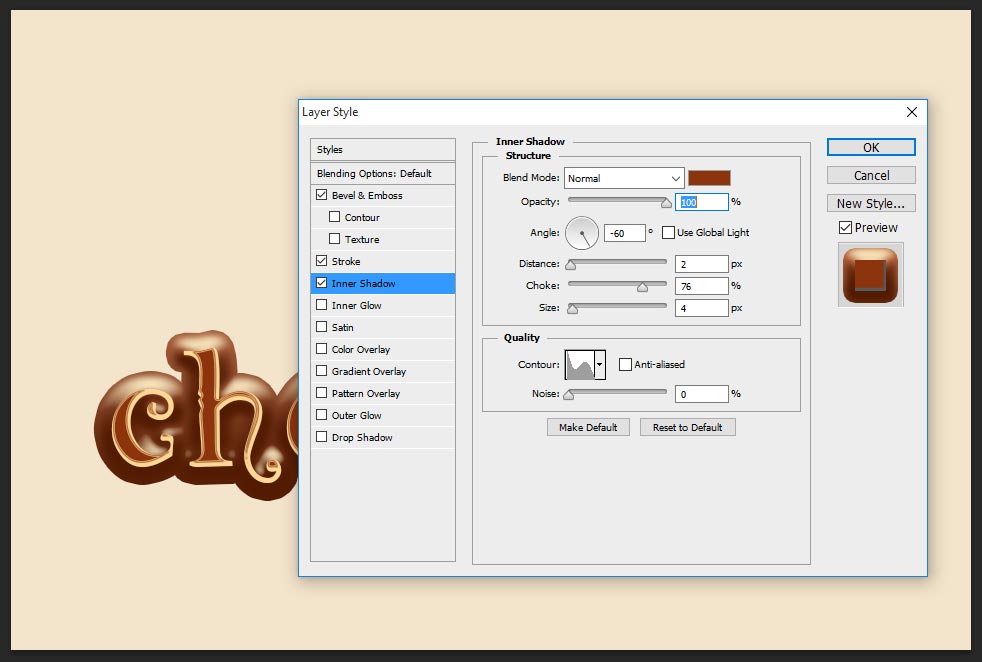
Step-4: Take inner shadow, this gives cool chocolate color filling inside the text,
blend mode-normal,
opacity-100%,
distance-2 px,
choke-76%,
size-4 px,
contour-rolling slope-descending
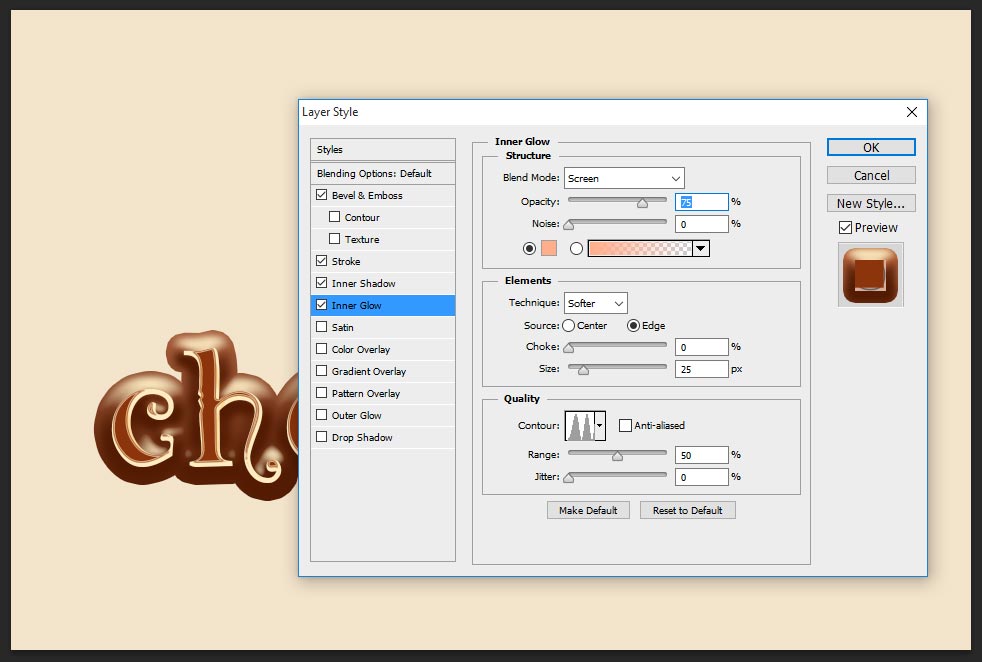
Step-5: Select inner glow, this works little white shinning inside the text, you can consider very partially that effect, may be you can skip this step or follow the steps;
blend mode-screen, opacity-75%,
color-#ffae8a,
technique-softer, source-edge, size-25px,
contour-ring double, range-50%.
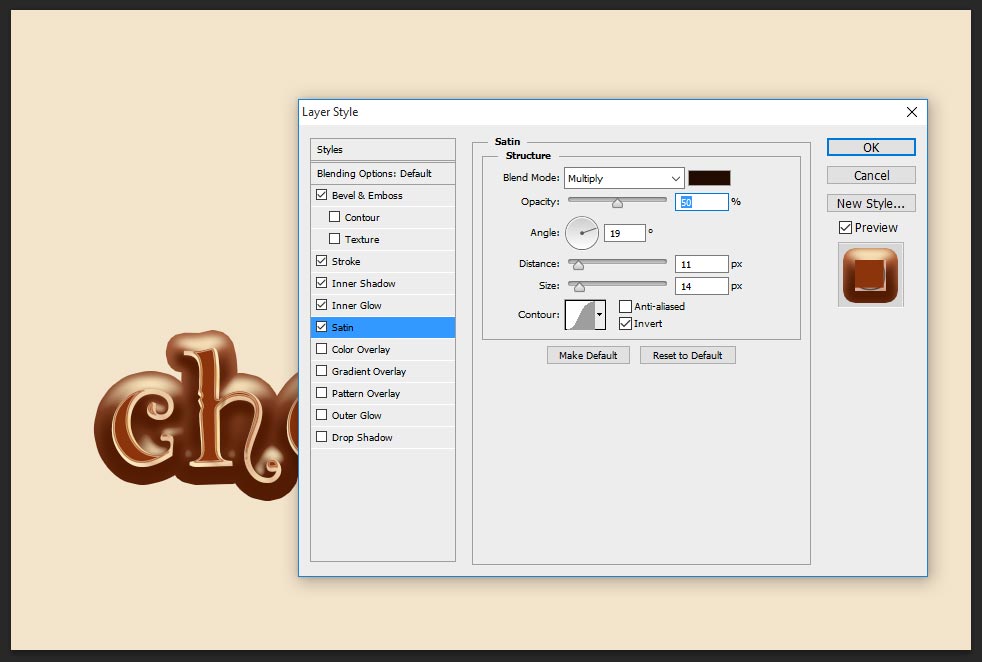
Step-6: Choose satin and change the values;
blend mode-multiply, color-#220b00, opacity-50%,
angle-19 degree,
distance-11px,
size-14px,
contour-gaussian.
Step-7: Now select color overlay, this color overlay changes in side the text color into chocolate color, here change the blend mode to normal and color is #521a01 and keep opacity-100%.

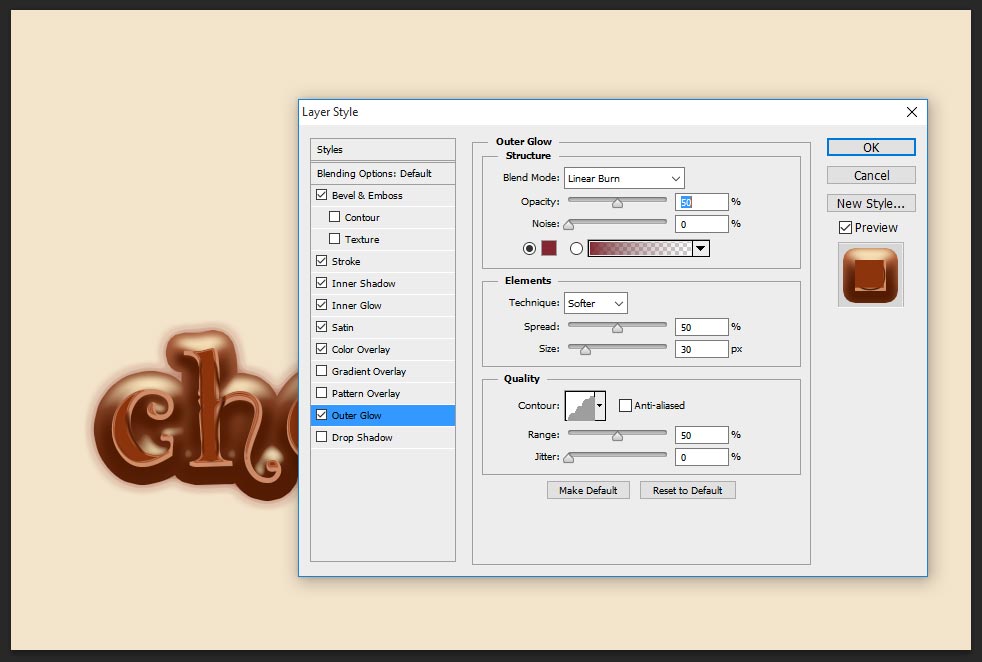
Step-8: Now need to give little glowing out side the text, actually when do you designing on the poster or covers with background any texture image then this outer glows gives more attractive to the text style. so just follow values;
blend mode-linear burn, opacity-50%, color-832632,
technique– softer, spread-50%, size-30px,
contour-rounded steps, range-50%.
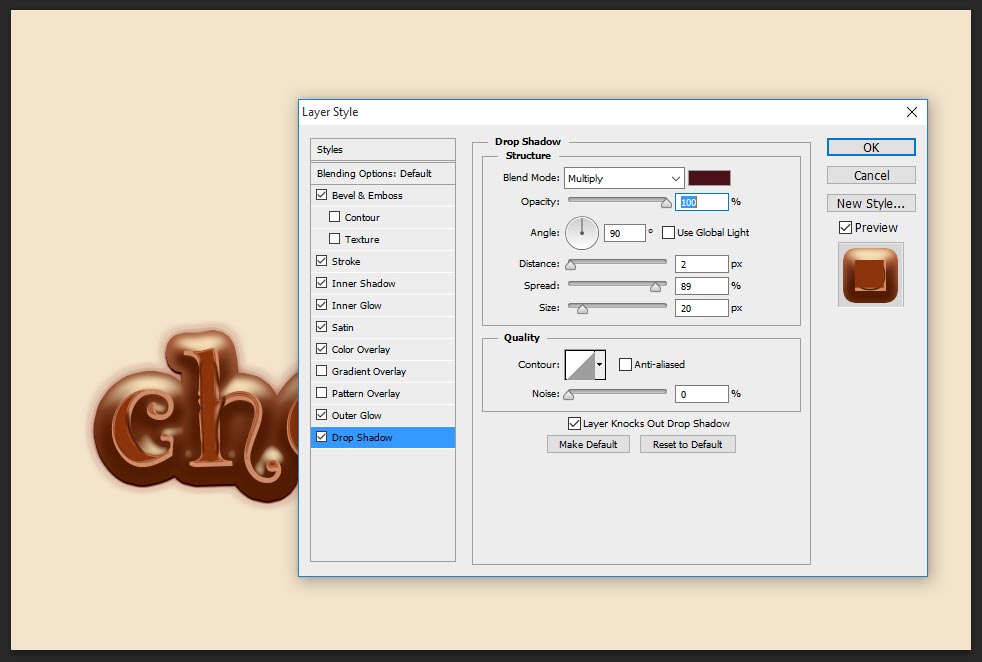
Step-9: Almost done! how to create a chocolate text effect in photoshop, now just need to give shadow to the text, because for this shadow gives more sensible feeling to the text and also brings more eye catching effect style. just change the setting as follows;
blend mode-multiply,
opacity-100%,
distance-2px,
spread-89%,
size-20px.
Thanks for watching this tutorial, visit regular to get more tricks and tips from my site.