Today i am teaching very simple way how to make Cola Text Effects in Photoshop, this tutorial can give good idea to create any of drinking text effect, here this is the basic idea tutorials, by using same tricks you can make all type of variety drinks effect. There are many tricks to make drinks effect, i will post soon all type of tricks and tips, ok lets start the procedure how to make this cool cola text effects.
[ads2]
Photoshop Cola Text Effects Tutorials requirement:
1. Cola effect of pattern image
2. Font- Forte
[ads1]
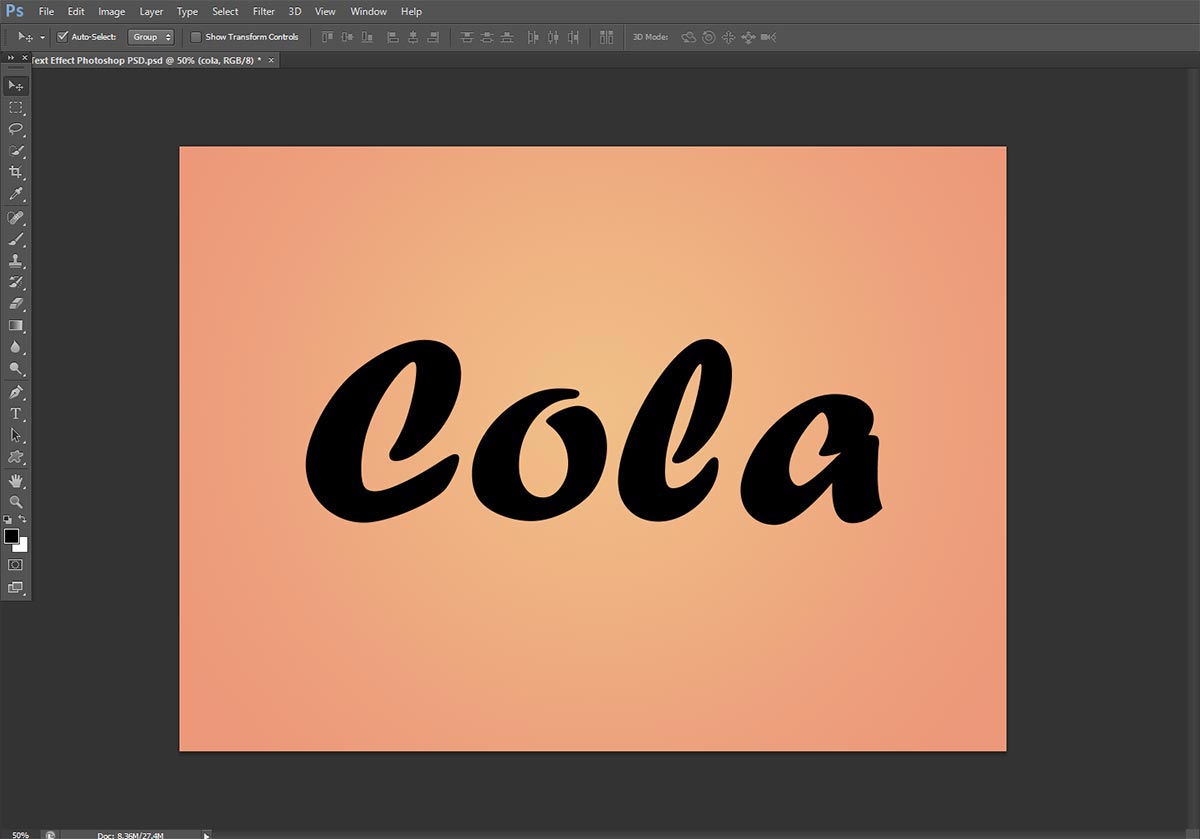
Step-1 : First take New Document in the size of 2000-width, 1461-height, and then choose ‘forte’ font family and write down COLA name on the stage .
Step-2 : Now go to Layer> Layer style> Blending Options…, then after you can able to see the below layer style pop up table on your page document, here change the values as follows Style- Inner Bevel, Technique- Smooth, depth 191, size-21 px, angle 120 degree, altitude 70 degree, Highlight mode-screen and opacity 100%, Shadow Mode-Overlay and keep 64% opacity.
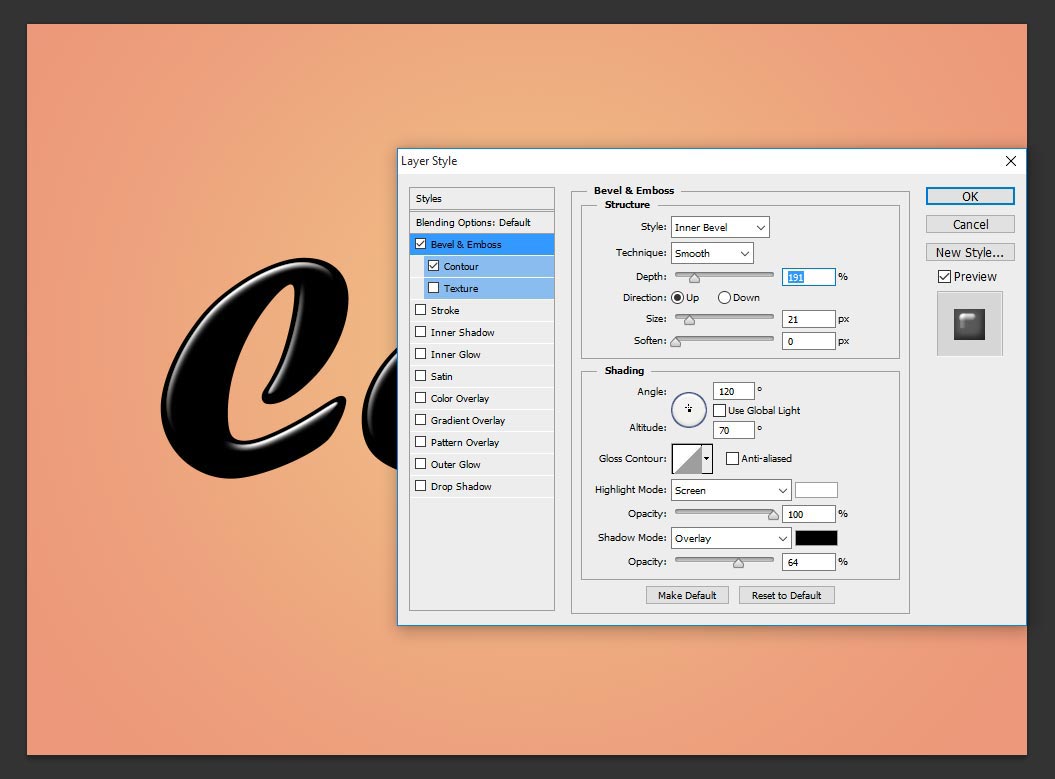
Take contour 77% for better white shinning on the text, here adjust according your font size taken and make sure to keep better on the text shinning.

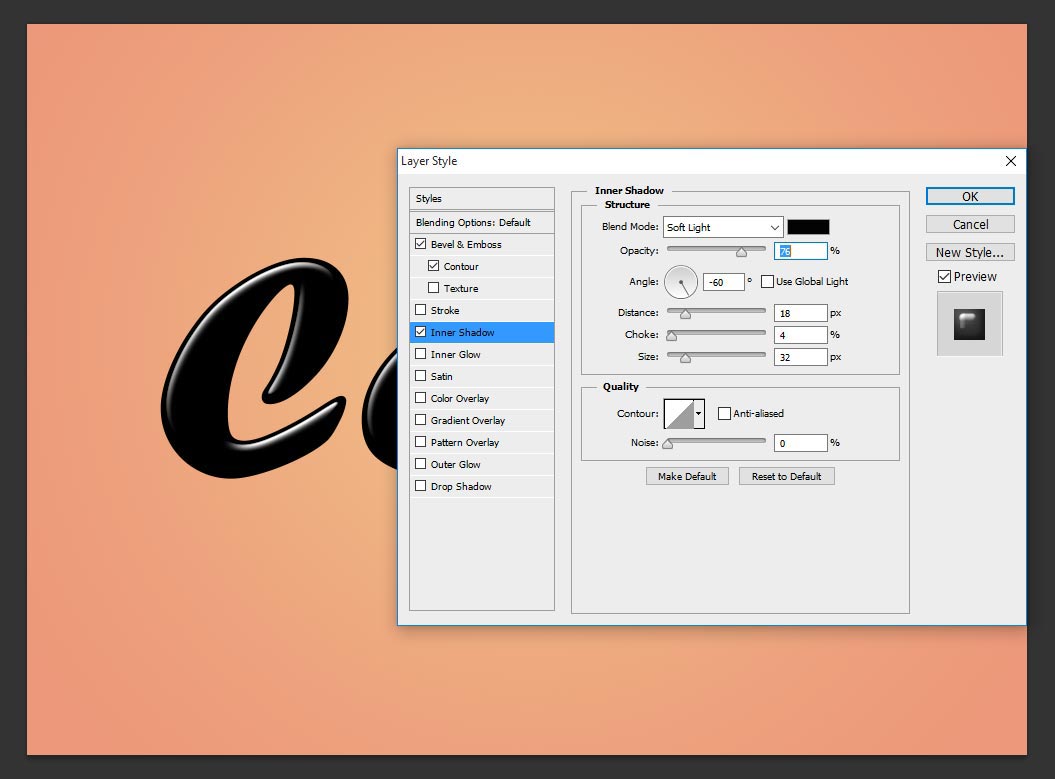
Step-3 : Choose Inner Shadow and change the values as follows; blend mode-soft light, opacity-76%, angle -60 degree, distance 18 px, choke 4 %, size-32 px
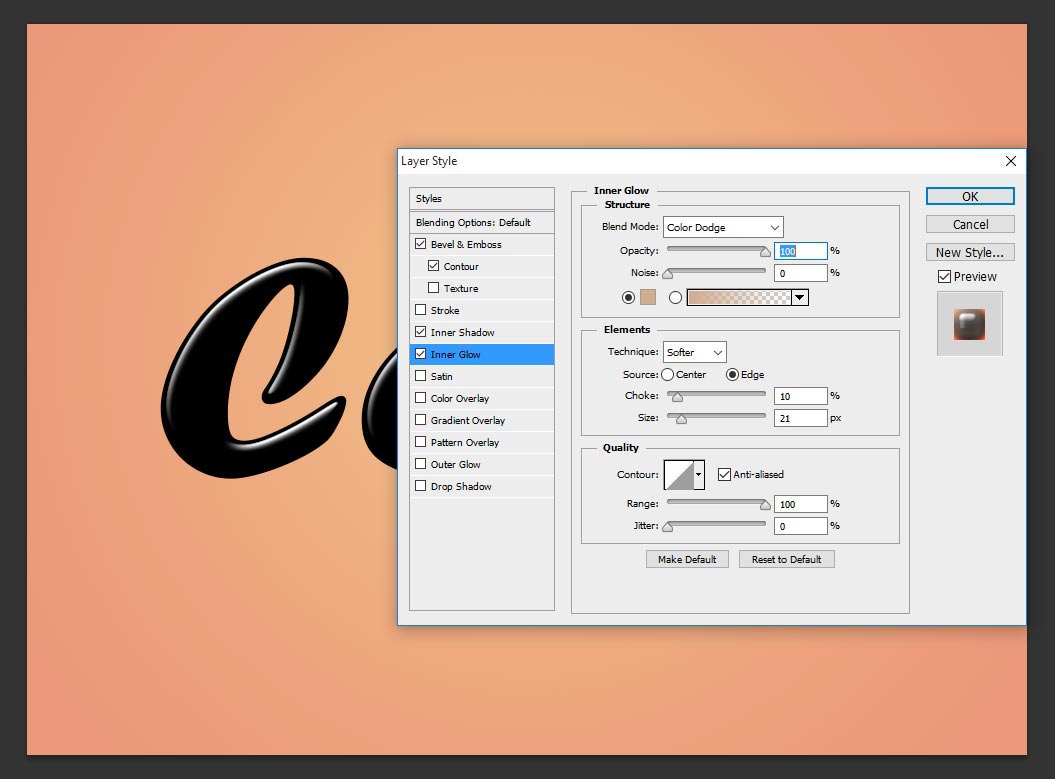
Step-4 : Now choose inner glow, here take bend mode- color dodge, opacity 100% change the color in to #d0ad8e, choke 10%, Size 21 px.
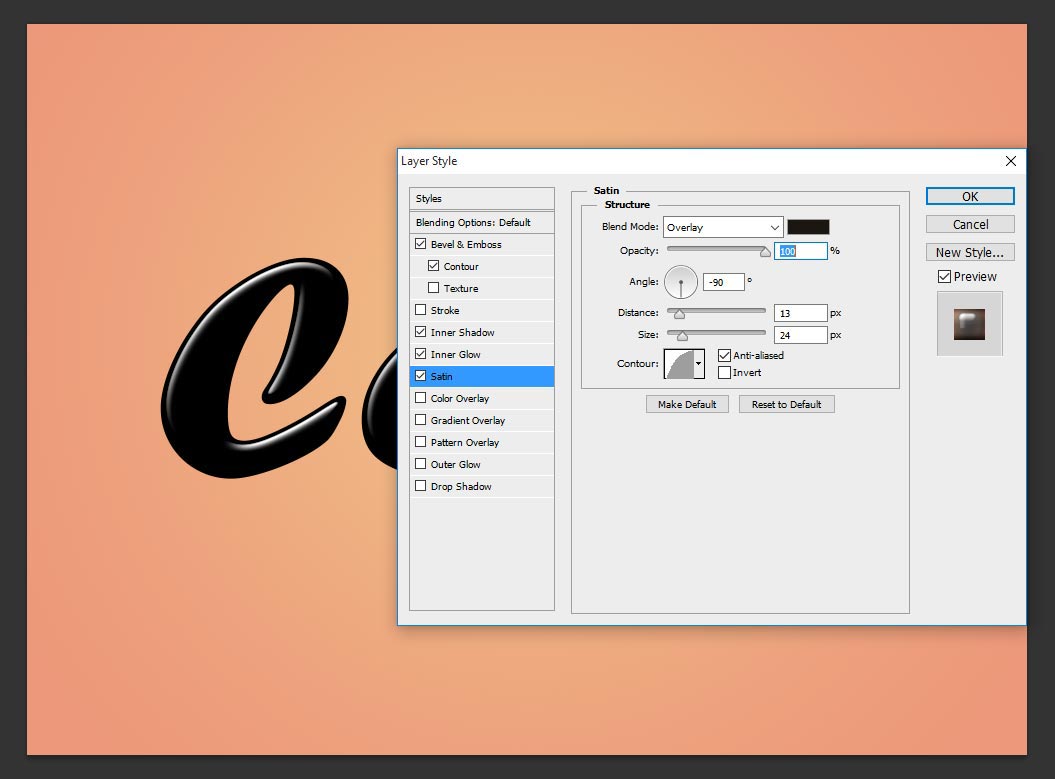
Step-5 : Move to Satin, here change the blend mode-overlay, opacity 100%, angle-90 degree distance 13 px, size 24 px, contour-half round
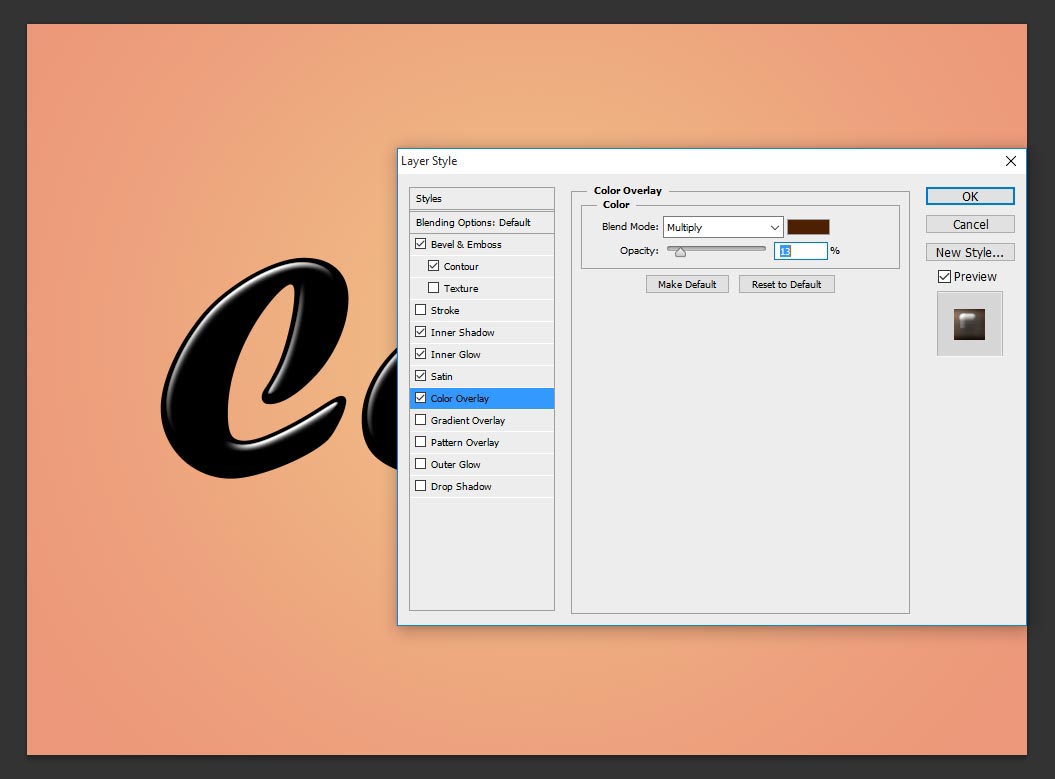
Step-6 : Choose color overlay, here change the blend mode-multiply, opacity-13%
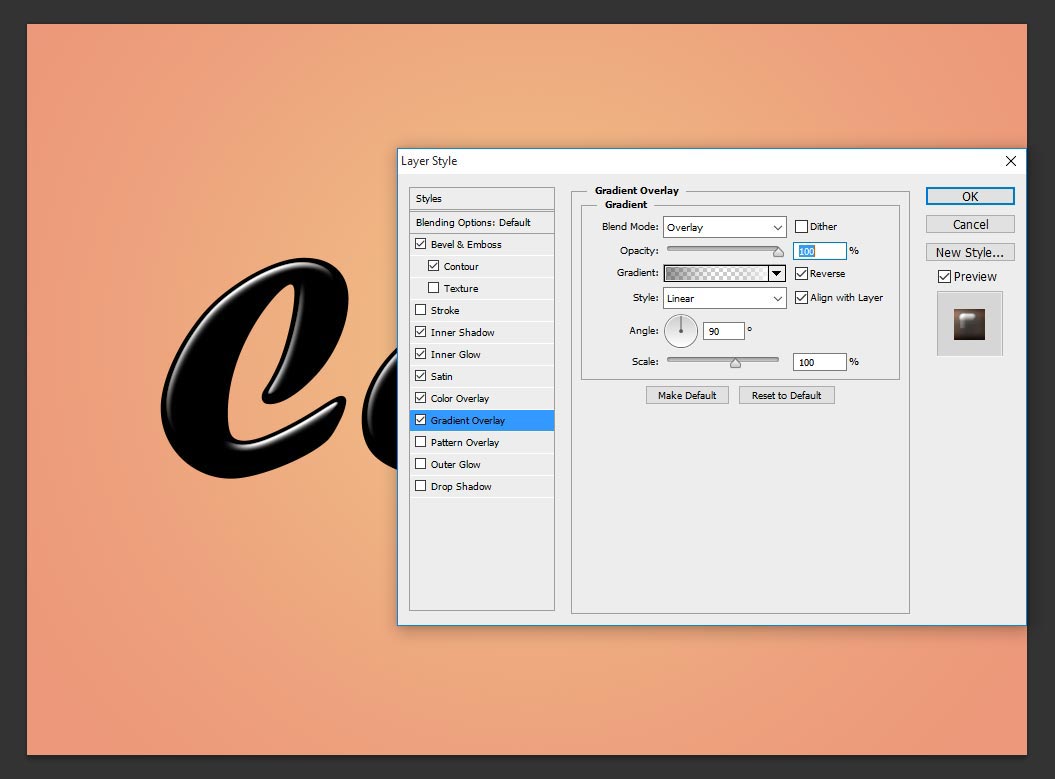
Step-7 : Now need to give little shadow gradient for the text, so choose gradient overlay and change the values as follows; blend mode-overlay, opacity 100%, style- linear gradient #353434 (opacity-73), #ffffff (opacity-67) and keep reverse the gradient selection, angle 90 degree and scale 100%.
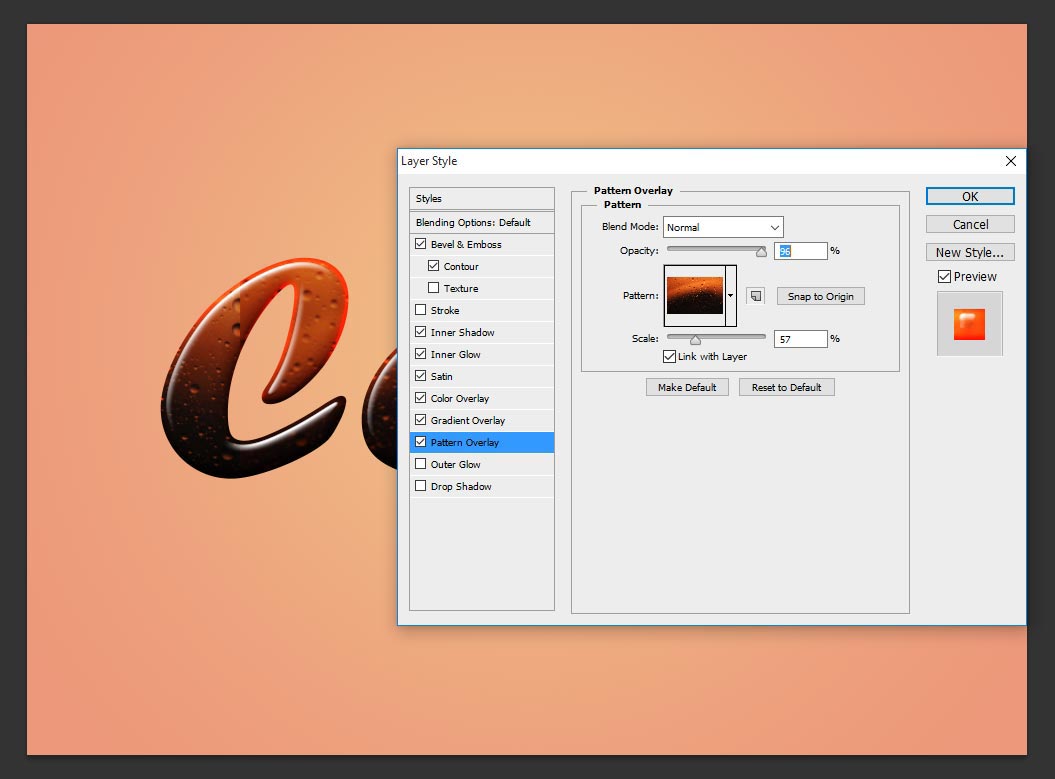
Step-8 : Now Choose Pattern overlay, this pattern will works in great way, whatever color before done those all setting works here. just keep opacity 96 % and scale it 57% for better bubbles looking size. this pattern i will attach soon here. in mean while search in google and take any suitable cola pattern an apply in your text.
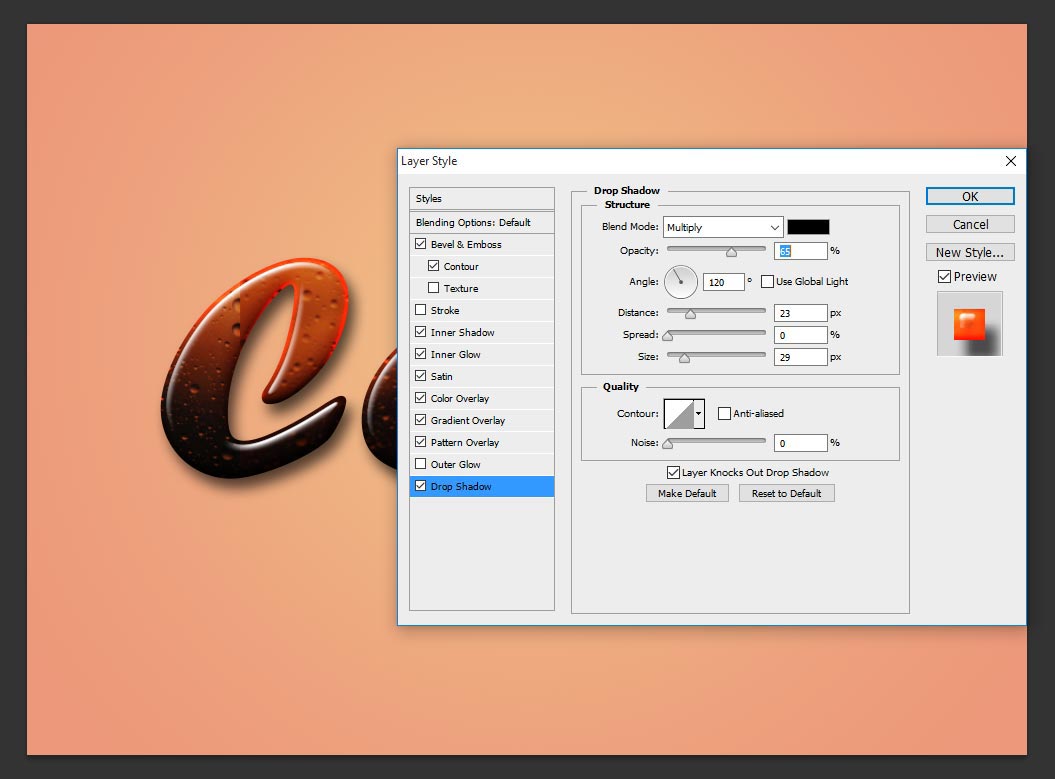
Step-8 : Now almost done our Photoshop cola text effects tutorial, for more better looking we have to give the shadow to text for that choose drop shadow and change the values as follows; blend mode- multiply, opacity-65, distance 23 px, size 29px, thats it!
we have done simple 8 steps to get final cola text effect, Thanks for read this tutorial.
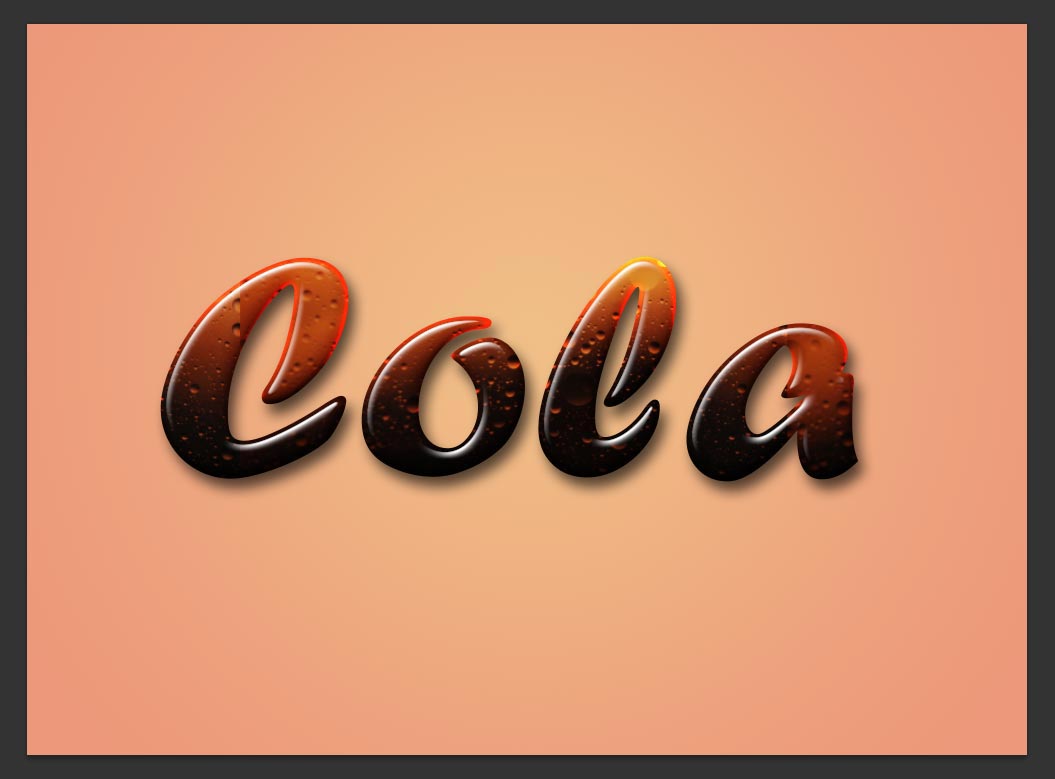
[button color=”green” size=”big” link=”https://www.alldesigncreative.com/free-psd/text/cola-text-effect-photoshop-psd/” icon=”Download PSD File” target=”true”]Download PSD File[/button]