
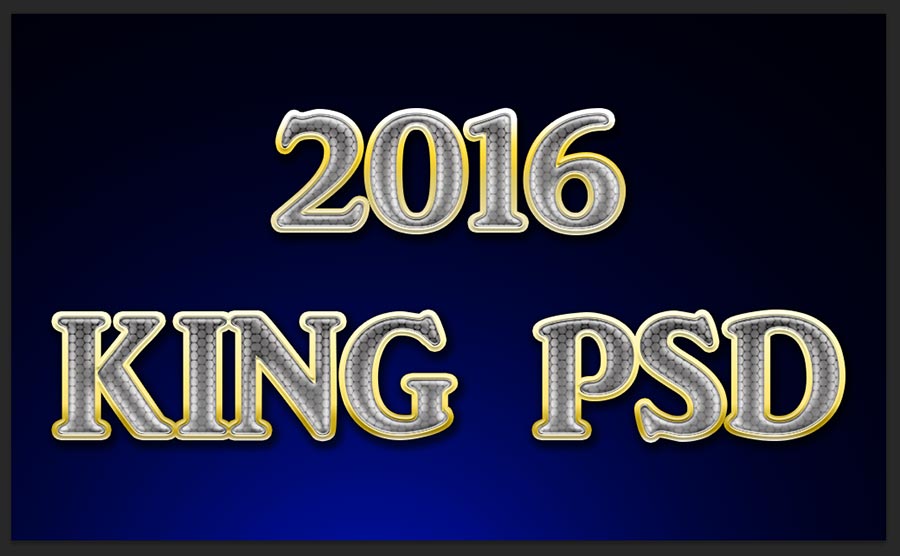
Today i am teaching one of best diamond text photoshop tutorial. This is very easy ‘how to make diamond text in photoshop”, just i will disclose with in few steps. This Diamond text effect created just using one layer style and also attached PSD file to better understanding, just feel free to download in bottom of the page as well.
Let’s Start the procedure!
[ads1]
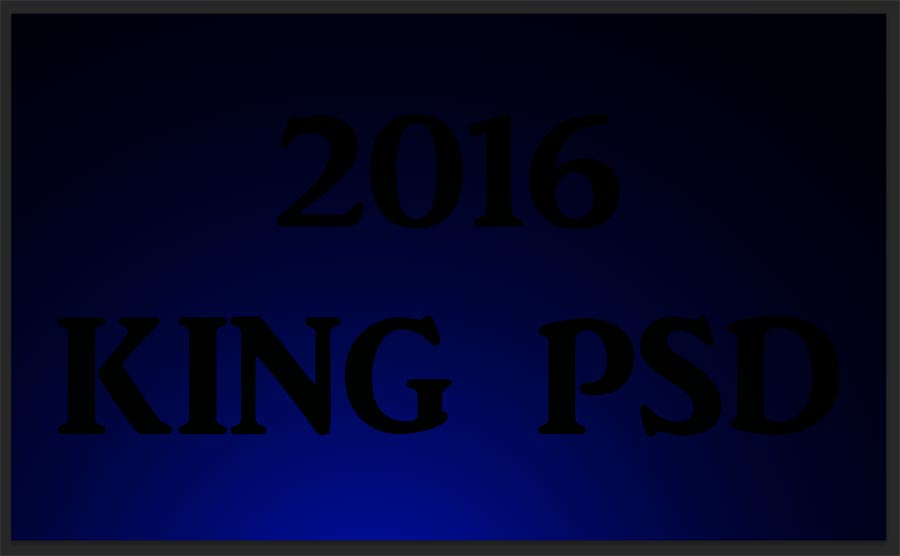
Step-1: First take new document in the dimension of 900x600px with default 72 dpi, fill the background blue light and blue dark color of gradient combination on the page as shown the screen shot and then write down any name fit it in center.
Step-2: Now apply layer style to the text layer and choose Bevel and Emboss and change the values as follows;
Style-Pillow Emboss,
Technique-Smooth,
Depth-11%,
Direction-Up,
Size-13px,
Angle-90 degree,
Altitude-30 degree,
Gloss Contour-Ring,
Highlight Mode-Screen, Color-White
Opacity-75%.

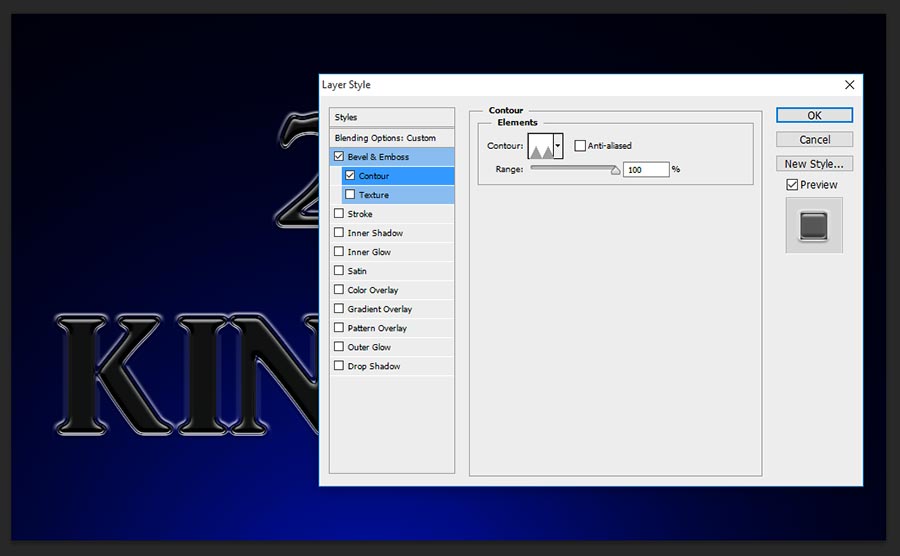
Step-3: Select Contour, this step works in great to giving smooth in the edges, Just change the contour elements-Sawtooth 1 and keep the range 100%.
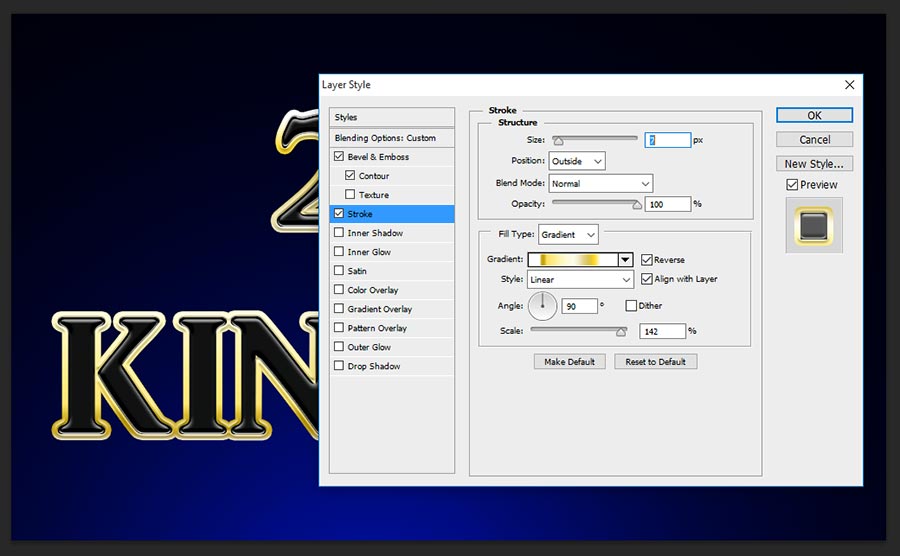
Step-4: Choose Stroke, important thing is here to applying cool gradient stroke color, just select the gradient color as shown the screen shot image and follow the values;
Size-7px,
Position-Outside,
Blend Mode-Normal,
Opacity-100%,
Fill Type-Gradient,
Gradient-#ffffff, #ffd929, #dcc65d, #fefbe5, #fce166, #c4a40d, #cdab21, #ffffff,
Style-Liner,
Angle-90 degree,
Scale-142%.
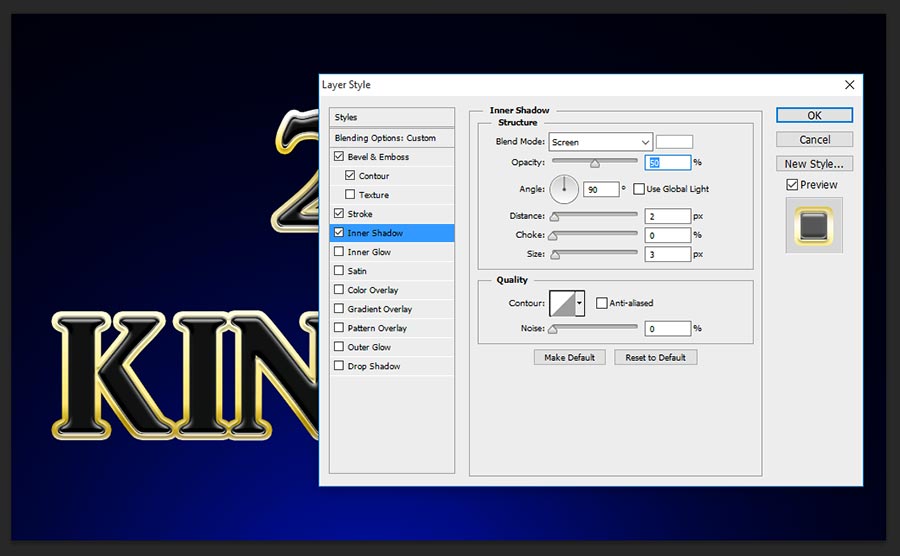
Step-5: Take Inner Shadow, it gives white shadow inside the text, but this inner shadow result gives partially only on the text, but ultimatly seem to be great looks.
Blend Mode-Screen, Color-White,
Opacity-50%,
Angle-90 Degree,
Distance-2px,
Size-3px.
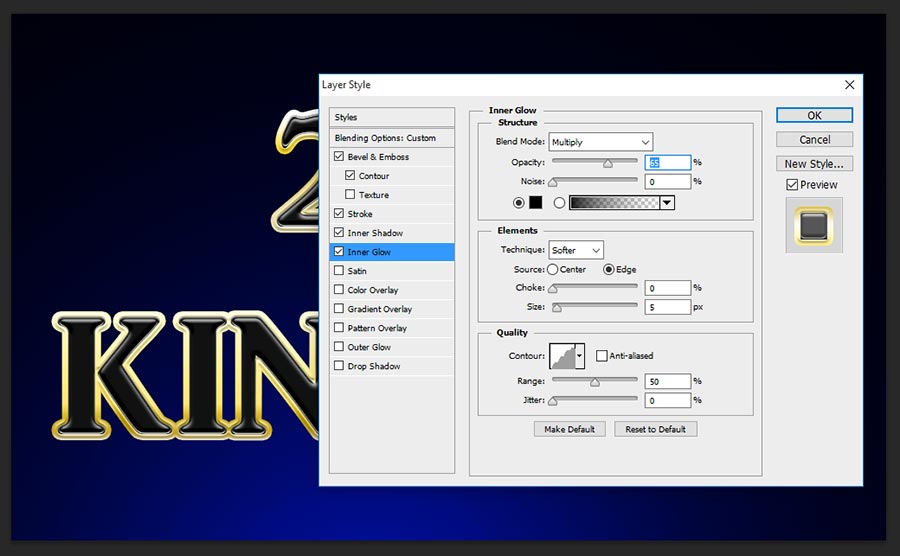
Step-6: Choose Inner Glow and change the setting as follows;
Blend Mode-Multiply,
Opacity-65%, Color- Black,
Technique-Softer, Source-Edge,
Size-5px,
Contour-Rounded Steps,
Range-50%.
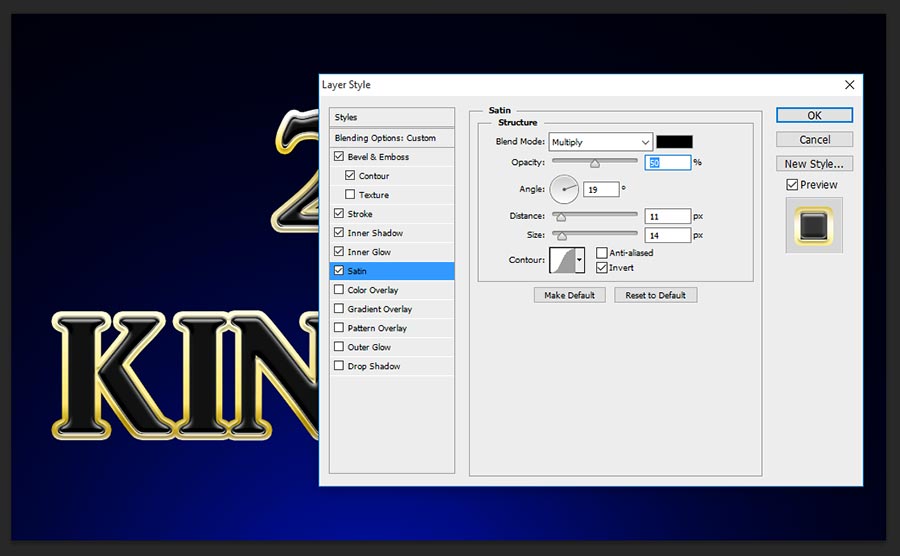
Step-7: Choose Satin, this step works in great, gives amazing satin shadow inside the text and brings more eye catching looks, but this effect result can see after applying pattern overlay;
Blend Mode-Multiply,
Opacity-50%,
Angle-19 degree,
Distance-11px,
Size-14px,
Contour-Gaussian.
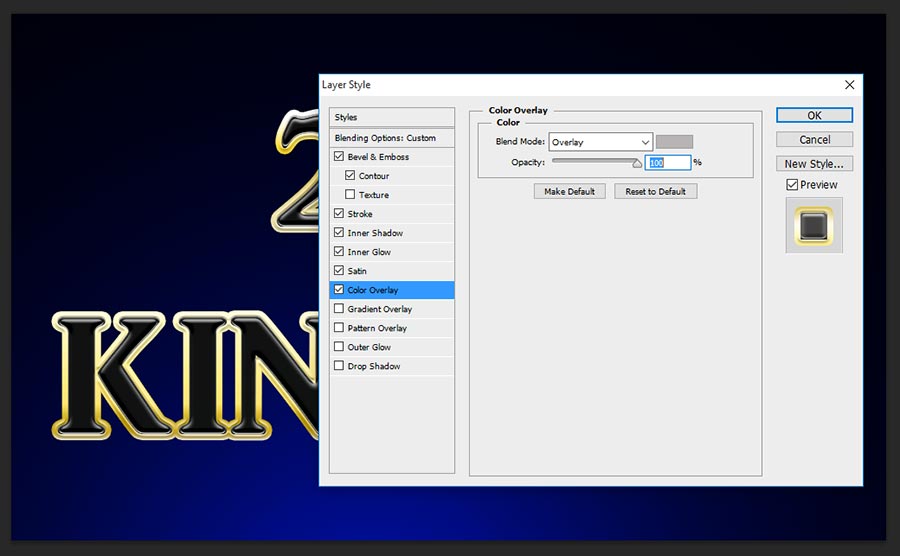
Step-8: Choose Color Overlay, this step gives grey color overlapping on the text, can see the results after applying the pattern in pattern overlay;
Blend Mode-Overlay, Color-#b8b4b4,
Opacity-100%.
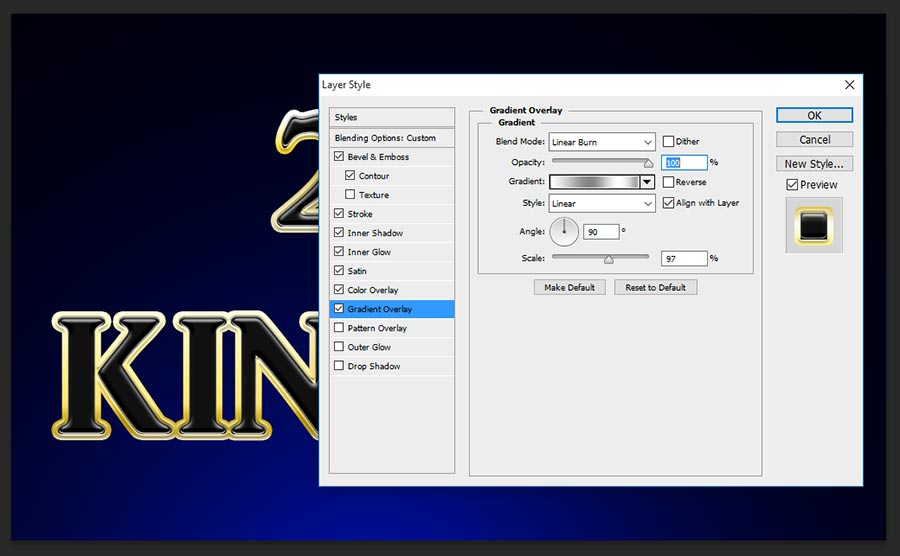
Step-9: Now Select Gradient Overlay and follow the values;
Blend Mode-Linear Burn,
Opacity-100%,
Gradient-#ffffff, #858585, #ffffff, #a6a6a6, #ffffff,
Style-Linear,
Angle-90 degree,
Scale-97%.
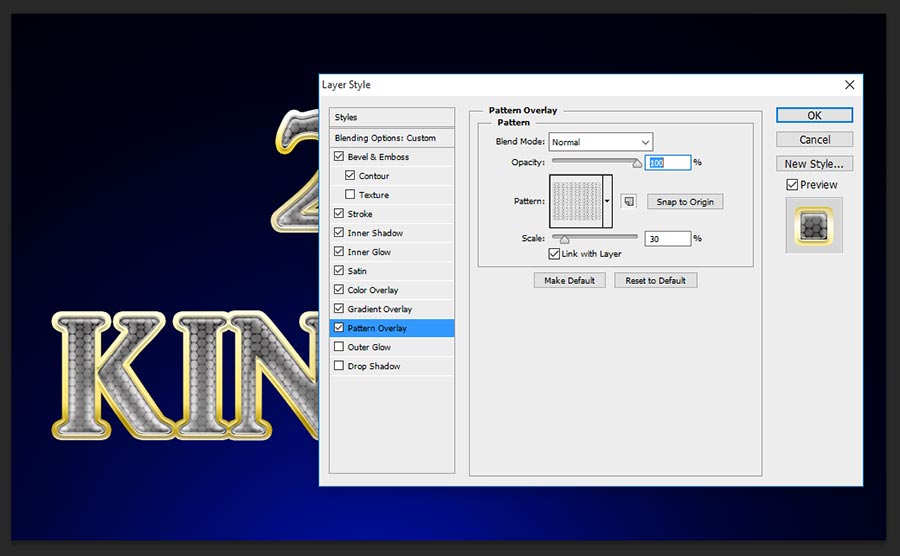
Step-10: Now Choose Pattern Overlay, This is excellent step to get final diamond text effect in Photoshop, just make any diamond texture by yourself or download from my site include PSD file. Once applied this Pattern then you will able to get output as shown the below screen shot image;
Blend Mode-Normal,
Opacity-100%,
Pattern-Manually created diamond texture.
Scale-30%.
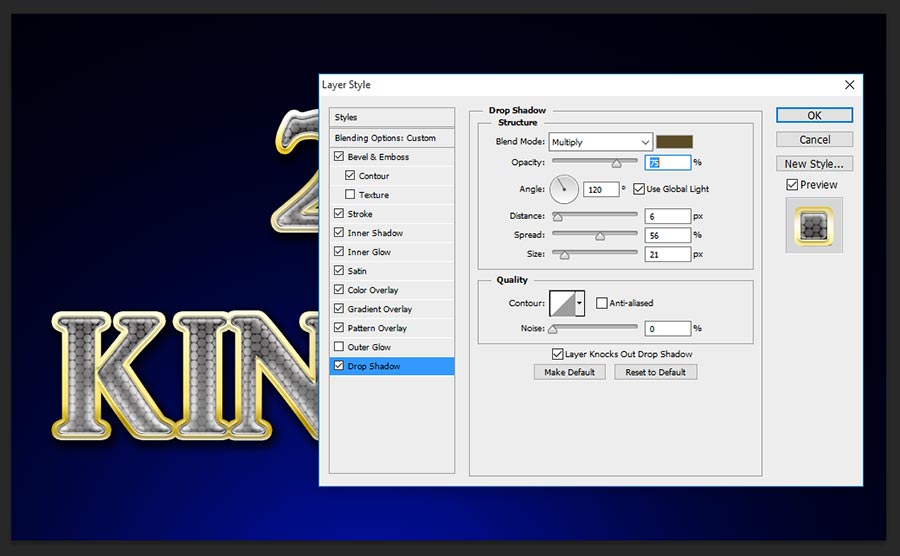
Step-11: This is the final step, just need to give cool shadow to the text, because some times when do we apply drop shadow it becomes very amazing looks.
Choose Drop Shadow and change the following settings values;
Blend Mode-Multiply,
Opacity-75%,
Angle-120 degree,
Distance-6px,
Spread-56%,
Size-21px.
Thanks for reading this tutorial “How to Make Diamond Text in Photoshop”, next tutorial will be amazing, just visit regular and get more awesome tips and tricks from my site as well.
[ads2]
[button color=”orange” size=”medium” link=”https://www.alldesigncreative.com/free-psd/text/diamond-king-text-photoshop-psd/” icon=”Download PSD” target=”true”]Download PSD[/button]