Hey ! In this tutorial i will explain how to make realistic metal text effect using layer styles in Photoshop. This is excellent tricks or tips to make your real metal effect, this effect of design seem to be 100% metal, first time AllDesignCreative.com bringing this type of new effect and best design. Lets start the procedure.
[ads2]
Step-1 : Create new document and set width-2000, height-1500, here resolution must be 300 DPI and Write down your any text on the stage.
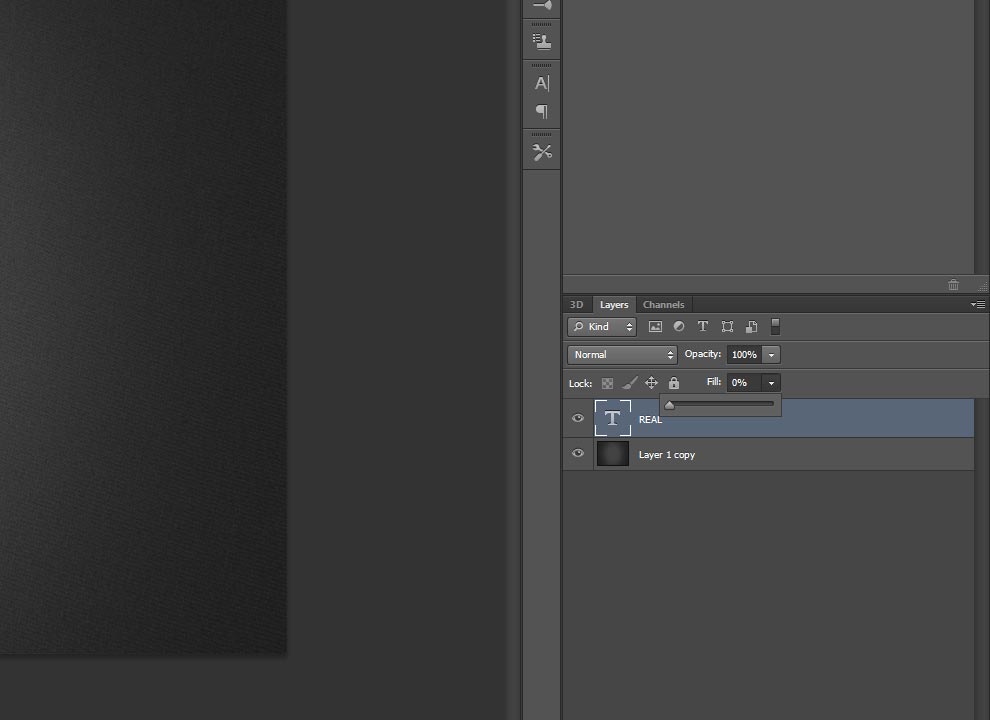
Step-2 : Now make your text filling 0% as shown below image, because this layer style just using only for outer shadow purposes.
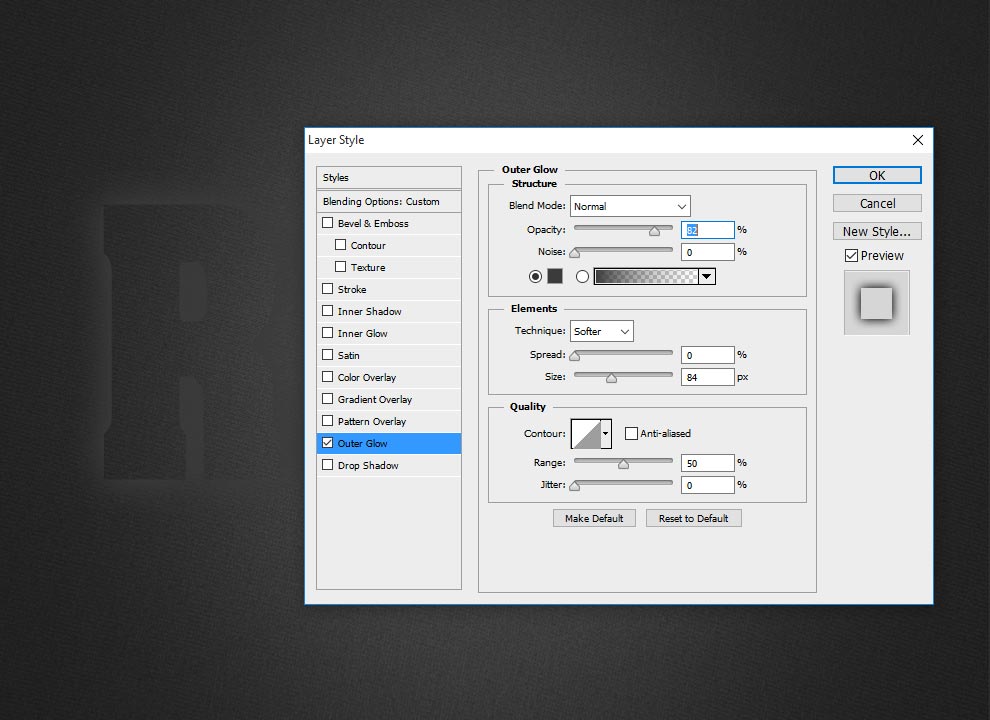
Step-3 : Now apply blending option to the same layer, just go to Layer> Layer Style> Blending Option, here choose outer glow and follows values
Blend Mode: Normal,
Opacity: 82%,
Size: 84,
Range: 50%,
Jitter: 0%.
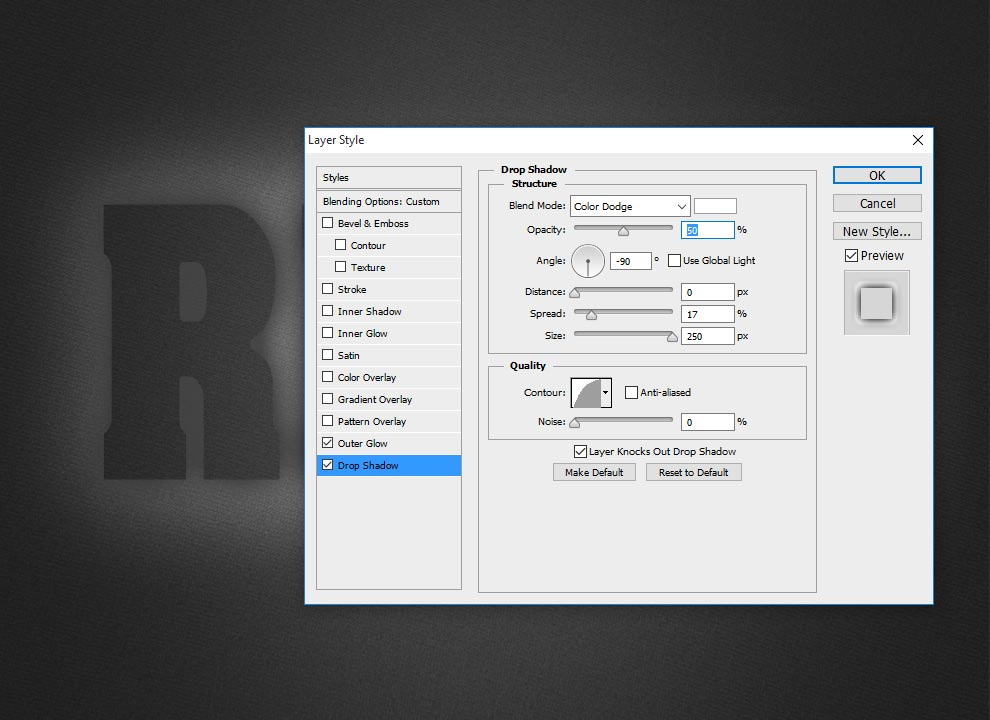
Step-4 : Now choose Drop Shadow, here change the values as follows,
Blend Mode: Color Dodge,
Opacity:50%,
Angle: -90 Degree,
Distance: opx,
Spread: 17 %,
Size: 250 px,
Contour: Half Round.
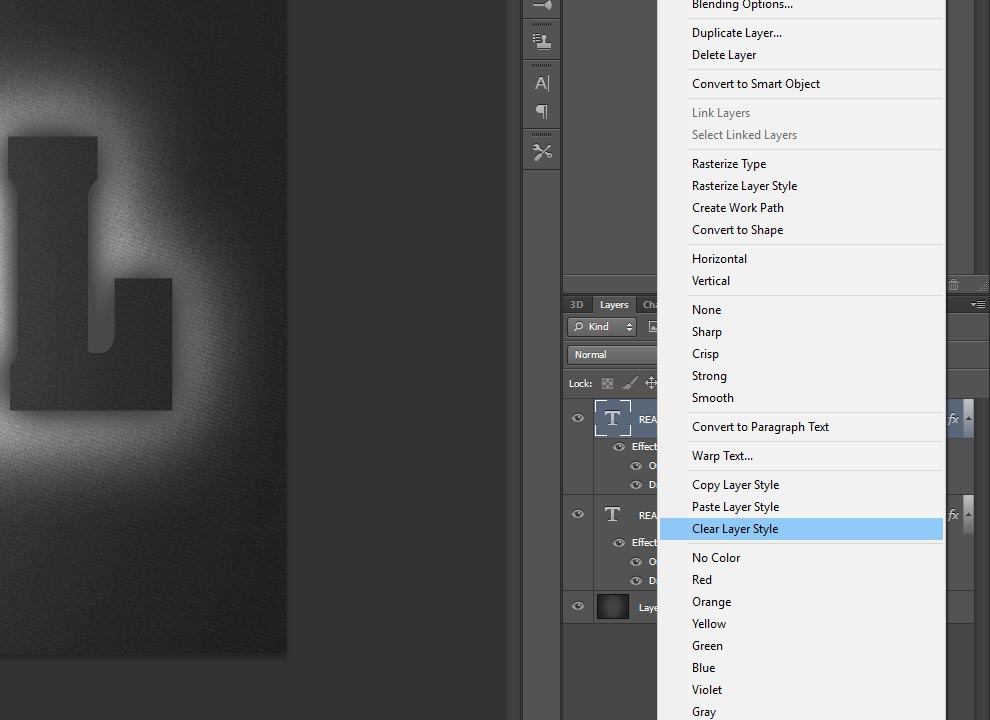
Step-5 : Create Duplicate the layer, just press Ctrl+J from the Key-Board and then right click on the layer and clear layer style.
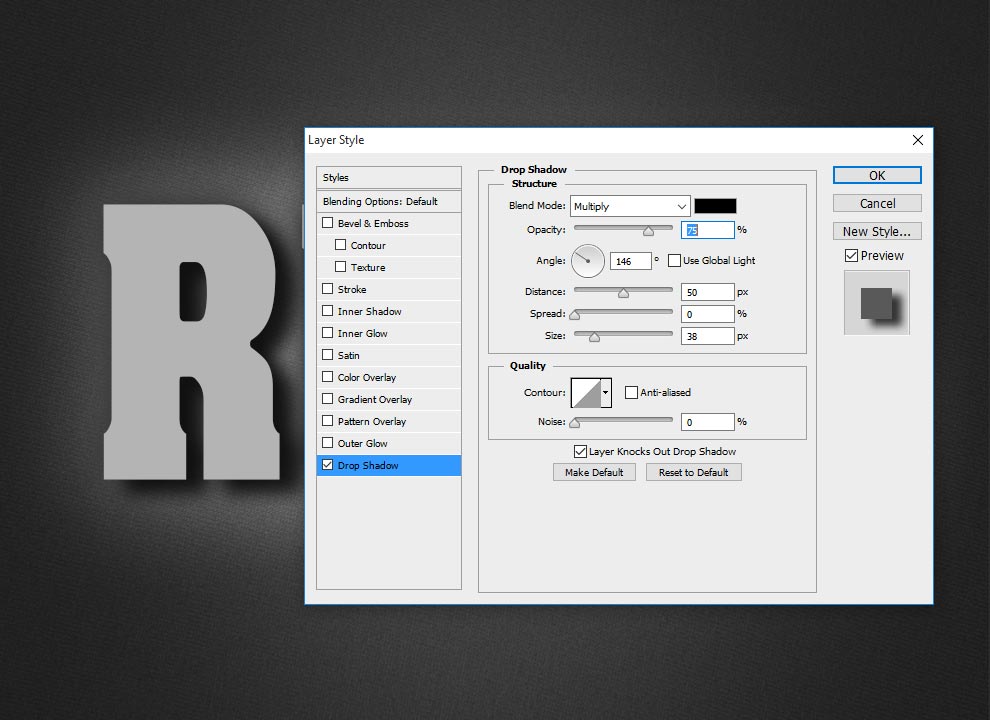
Step-6 : Now you are in still second created layer, now just apply blending option to the layer, just go to Layer> Layer Style> Blending Option, here just change the values as shown below screen shot image, opacity-75%, blend mode- multiply, angle-146, distance-50px, size-38px. By using this layer style setting giving some more better realistic shadow to the text.
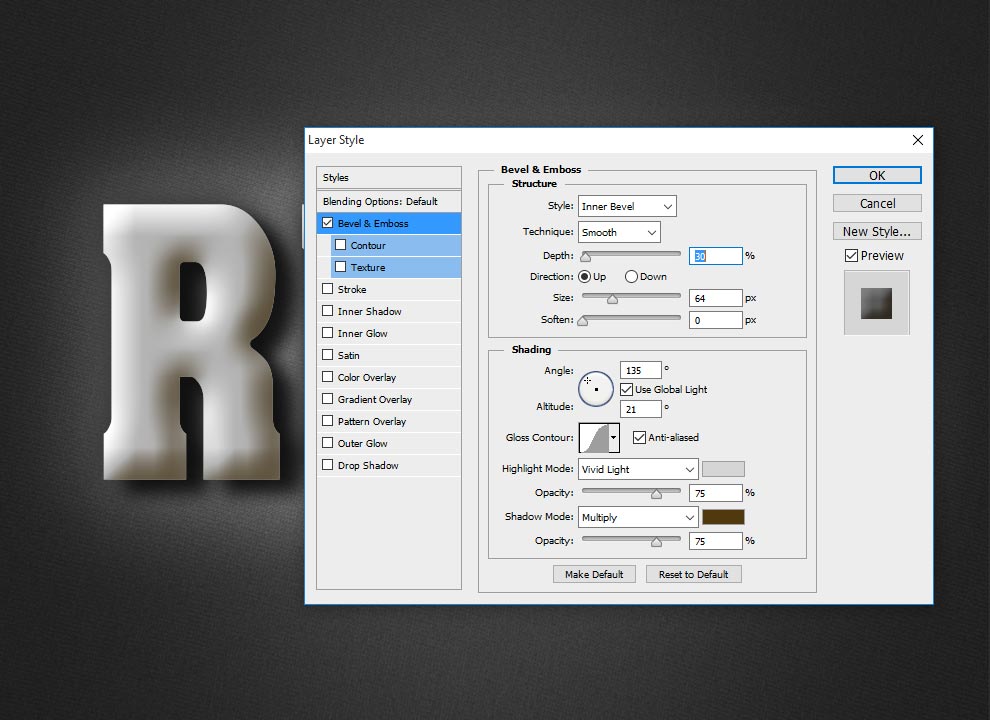
Step-7 :Now again duplicate the second layer and clear the layer style by right clicking on the layer and then just apply blending option to the layer, this is the third layer style, just double clicking on the layer you can get blending option or go to layer>layer style> blending option, here choose bevel and emboss and follows values as follows; Style: Default style of Inner Bevel,
Depth: 30%,
Size: 64px,
Angle: 135,
Contour: Gaussian,
Highlight Mode: Vivid Light, color: #d5d5d5,
Opacity: Default 75%
Shadow Mode: Multiply, color: #4f390e,
Opacity: Default 75%
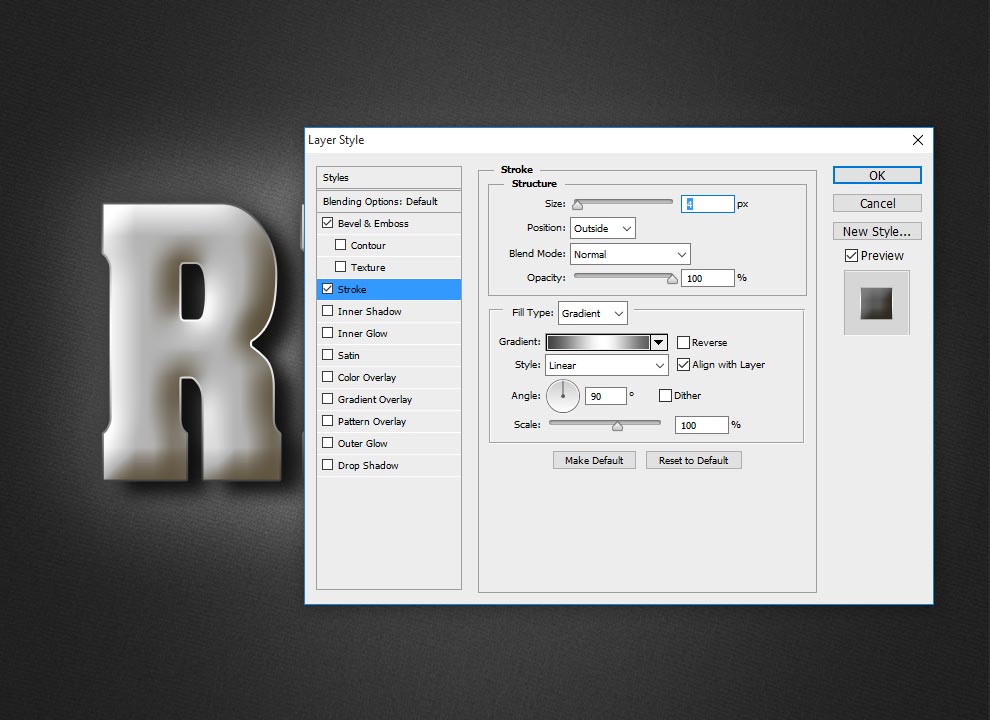
Step-8 : Now Choose Stroke and take size-4 px, position-outside, blend mode-normal, opacity-100%, fill type-gradient, take color values as follows: #404040, #ffffff, #5e5e5e.
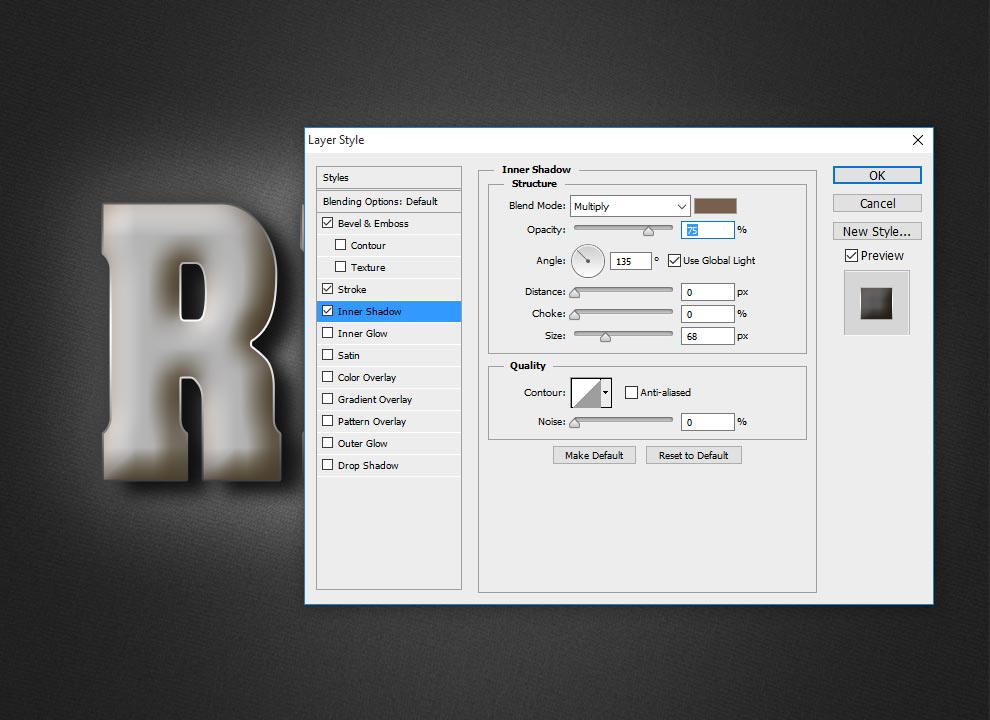
Step-9 : Take inner shadow and follow the values as shown;
Blend mode: Multiply,
Distance:opx,
size: 68 px.
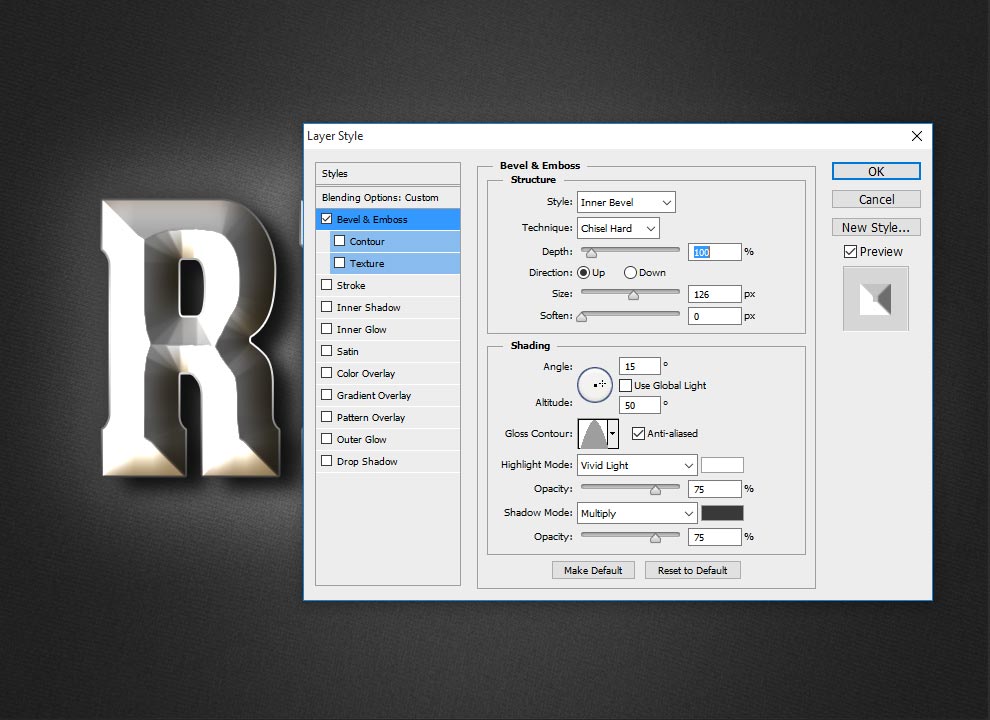
Step-10: Now again duplicate the third layer and clear the layer style by right clicking on the layer and then just apply blending option to the layer, this is the fourth layer style, this is the final step to get our realistic metal text effect in Photoshop. First choose Bevel and emboss and change the values like
Style: Inner Bevel,
Technique: Chisel Hard,
Depth: 100%,
Size: 126px,
Angle: 15 degree,
Altitude: 50 degree,
Gloss Contour: Cone,
Highlight Mode: Vivid Light,
Shadow Mode: Multiply, color-#393939.
Step-11 : Now select contour and keep range 50% and change contour into ‘half round’

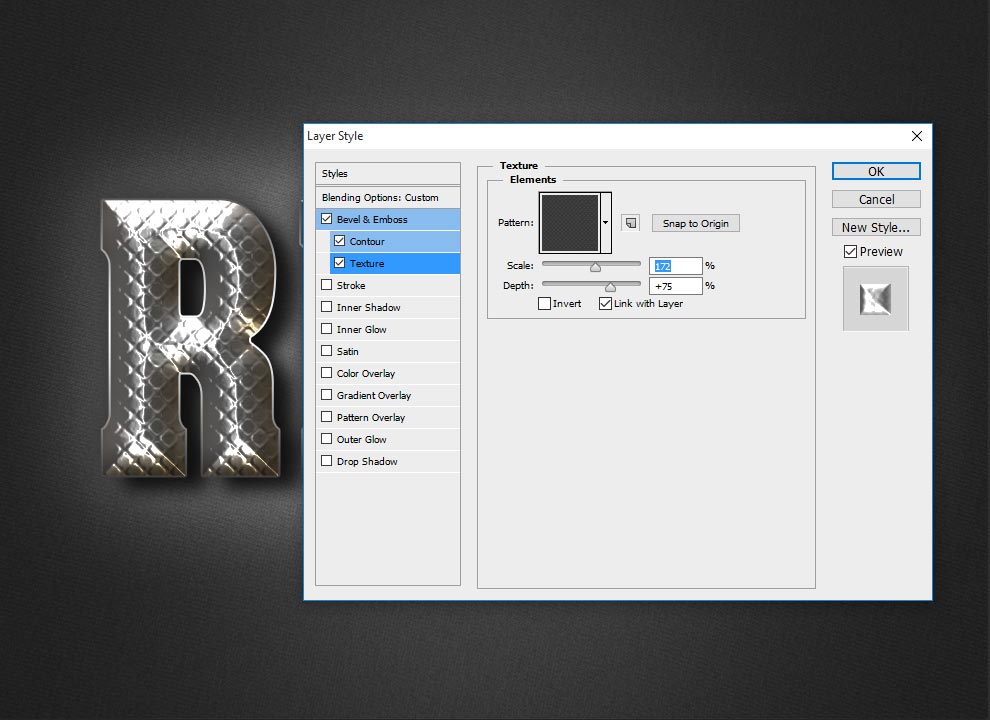
Step-12 : Now apply texture to the text, this textures will works in great way, you can take any type of designed texture to apply here, or get the same texture from the links in the same page. Here scale- 172%, depth-75%, these values depends on your resolution of your texture.

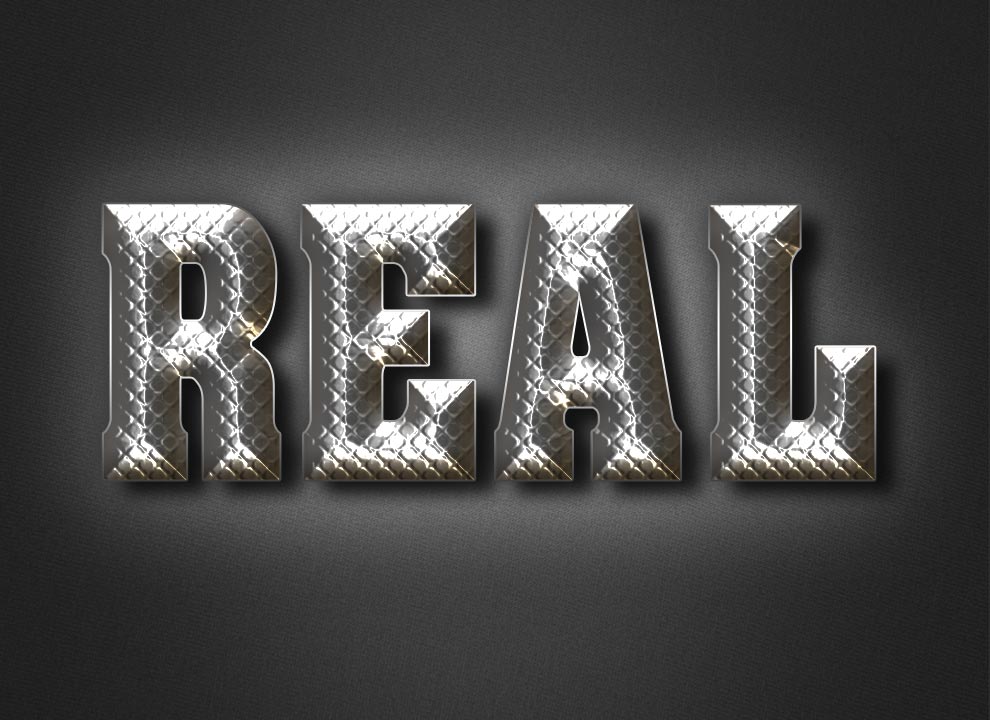
You have reached final effect of realistic metal text effect in Photoshop, thanks for watching this tutorial, give your valuable comments for this tutorial.
[ads1]
[button color=”green” size=”big” link=”https://www.alldesigncreative.com/free-psd/text/real-metal-text-psd/” icon=”Download PSD File Here!” target=”true”]Download PSD File Here![/button]