Photoshop Custom Pattern Just 4 Easy Steps:
All the time when are you designing default adobe Photoshop pattern just couldn’t be contentment as well, while then it’s better to make custom pattern, it’s not take more time also to make your own pattern, so just learn in this tutorial some of the simple ways how to make custom pattern for interfaces, photo scan lines, buttons and some of textures. Most of the people’s they would like to make them-self only any pattern, here there is a time comes to create better pattern with simple steps. In this tutorial not only creating pattern but also i will show how to make same pattern as a best cloth texture, this is very simple and amazing looks. Just follow our simple tutorial steps.
[ads1]
Please don’t translate or copy this tutorial elsewhere, i don’t like the tutorial to blow around in 10 different version and places on the net. of course! Feel free to link to this page whether you would like to display this tutorial in your site. (See also our Terms of Use)
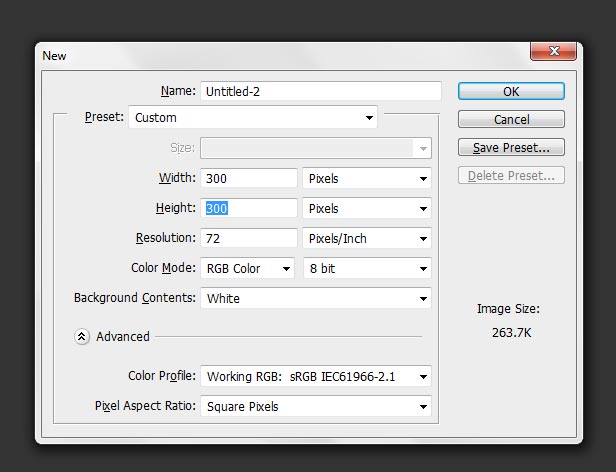
1 First make new Photoshop document, here you can take any height and width, it doesn’t matter because after make pattern then crop it such a size well. And then your size goes to in that measurement. For creating new file. Go to File>New (Ctrl+N in the key).
2 Now Start you design how do you like to make your own pattern, here in this tutorial, I show you some of different pattern look just see below image how have I designed. Just follow something if you like to design it same as well. After crop and keep it exactly only that particular area of pattern designed.

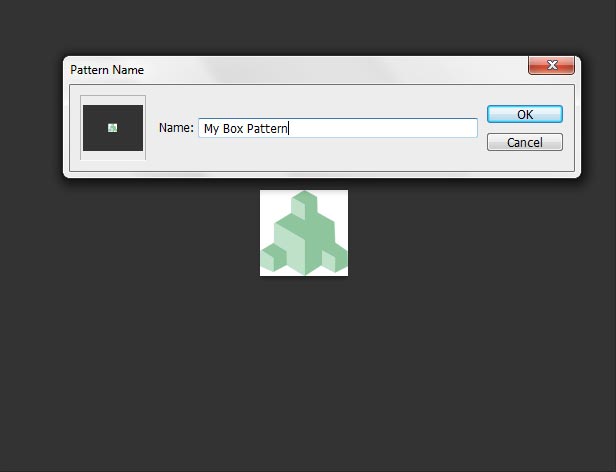
3 Now we have to define this pattern, so that go to Edit Menu> Define Patter and name it as you like to that created custom pattern, because easy to remember especially when you have lot of custom pattern then it’s better to naming all your custom pattern.
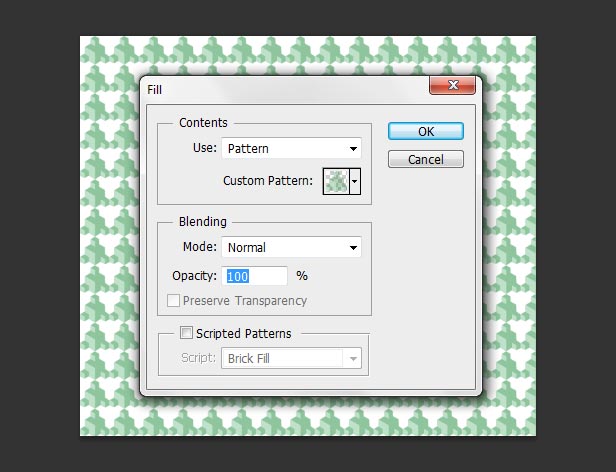
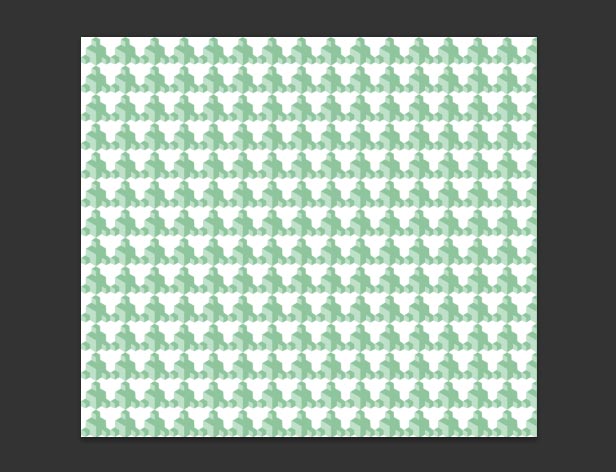
4 Use your new created pattern. First create new stage of the file and then go to Edit> and choose Fill, after you can see one of fill dialogue table, here in this dialogue table choose your custom pattern and then just click on ok. After you can get your image as shown our following image.
That’s it! you have created your own custom pattern design.
From this pattern we can create simple cloth texture also, just see few steps as showing below,
A first duplicate the already created custom pattern, and flip it vertical, for that first select duplicated layer then after go to Edit>Transform> and choose Flip Verticle.
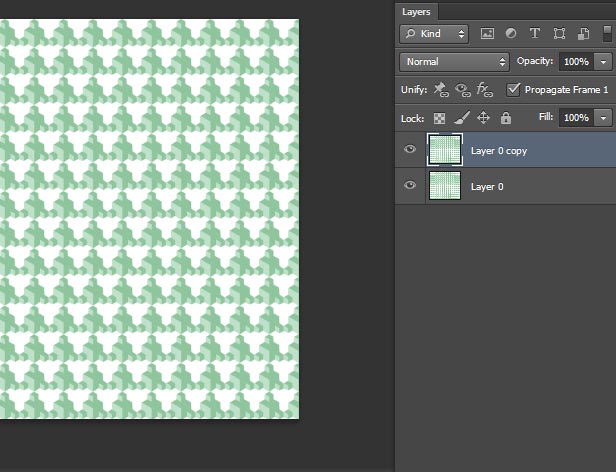
Now set the blending mode to the layer, change duplicated pattern layer into Exclusion from blending mode option, then after your image seem to be as showing below our image. This texture gives really amazing realistic cloth texture for 3d any modelling. Just try to create and apply it and then see how do you feel.
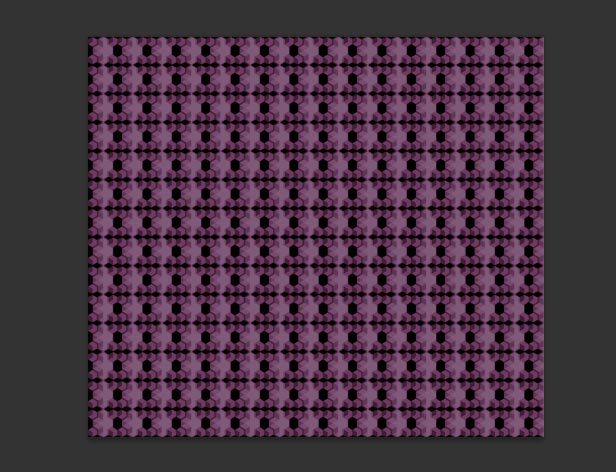
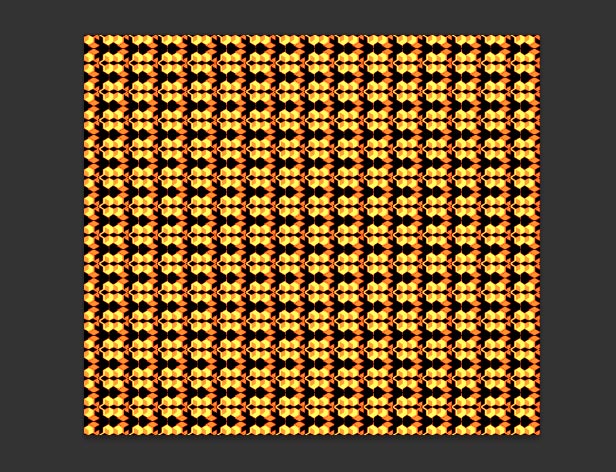
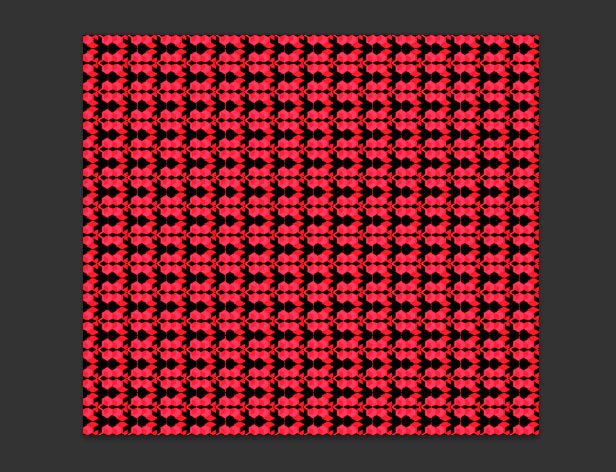
Before I have applied exclusion to duplicated pattern in blending option, but in this case I apply something other option in the same blending option.
Change duplicated pattern texture into Difference in blending mode option as well, then create new layer and after fill any color what you like, even to this color also apply Color Dodge and then see you would get following like our texture image.
Always we think about new things or tricks how to bring out! just visit regularly to our site, i hope you will get better tricks well.