Realistic Gold Text Effect Tutorial: i will disclose how to make realistic gold effect by using photoshop cs6, here in this tutorial i will show you very simple method to make as realistic gold text effect. Everybody like to make gold effect how to create them-self. Here just 11 steps you can make as shown below realistic gold text effect. This type of gold effect tricks and tips are showing first time in my website, just follow as shown below steps and create yourself very easily and enjoy with my tutorials. End of the tutorial you can find my practiced PSD file, if you need to download you are welcome and use it in your project as well.
[ads1]
(Please don’t repeat /translate same tutorial steps in some other website, feel free to link to this website page, supposed if you like to post in your site, you are mostly welcome for that)

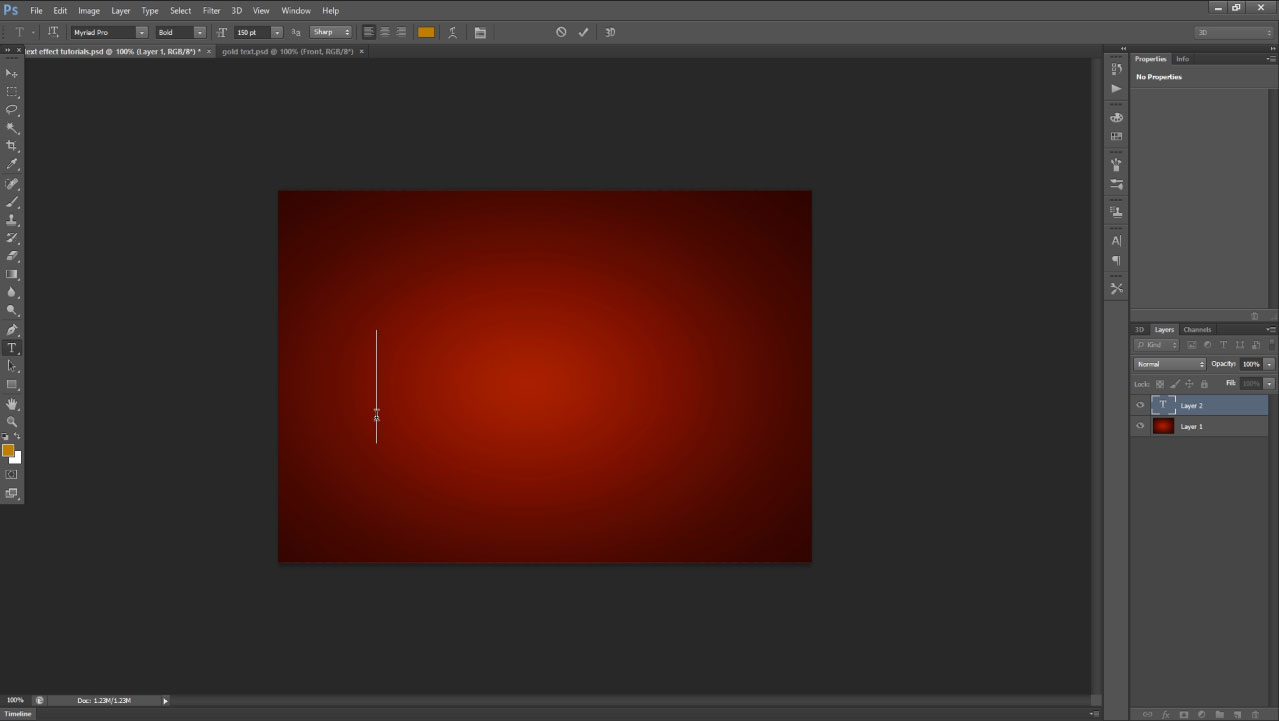
- First take type tool from the tool palette after write down what do you want to display as a realistic gold effect.
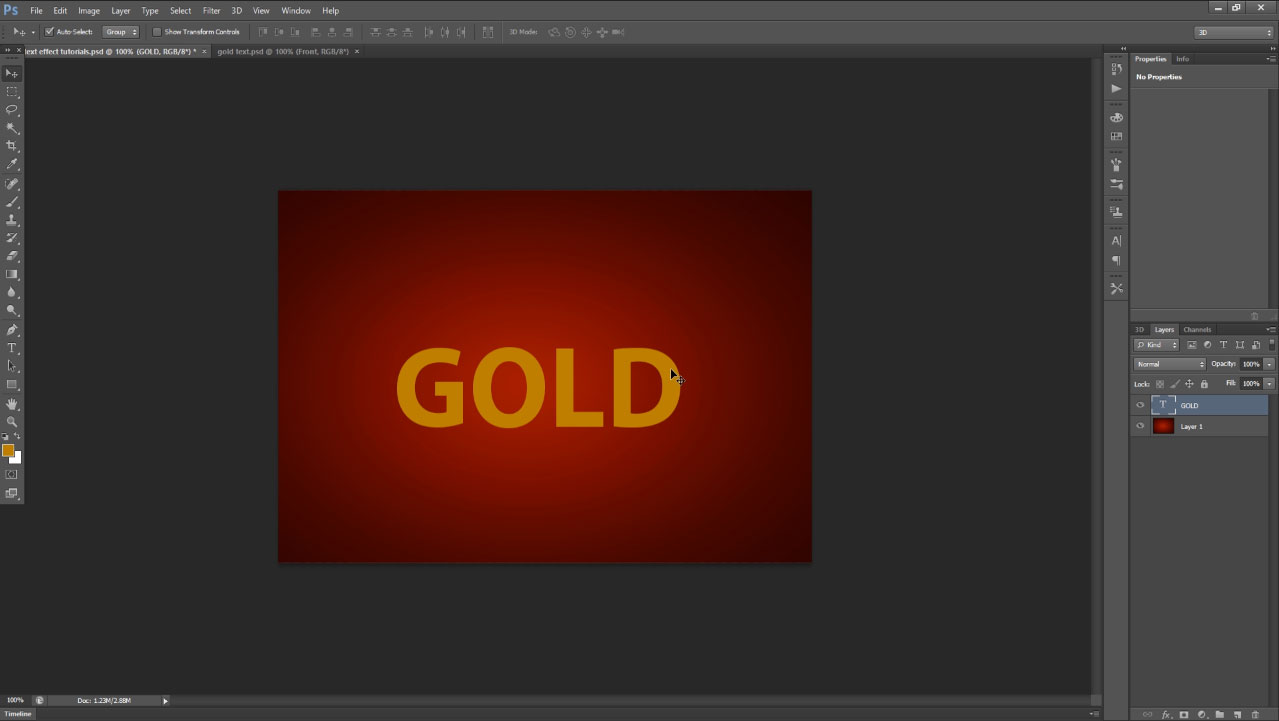
2. Here i have written just GOLD, if you need to increase the size of the font then just Press Ctrl+T and scale and fit in center . and fill the font color “#a97f11”, now your font color seem to be as shown below.
3. Now duplicate the layer, just press Ctrl+J in the keyboard.
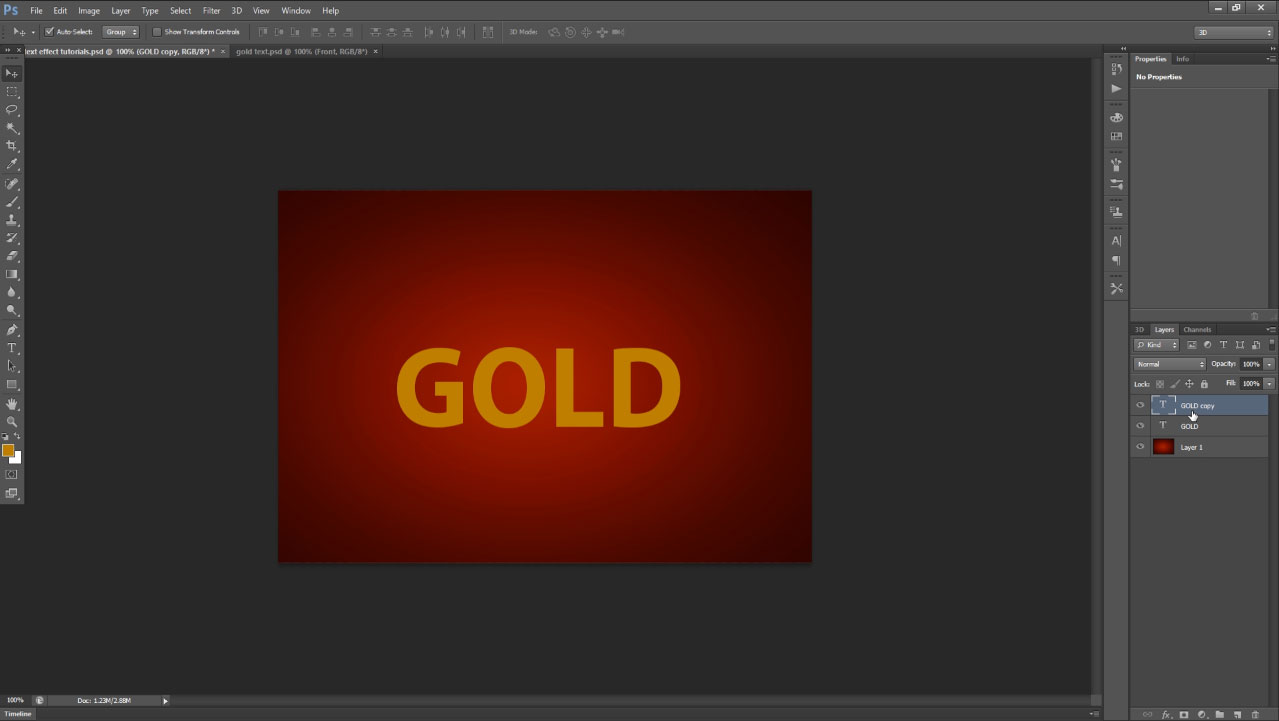
4. Set the interior opacity to the layer ” 0″. This layer step is premium, finally this layer effect only gives realistic gold text effect feeling, just consider following steps how does it works.

5. Now go to blending mode option and choose bevel and emboss.
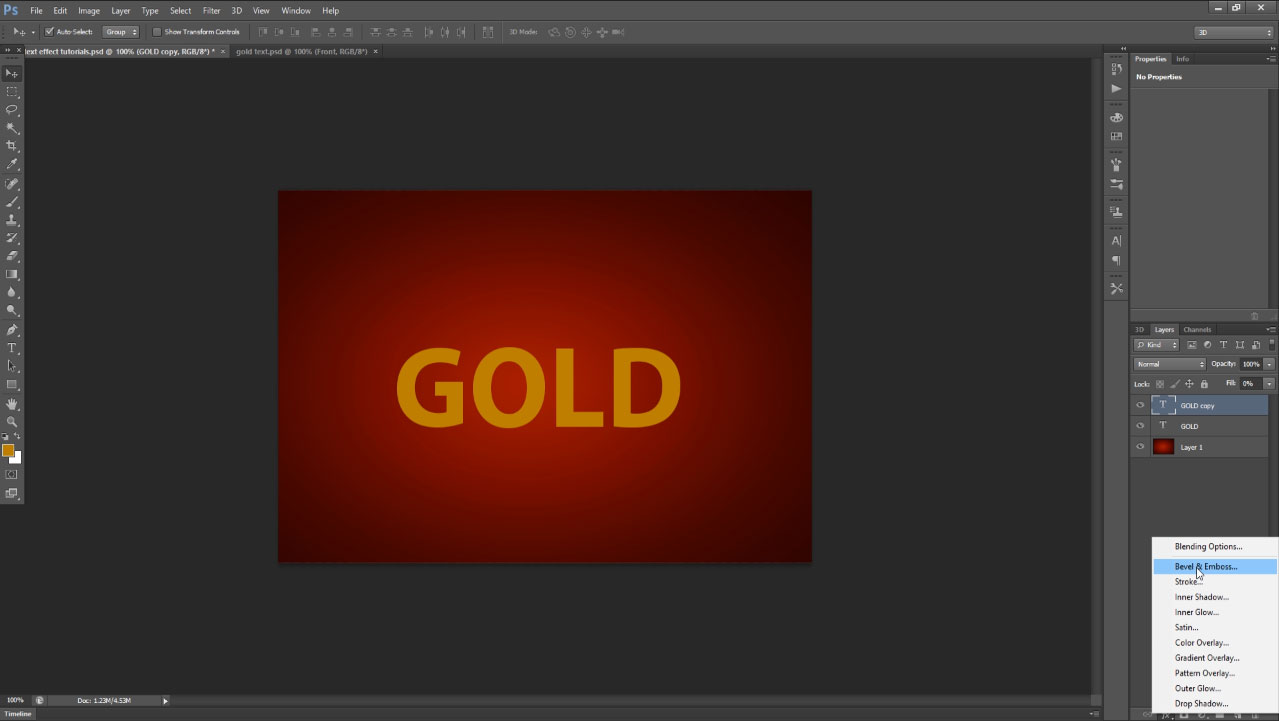
6. Now you are still in bevel and emboss, here take size-3 px, angle 46 degree, attitude 26 degree, gloss contour -Ring double, Highlight mode choose color dodge and here took white color, keep default opacity 75%, shadow mode keep multiply and here color should be block and decrease opacity 13%.

7. Now choose stroke, keep size 1 px, position inside and change color into yellow and just keep the value #ffd21d.

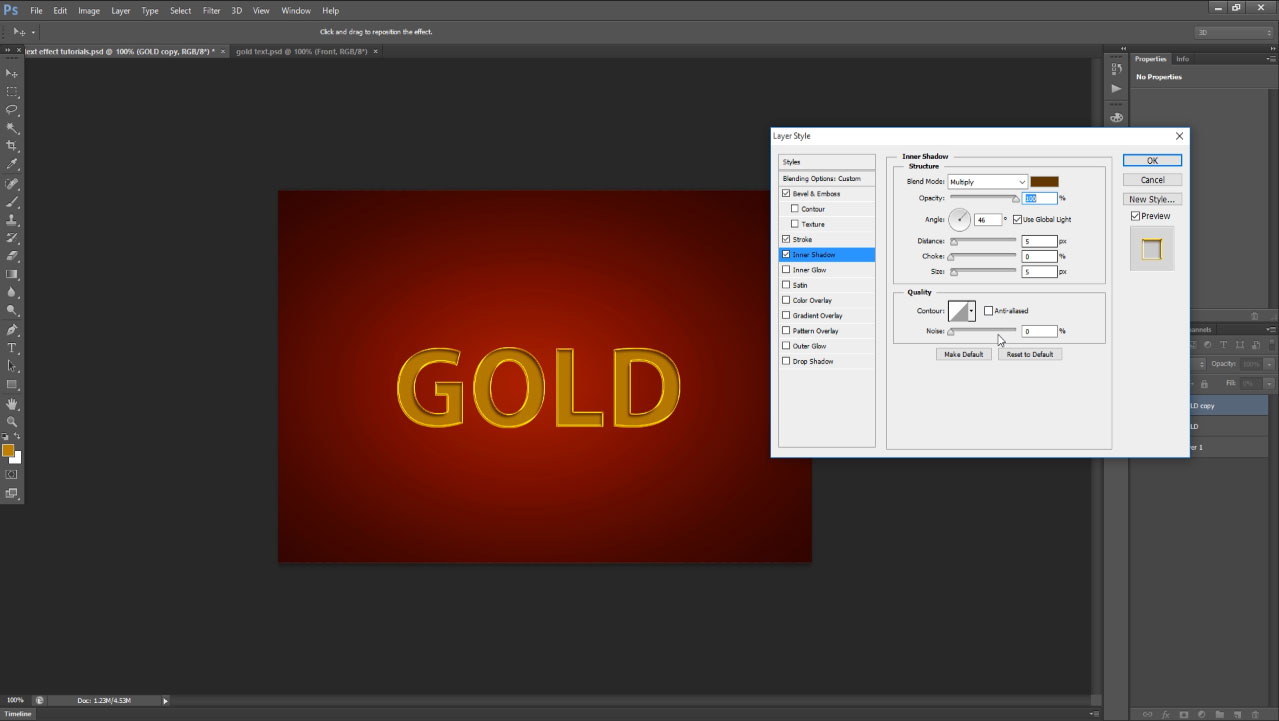
8. Next choose inner shadow , in blend mode option change into multiply and take the color value #563900, change angle 46 and other all steps keep as default value.
9. Next Choose color overlay, here in bend mode change into soft light and change color red #ff0000 and keep opacity 47%

10. Choose pattern overlay, here in blend mode option change into vivid light, keep opacity 25 % and choose pattern gray granite as shown the below screen shot and keep scale as the default value 100%.

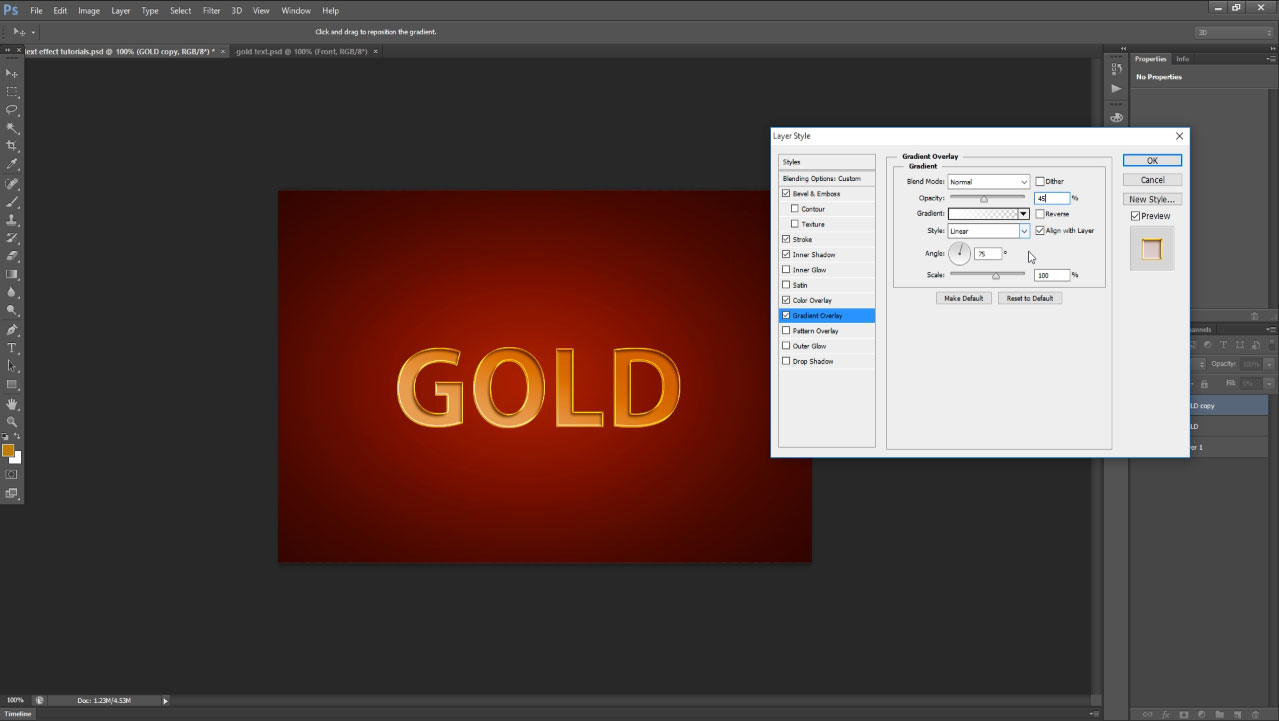
11. Finally choose gradient overlay, blend mode normal, opacity-45%, make left side only white color filling and right side keep “0” filling, then your gradient color filling should be as shown our screen shot, style-linear, angle 75 degree, scale 100%. Now your text effect seem to be as shown the below our image. Al mostly done your gold text effect.
12. Just for realistic feelings, same layer make it duplicate layer. then your finally created text effect become very realistic gold effect feeling and smooth edge and real gold coin feeling.
[button color=”blue” size=”medium” link=”https://www.alldesigncreative.com/free-psd/text/golden-text-psd-free-download/” icon=”Download PSD File Here” target=”true”]Download PSD File Here[/button]

Thats it very simple way! you have created gold effect by using photoshop.
[button color=”orange” size=”medium” link=”https://www.alldesigncreative.com/free-psd/text/” icon=”Click Here To View All Text PSD Files… ” target=”true”]Click Here To View All Text PSD Files… [/button]