
Hi, in this tutorial I will explain how to make steel effect within few steps. These steps will works great in your any of designs especially while decorating font effect, the same tricks can use other some of text effects just changing color and applying blending option. Here mostly important is filling gradient colors and once you done to making gradient colors in gradient overlay then it is very simple to create steel effect to any font, just see that fun how does it works.
[ads1]
1 Take new document and fill any color, here i took red gradient background ( values #410000, #740000)
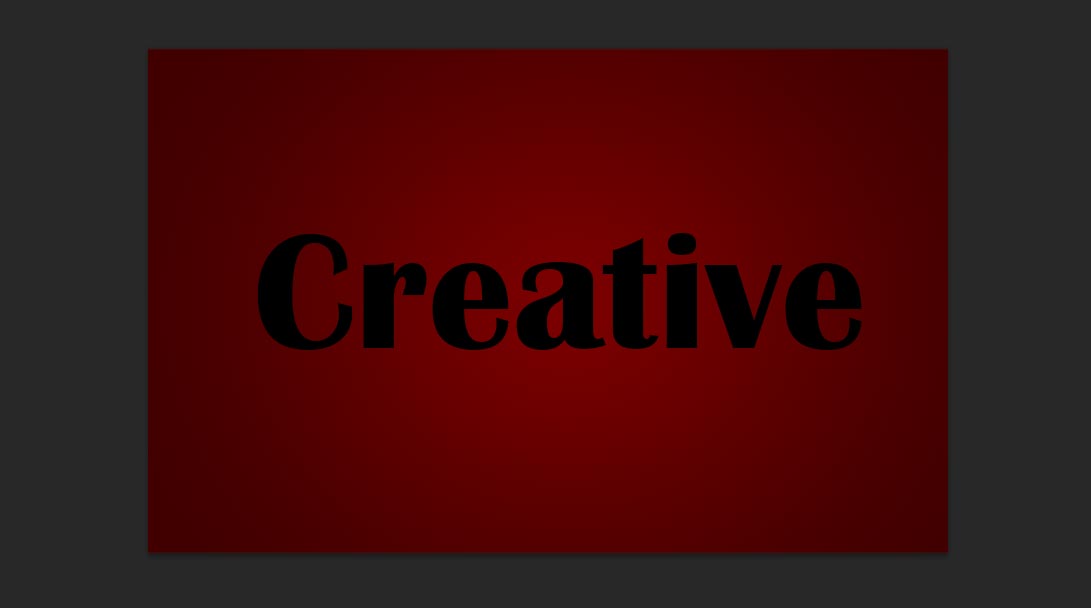
2 Type any name on the stage and adjust the size of the font to fit as well. Here make sure your font choosing should be suitable for steel effect well. Actually choosing good font also gives more realistic metal or steel effect, some time it woks great effect to your text design.
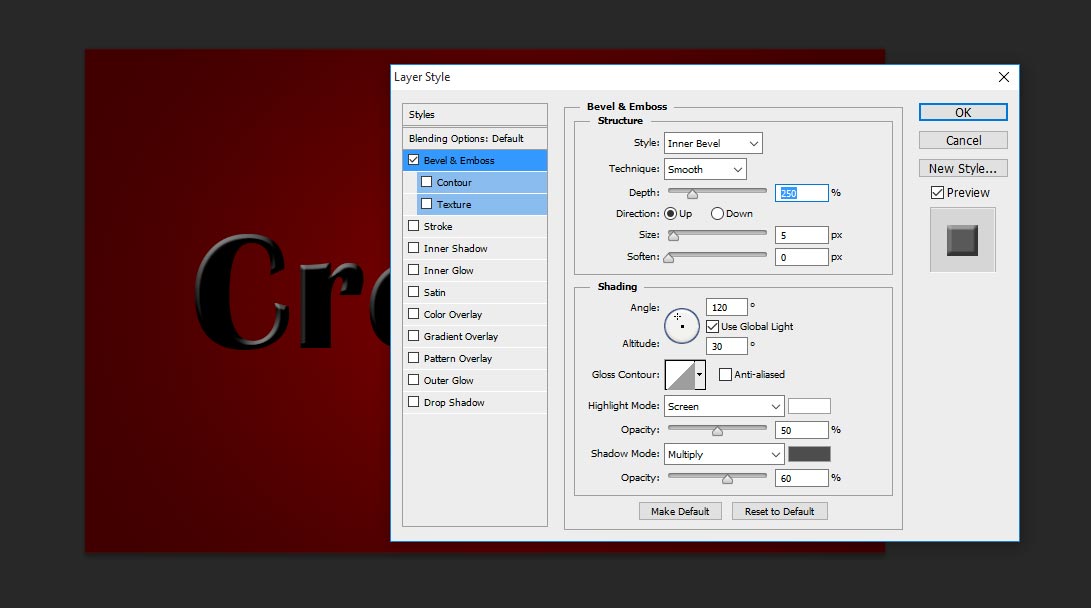
3 Now choose bevel and emboss in layer style and follow the values depth 250%, sizes 5px, highlight mode keep screen in white color and make it opacity 50% and shadow mode-multiply and keep color in grey #4d4d4d and make it opacity 60%.
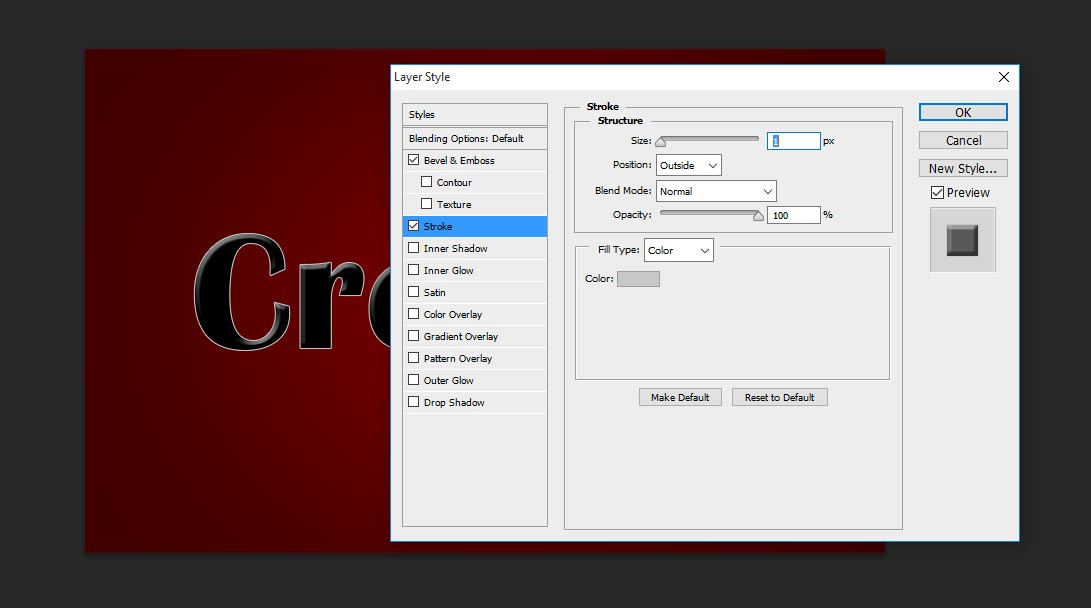
4 Now click on stroke and keep size 1 px and change the filling color value #c8c8c8.
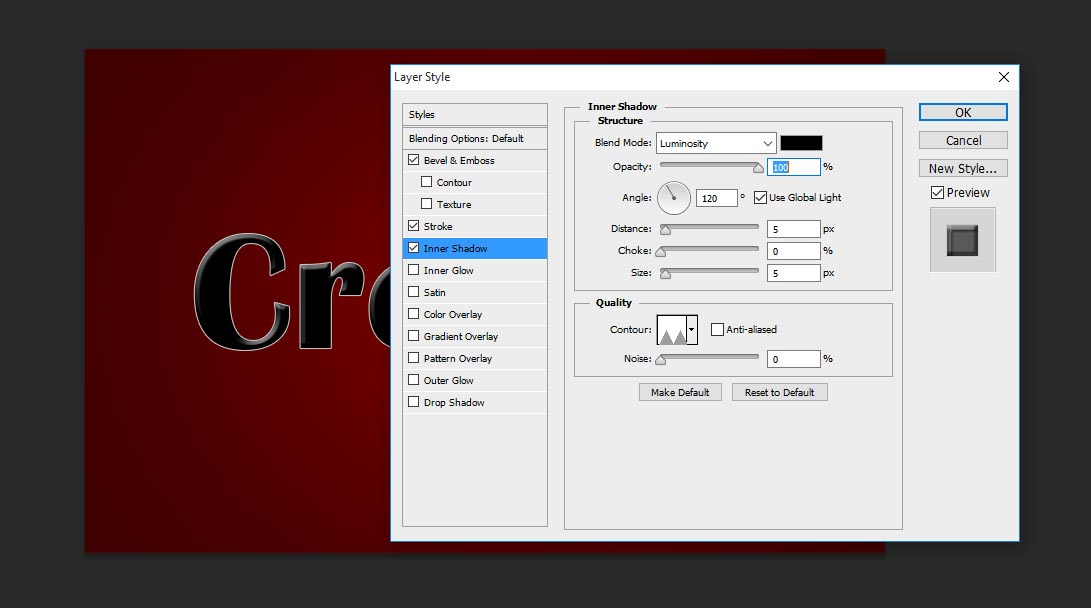
5. Choose inner shadow, in blending mode just change into luminosity and increase opacity 100%, other values just go with default.
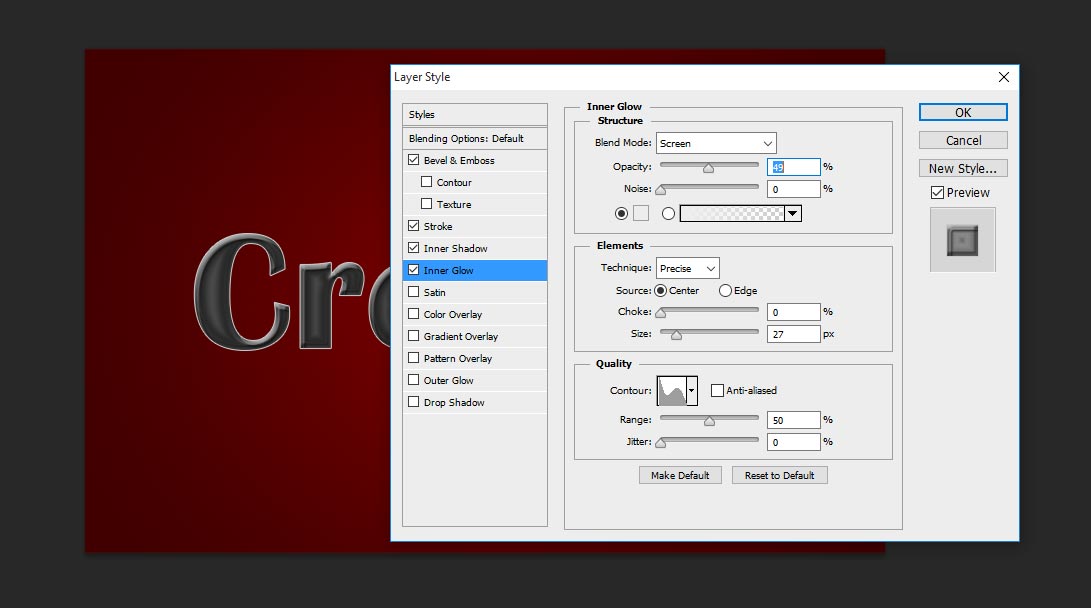
6. Now Click on Inner glow, here change opacity 49%, color #ededed, techniques precise, source center, size 27 px.
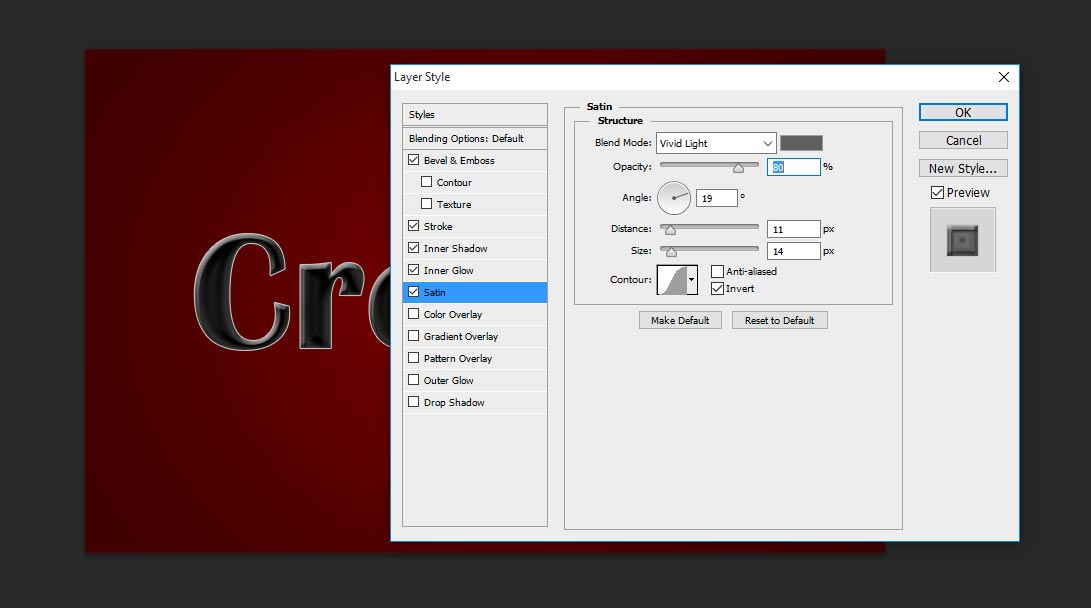
7. Choose satin, here in blending mode option just change into vivid light and keep opacity 80%, angle 19 degree, distance 11px, size 14px.
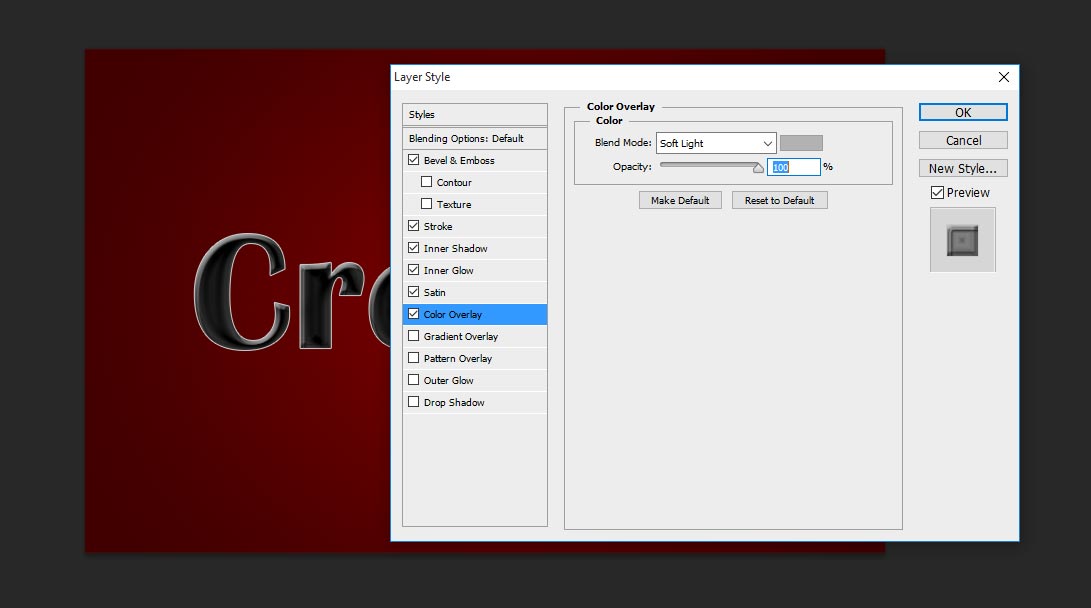
8. In color overlay just change color #b2b2b2 and make it opacity 100%.
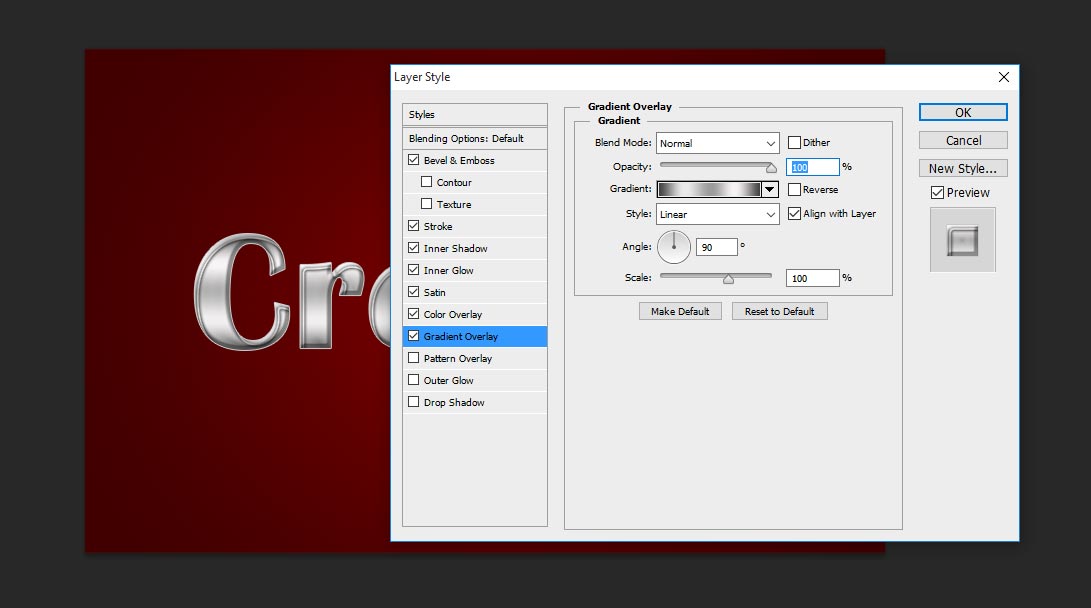
9. This step is very important to get metal/steel effect in photoshop, this gradient filling works great to feel realistic metal text effect. Just follow the values of gradient (#3f3f3f, #ebe9e9, #9b9a9a, #f5f2f2, #3b3a3a), style linear, angle 90 degree and finally make it opacity 100%.
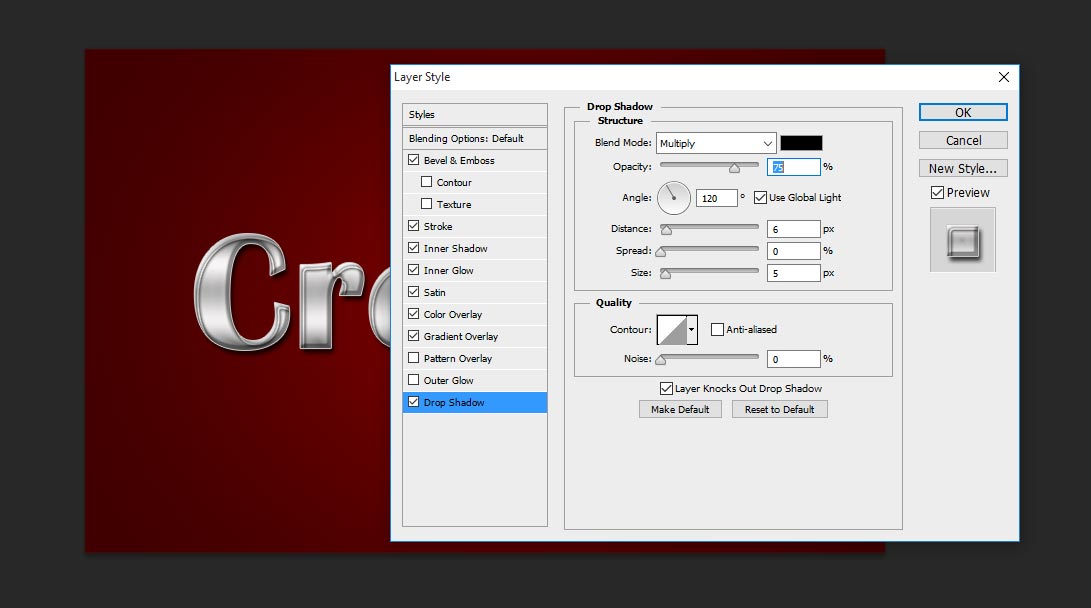
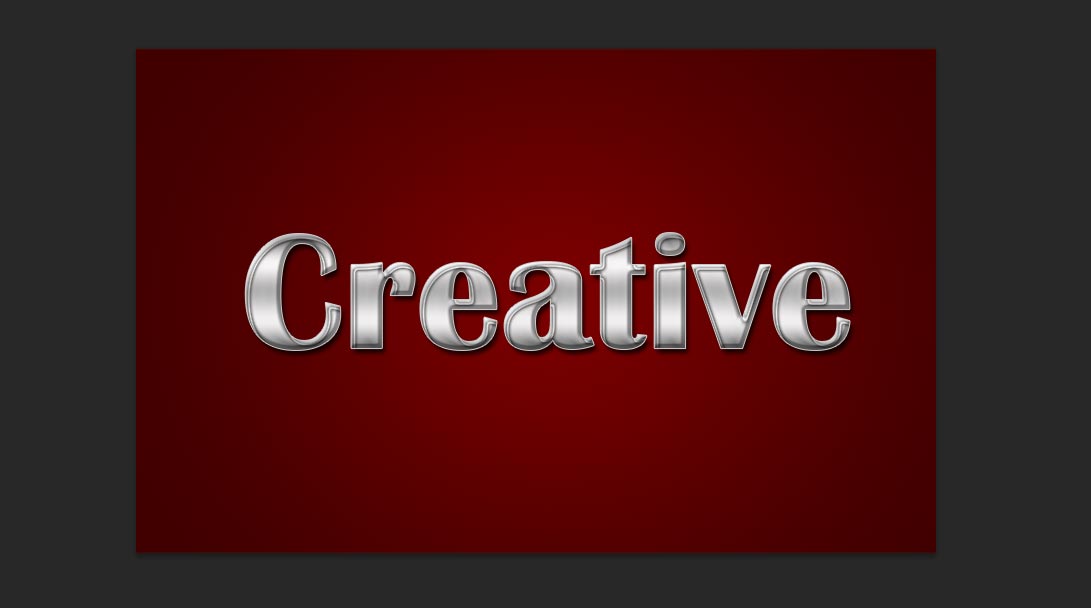
10, Almost done this realistic metal effect Photoshop tutorial, just finally apply shadow if you need better feeling then your images seem to be as shown our below image.
11. Thank you for reading our tutorials, visit regular and learn more tips tricks and techniques well. if you need this PSD file just search with this title name in our search box and download with free of cost.
[button color=”orange” size=”medium” link=”https://www.alldesigncreative.com/free-psd/text/” icon=”Click Here To View All Text PSD Files… ” target=”true”]Click Here To View All Text PSD Files… [/button]