Generally you can see burnt paper somewhere after burn any paper, but that is you are looking only as real things effect, but here in this tutorial we will teach you very simple way how to make artificial burnt paper. It is very easy method and has simple techniques to create burnt paper as well. You can create any object like burnt effect by using this example method tutorial. We hope this technique can helps better for to make burnt effect well.
[ads1]
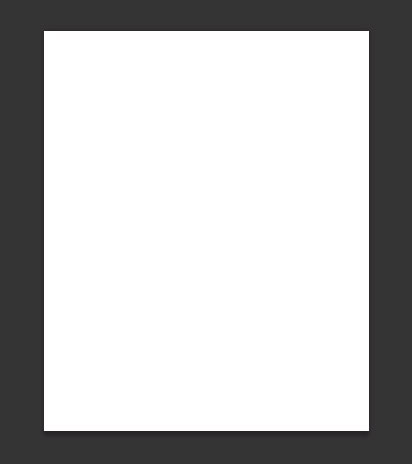
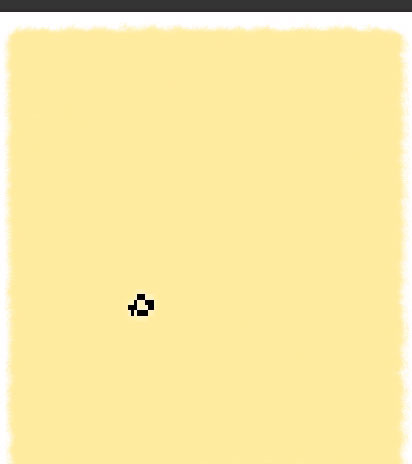
1. Open new document and keep any paper size value, here I took the size of paper value 650 pixels- width, 800 pixels-height and default resolution 72.
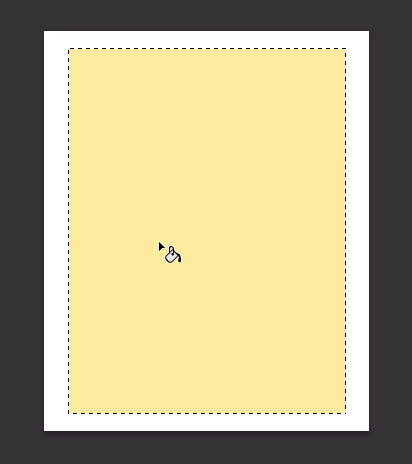
2. Take rectangular marquee tool from tool palette and draw a rectangle selection in the center of the page on the new layer and fill the color (ffec98) in that selection area by using short keyword Alt+Del or use paint bucket tool (G is the key).
3. Now select brush tool and make setting different brush shape for applying on the edge of paper, here choose which is giving best shatter effect. just follow my brush shape.

4. Now go to window and choose brush setting (f5 key), here select “Shape Dynamics” and adjust every slider option until which you feel better shatter for edges of paper, after done your all setting adjustment and then draw your adjuce as well as shown in the below image.
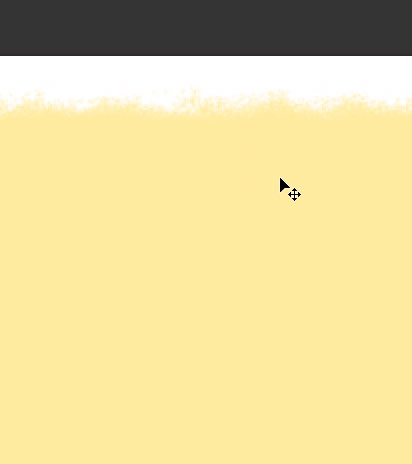
5. Same like above shatter type apply all the edges as shown image.
 6. Now it will start real fun from this step,