1.2K
In this Tutorial, very simple way we teach you how to make a stencil effect in Photoshop cs6. There is four steps to create this effect as well. Try your image by using this tricks.
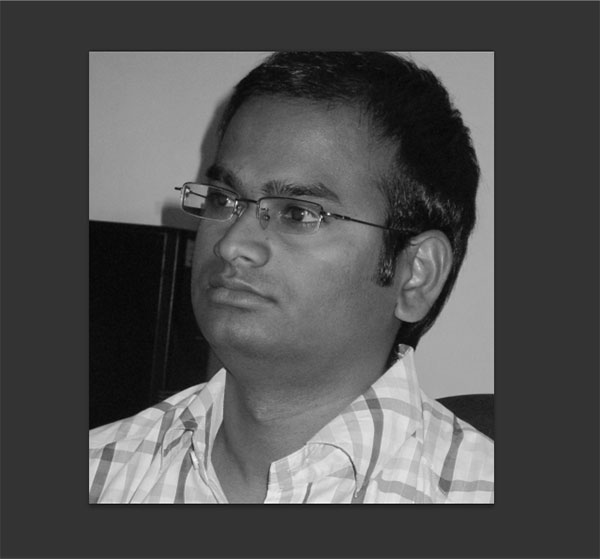
- First take better pose of image and make it black and white, for that simply go to Image>Adjustments> choose Black and White.
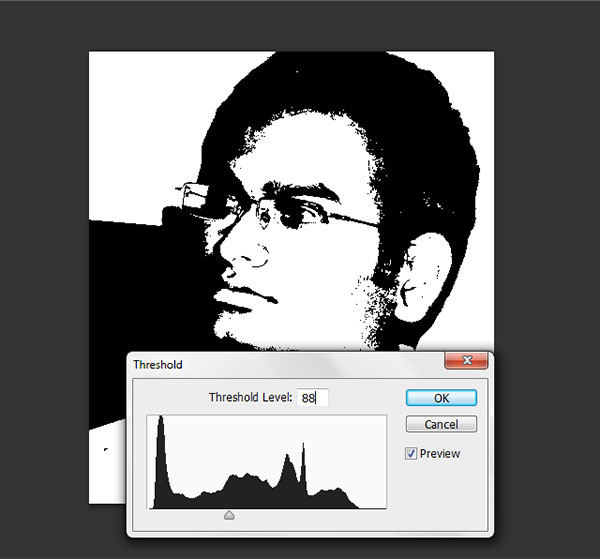
- Now again go to image>adjustments> choose threshold and adjust the level of value until you feel better.
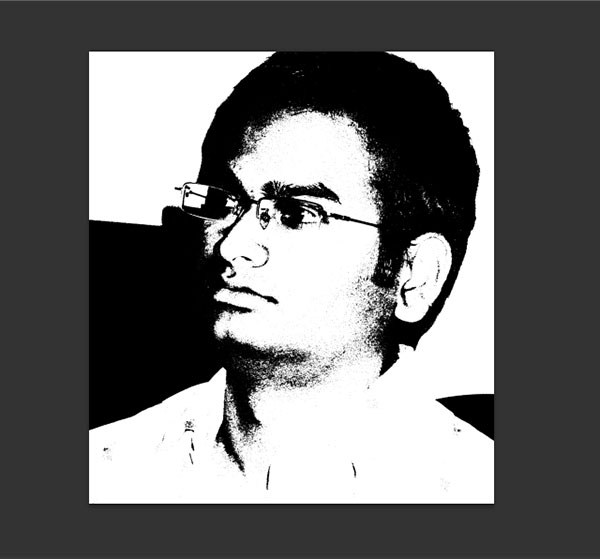
- After that go to Filter>Filter Gallery>Poster Edges, This Poster Edges works amazing in all side of edges, now your image should be following.
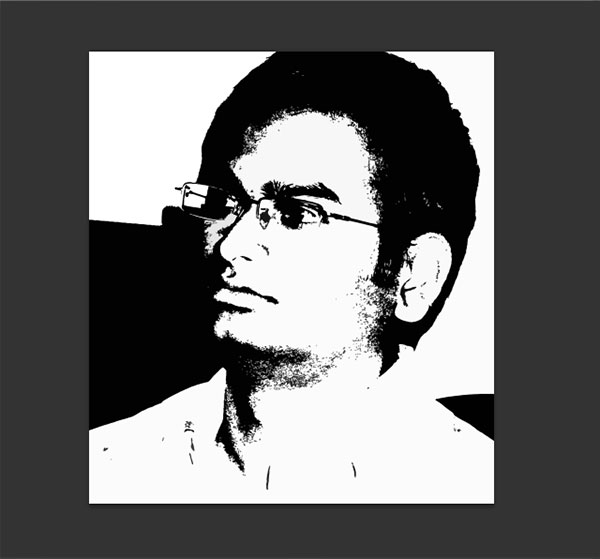
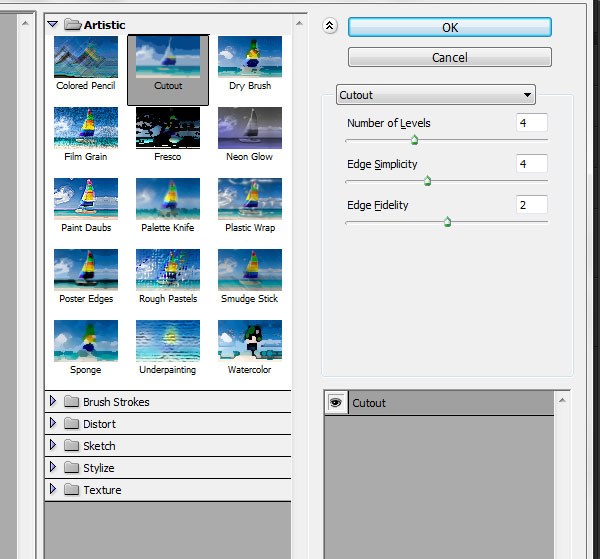
- Now again go to filter> Filter Gallery > choose Cutout, that’s it, we have done final Stencil Effect in Photoshop cs6.
[ads1]
Enjoy! Any comments about ….. use our below comments section…