
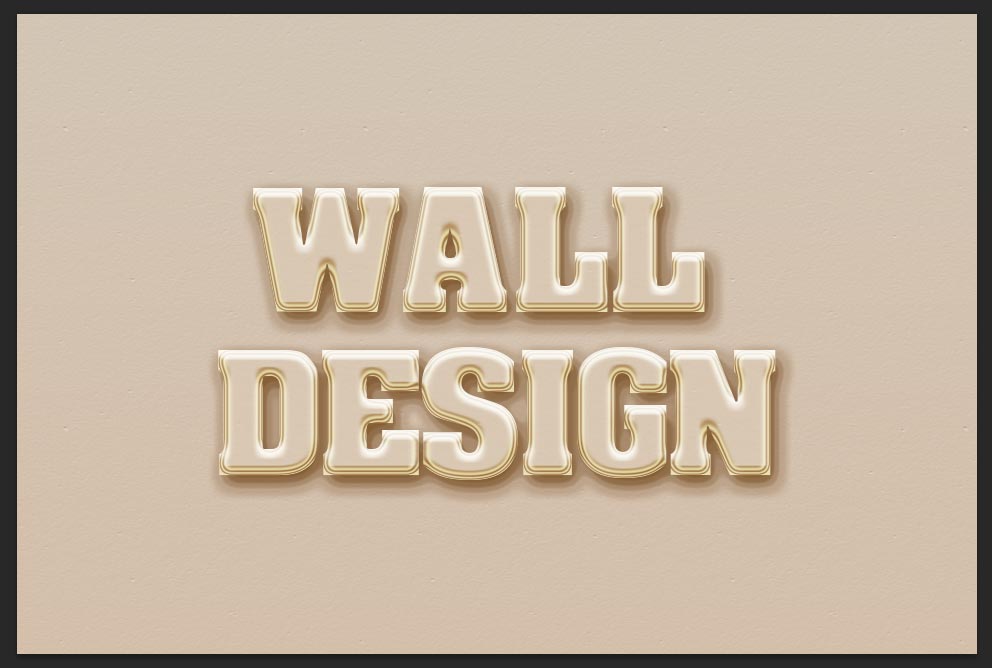
In this tutorial, i will explain very simple way How to make wall poster text effect in Photoshop. To creating wall poster text effect there are many ways, but here this tutorial teach you very best way and more realistic looking of text effect. Perhaps you can feel end of the steps that text really sticking to wall. The edges of this wall poster text effect given very cool shining lines to bring out something more eye catching looks. So just follow to learn this amazing wall poster text effect Photoshop tutorial.
[ads2]
Step-1: First take new document in your Adobe Photoshop Software, here i took the dimension of 960-width, 640-height and filled the color #d2c1af or take any wall texture as shown below screen shot image. taking your wall texture if it is same of below texture then it is very suitable and works in great way, suppose if you take other any wall color texture then according you should also change the colors in the blending option setting.
[ads1]
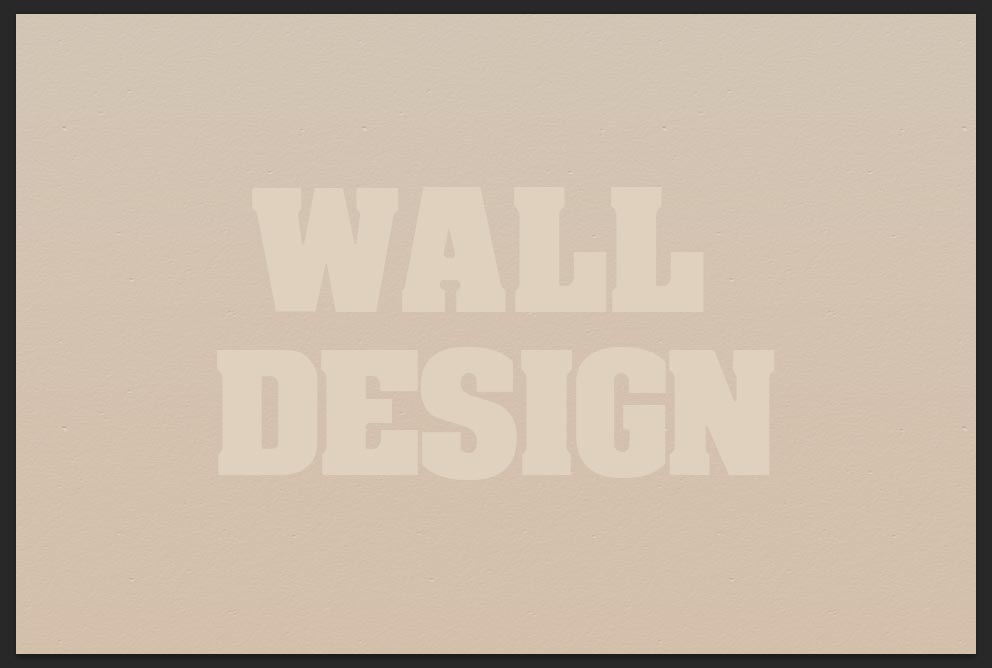
Step-2: Write down any name on the document with the text color #dfd1be
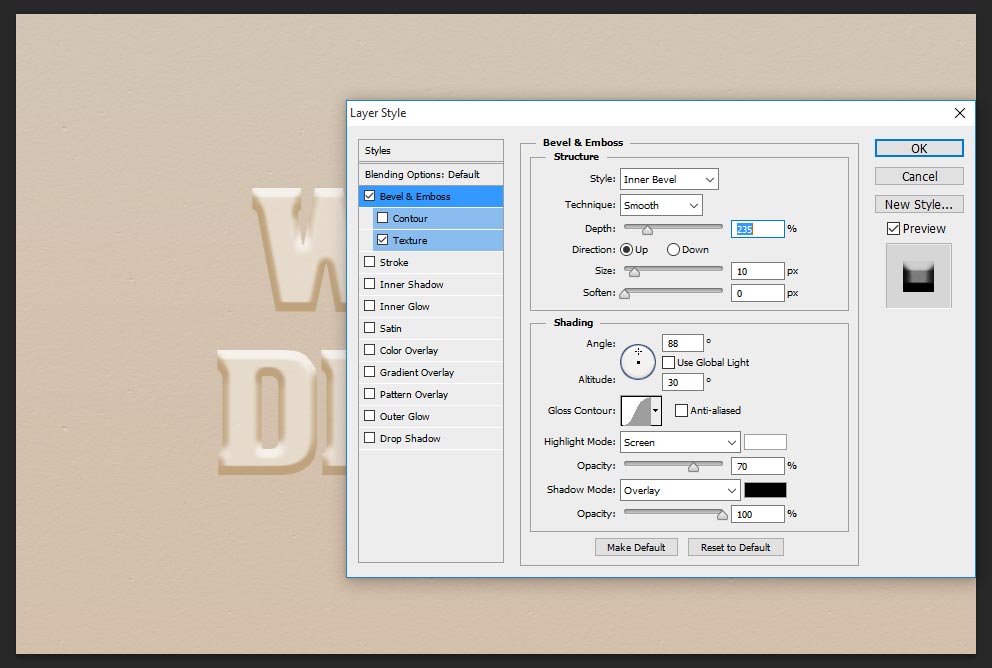
Step-3: Now main steps will start, just apply blending option to text, for that simple go to layer> Layer Style> Blending Option, here choose bevel & emboss and follows setting as shown;
depth-235%,
direction-up only,
size-10 px,
angle-88 degree,
altitude-30 degree,
gloss contour-gaussian,
highlight mode-screen, default white color, opacity-70%,
shadow mode-overlay, default black color, opacity-100%.
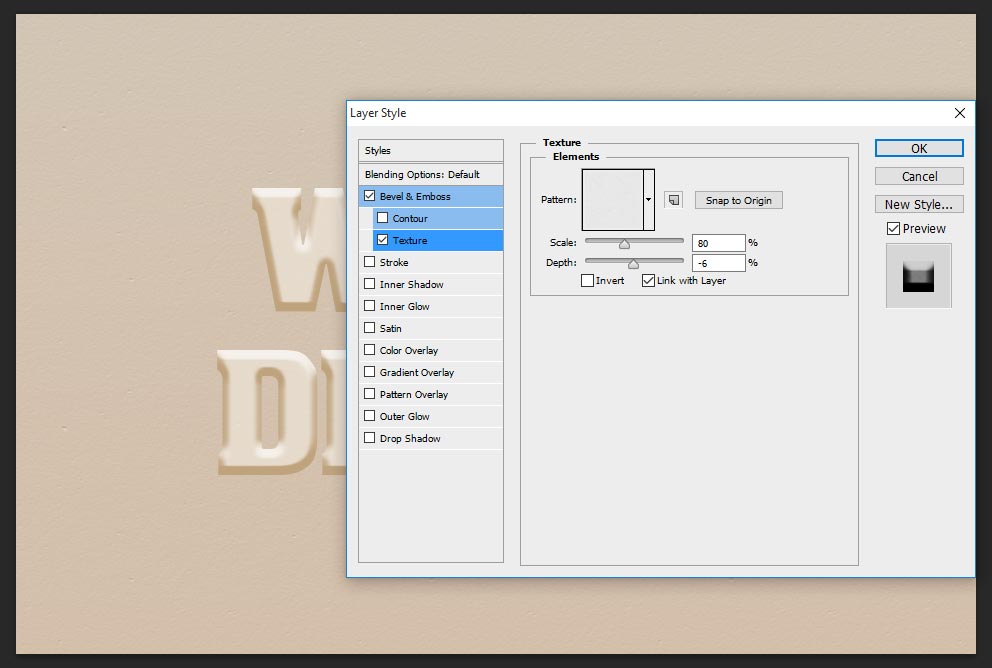
Step-4: Now we need to apply cool any wall texture on the text, just choose any wall texture and scale it according pattern size, here i took scale-80%, depth-6%.
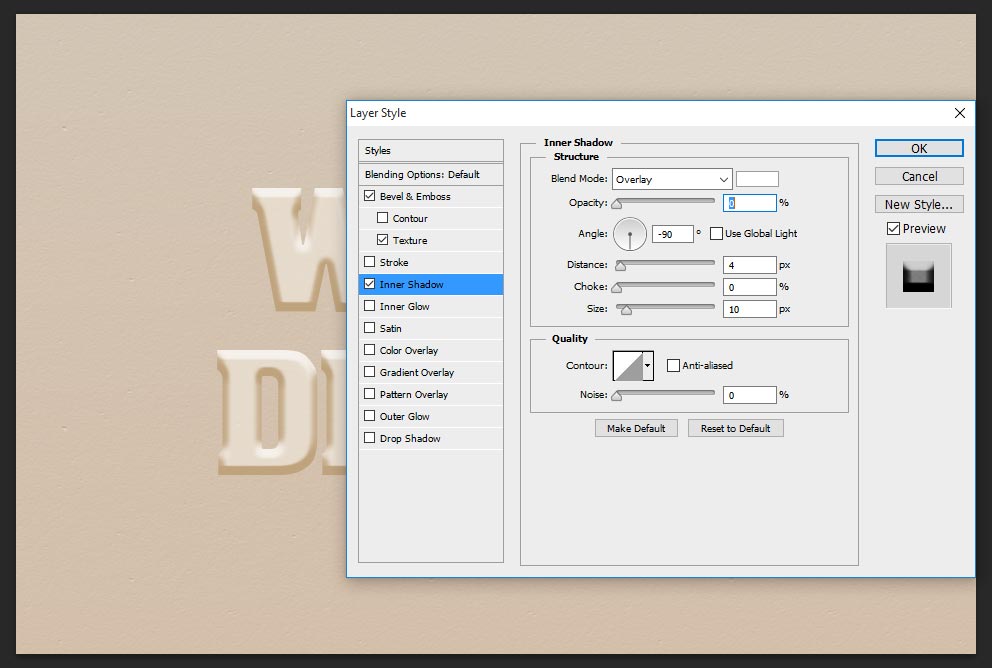
Step-5: Choose inner shadow and change the values as follows;
blend mode-overlay,
opacity-5%, but here i did 0% in the screen shot image, because i don’t like inner shadow some time, perhaps it works in great way periodically, so give it in your practice if you like or keep it 0% as shown.
angle-90 degree,
size-10px.
Step-6: Choose inner glow, this settings works in great way and gives very cool edges on the text, just follow the values as shown;
blend mode-screen,
opacity-75%,
color-#ffffbe,
technique-softer, source-edge, size-13 px
contour-ring-double,
size-50%.

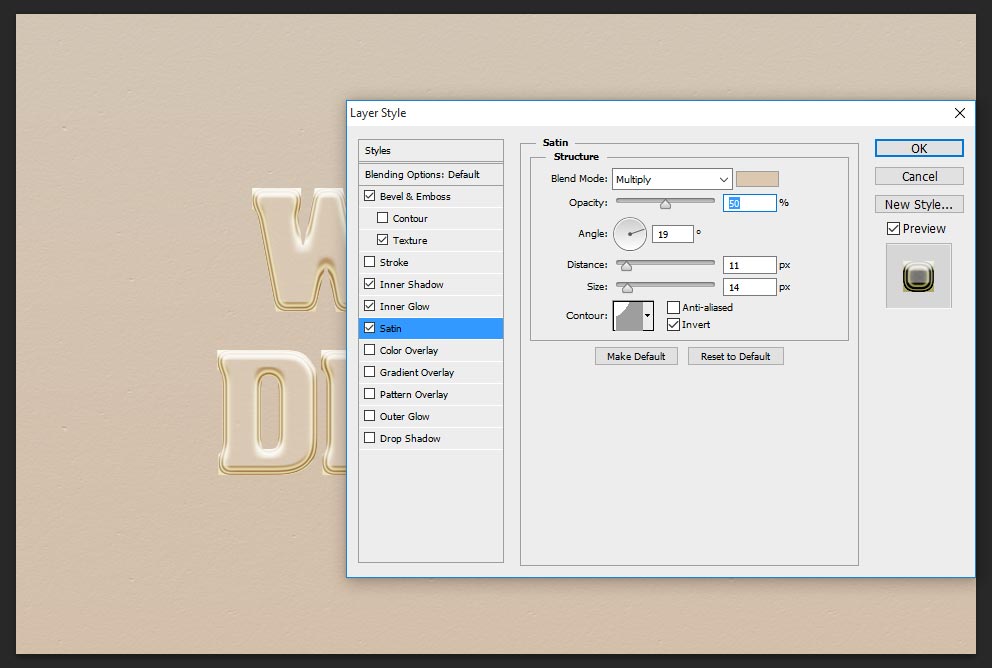
Step-7: Now select satin and change the values blend mode-multiply, opacity-100% angle-19 degree, distance-11 px, size-14 px, contour-cove-shallow.
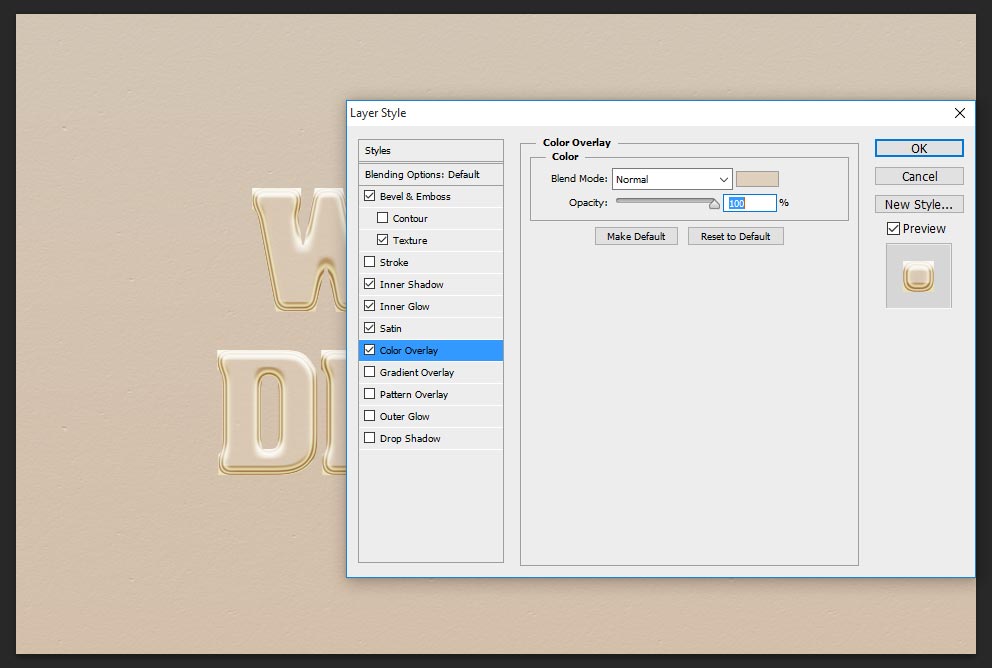
Step-8: To apply color overlay no need here, because what i took the text color that is same similar color, if your text is not in the same color then keep this setting or else just skip this step.
Step-9: Now choose drop shadow, this is the final steps, just change the following values;
blend mode- normal,
opacity-100%,
distance-10 px,
size-18px,
contour-rounded steps.

Thanks for watching this photoshop tutorial, visit regular and get back many tricks and tips.
[button color=”green” size=”big” link=”https://www.alldesigncreative.com/free-psd/text/wall-poster-3d-text-effect/” icon=”Download PSD File Here!” target=”true”]Download PSD File Here![/button]