In this tutorial I show you how to make heart rotation animation in simple ways, you know some of animation you can see in online that your computer treats like pictures? Those are called as “Gifs”, you can make your own gif animation by using Photoshop software. This tutorial disclose very simple few steps to make heart rotation animation in gif format, just follow our tutorial steps as shown.
[ads1]

Heart Rotation Animation
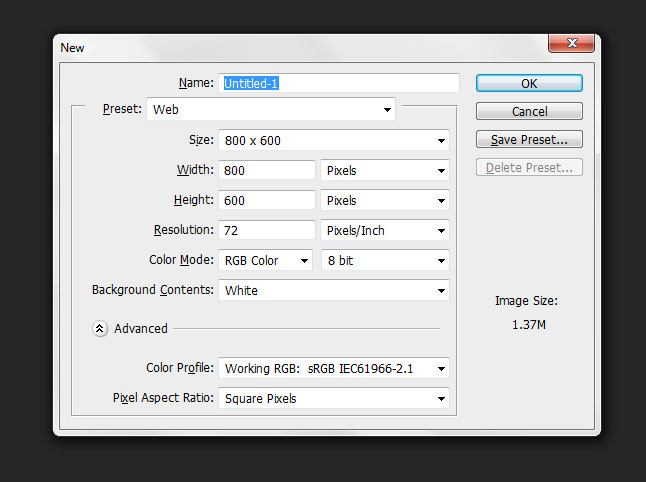
1. First take new file (Ctrl+N key), dimension depend as you like, here i am going with width and height 800, 600 px.
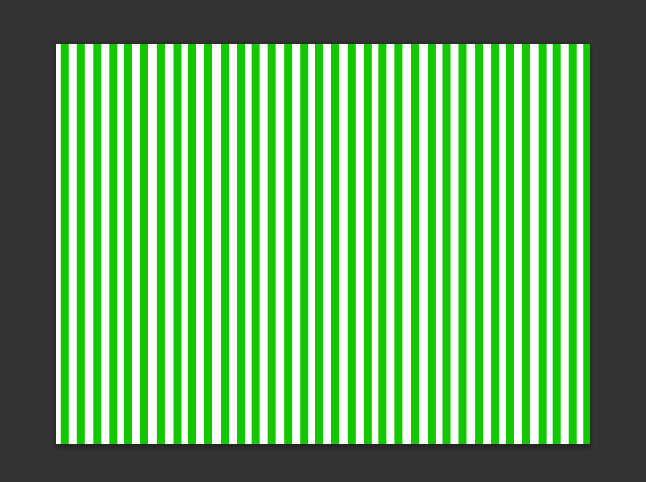
2. Select Rectangle Marque Tool from Tool palette and drag a line vertical as shown below image.
3. Go to Filter>Distort>polar Coordinates, here choose Rectangle to polar.
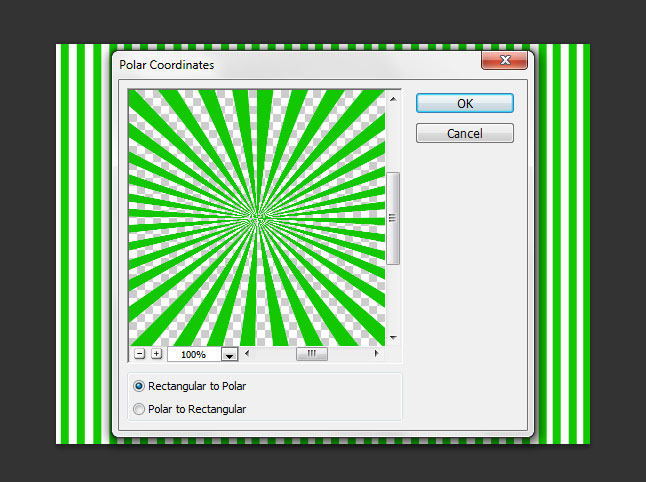
4. Now your image seem to be like below, this is created just like background purpose only.

5. Now choose Heart shape from Custom Shape Symbol.
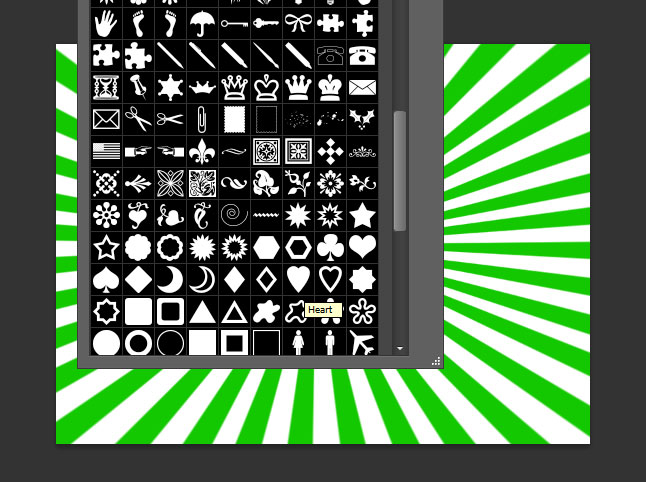
6. Draw your heart shape on the background of the document.

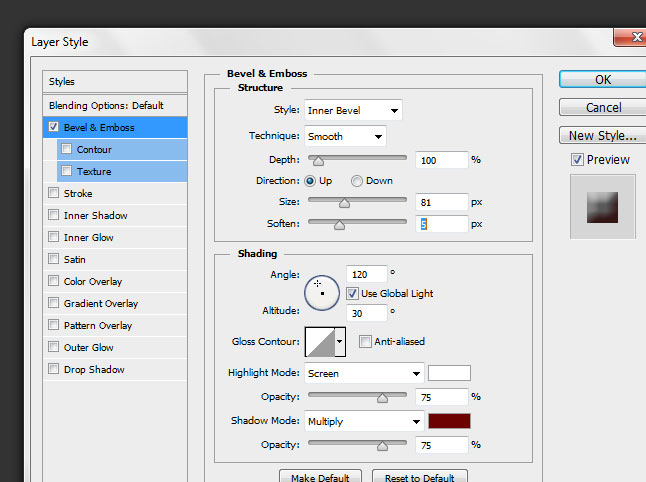
7. Now we have to apply layer style to that heart shape, for that go to Layer>Layer Style> choose Bevel & Emboss, just follow as shown the below image values.
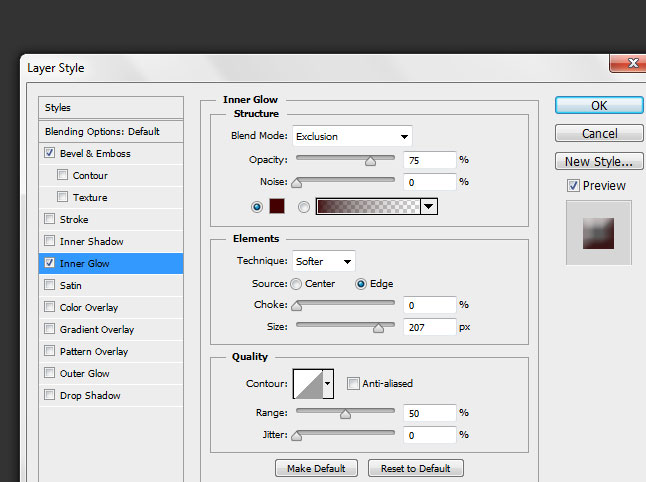
8. Choose Inner Glow and change blending mode into exclusion, change color(#440000) and follow values as shown.
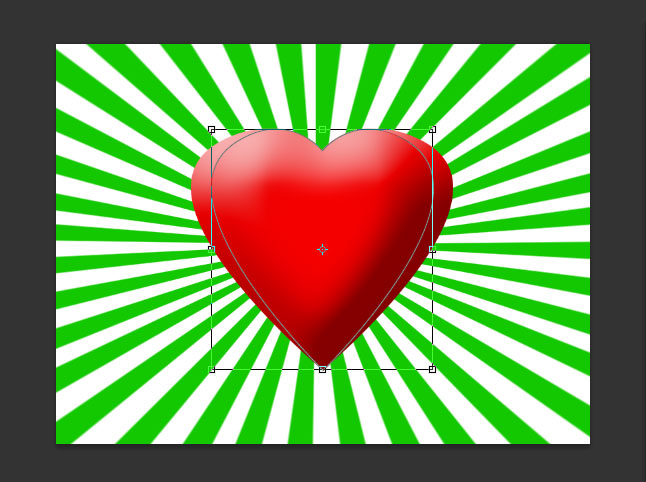
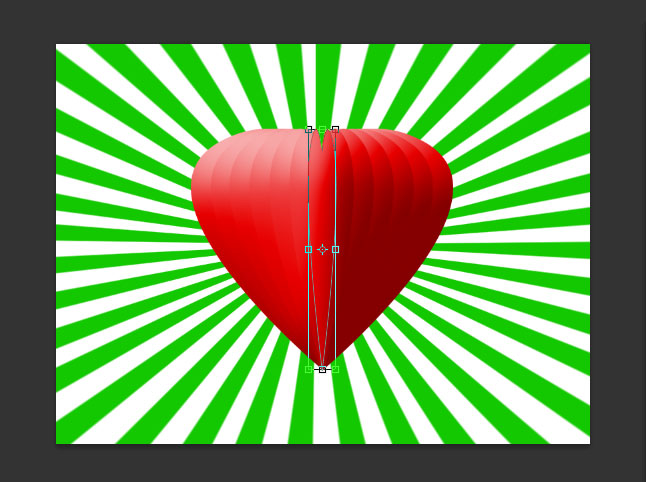
9. Now duplicated the created heart layer and compress slightly left & right side as shown below image.
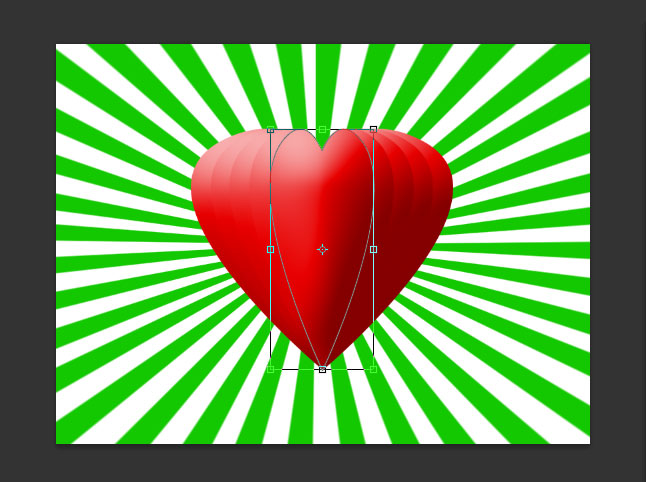
10. Now gain copy the duplicated heart layer and compress both side slightly and follow below image.

11.Follow same compressing steps as shown.

12. Again do same steps until it compressing over.

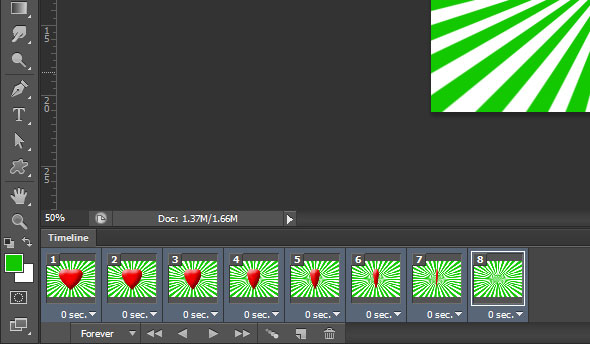
13. Choose video time line, Now arrange all duplicated heart images with different selected frames in video time. Your arranging images set frames should be as shown below.
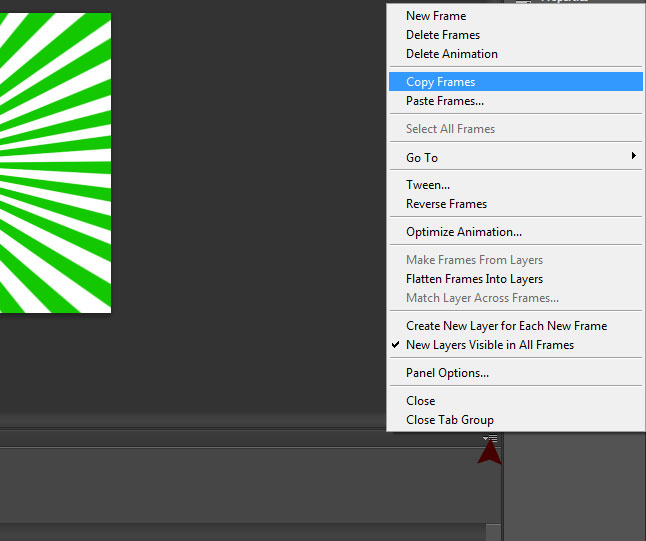
14. Now you are still selected all set frames in video timeline and edge of video time line there is toggle button, just click on that symbol and first copy the all frames.
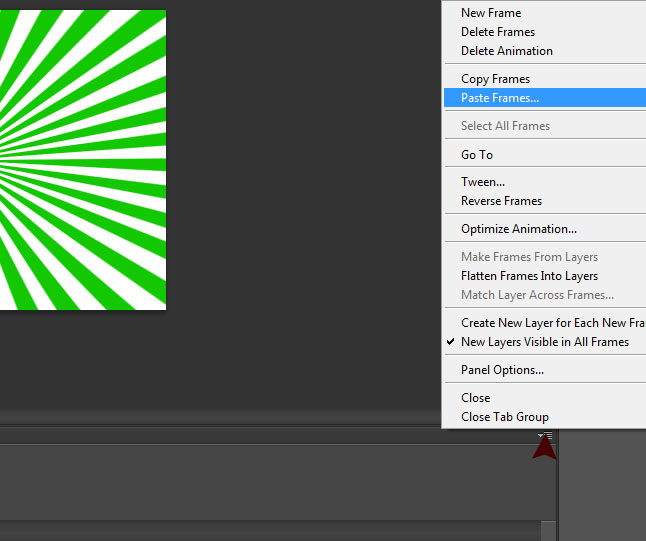
15. Now paste all frames, click on same toggle button again for pasting, when you pasting frame then it shows one of pop up table, in that table just select Paste after selection.
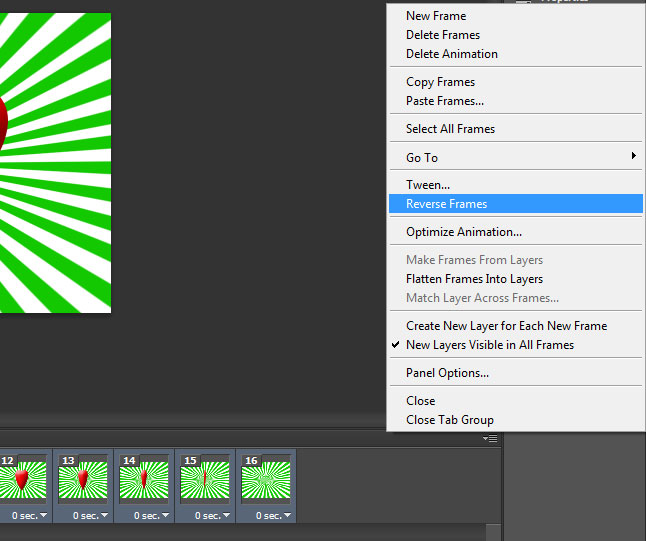
16. Now we have to reverse the frames what we pasted just now, for that simple click on the edge of video timeline toggle button and choose Reverse Frames.
17. Now your art frames ready to animation, just play the animation then you would get following animation as well.
18. Now save this video frames into gif, for that go to File> and choose Save for Web, thats it!