
In this tutorial, i will teach you how to make best wood text effect in Photoshop. To creating wood text effect there is less steps only, and i have seen many wood text effect photoshop tutorial in the web search and have tried this wood tutorial something in the new way. This wood text effect gives more attraction and eye catching design style. This awesome wood text effect tutorial helps to design 3d with advance tricks and techniques. This tutorial wood be outstanding spark. just follow the 10 steps to make this wood text effect as well.
[ads1]
Step-1: First take new document with the dimension width-960px, height-640px, here set the default resolution 72 dpi. and take any wood texture and write down your name what do you want to effect the text name on the stage.
Step-2: Take blending option to the text layer, for that simply go to the menu bar layer>layer style>blending option, here choose bevel and emboss and change the values as follows;
style- inner bevel,
technique-smooth,
depth-235,
direction-up,
size-10px,
angle-88 degree,
altitude-30 degree,
gloss contour-gaussian,
highlight mode-screen, color-white, opacity-70%,
shadow mode-overlay, color-black, opacity-100%.

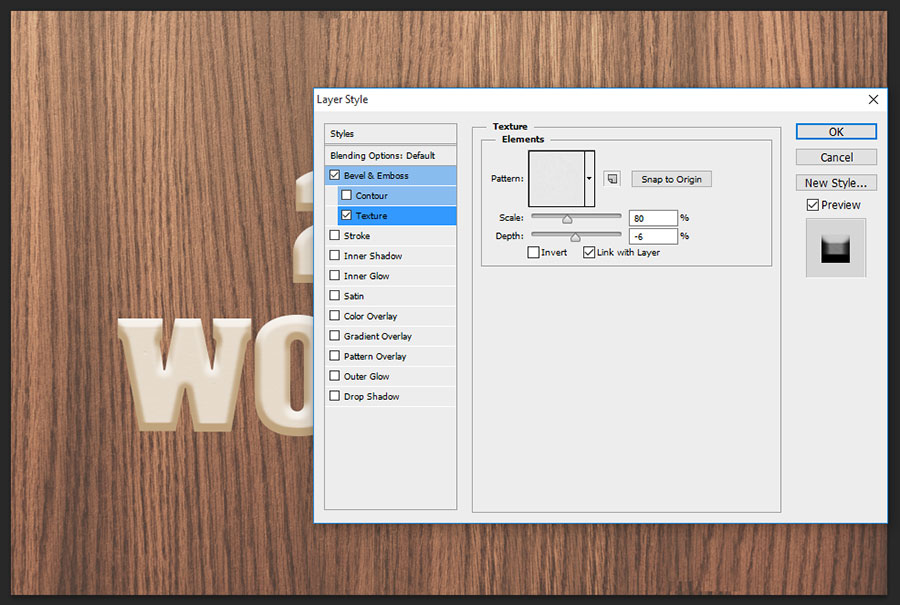
Step-3: directly select on the texture, then you can get the below options in the table well, here just apply gray granite texture (this is default texture in ps), just scale-80%, depth-6%
Step-4: Choose Inner shadow or skip this step no need here, if you like to give partially inner shadow then give opacity-10%, distance-4px, size-10px.

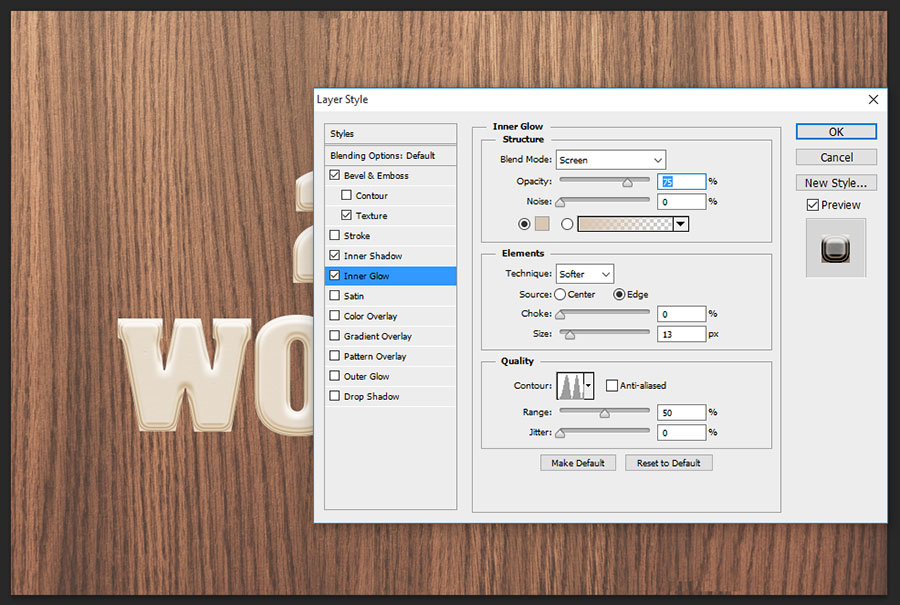
Step-5: Now select inner glow, applying this effect gives more effectively and brings edges with smoothly.
blend mode-screen, opacity-75%, color-#d9c7b3,
technique-softer, source-edge,
size-13px,
contour-ring-double,
range-50%.
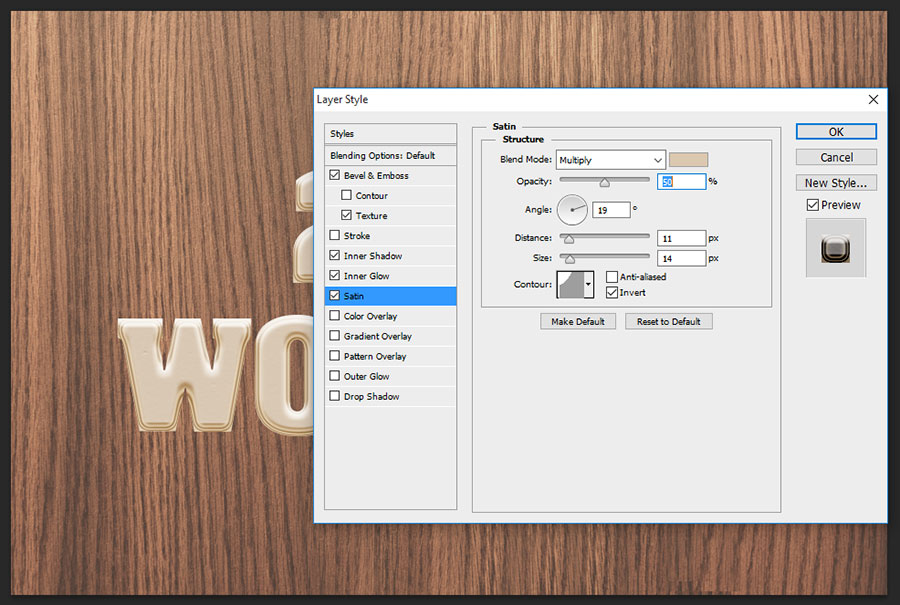
Step-6: Choose satin, here satin gives little dark effect on the text well, change the setting value as follows,
blend mode-multiply,
opacity-50%,
distance-11px,
size-14px.
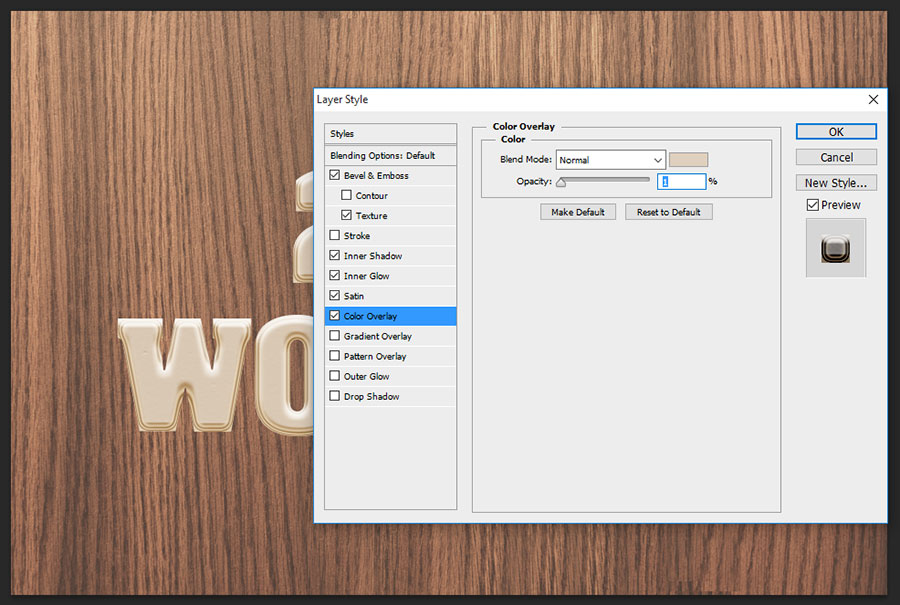
Step-7: Color overlay, no need this step here, because this color overlay works on the text when do you need to change the text color into another color, just like transference the color on the text. suppose if you take background something other wood color then if it is not similar on my background color texture then apply this color overlay, just choose similar color by using eyedropper tool and choose color in blending option then it will reflect similar background fitted color well.
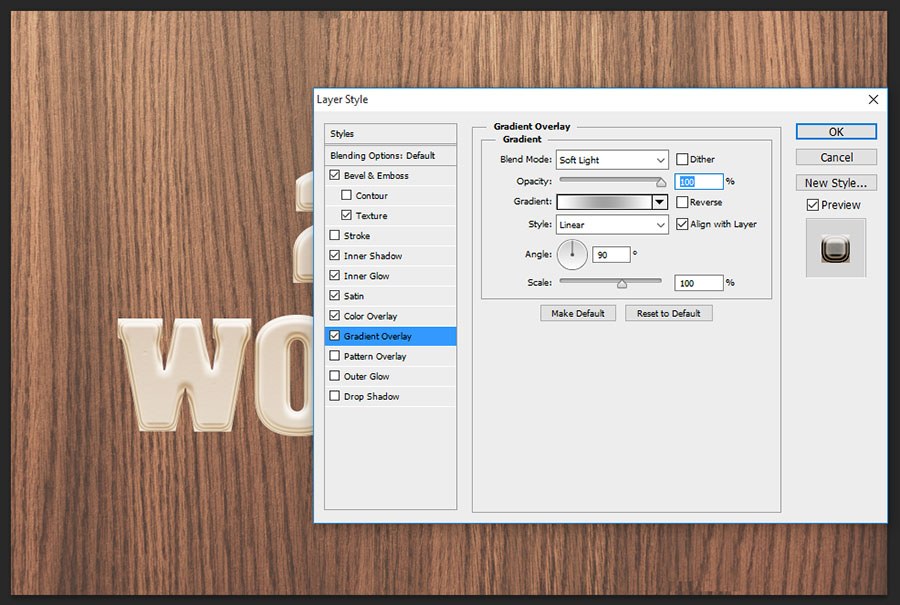
Step-8: Now choose gradient overlay, this setting works a great way to give the shinning on the text. just see how does it works;
blend mode-soft light,
opacity-100%,
gradient-#ffffff, #a1a1a1, #ffffff,,
style-linear, angle-90 degree.
Step-9: Now one of important thing you have to do take a best wood texture from the web search and define it pattern and apply here, this works in great way and this is the main thing to get real wood text effect style., just scale the values according your patter size.

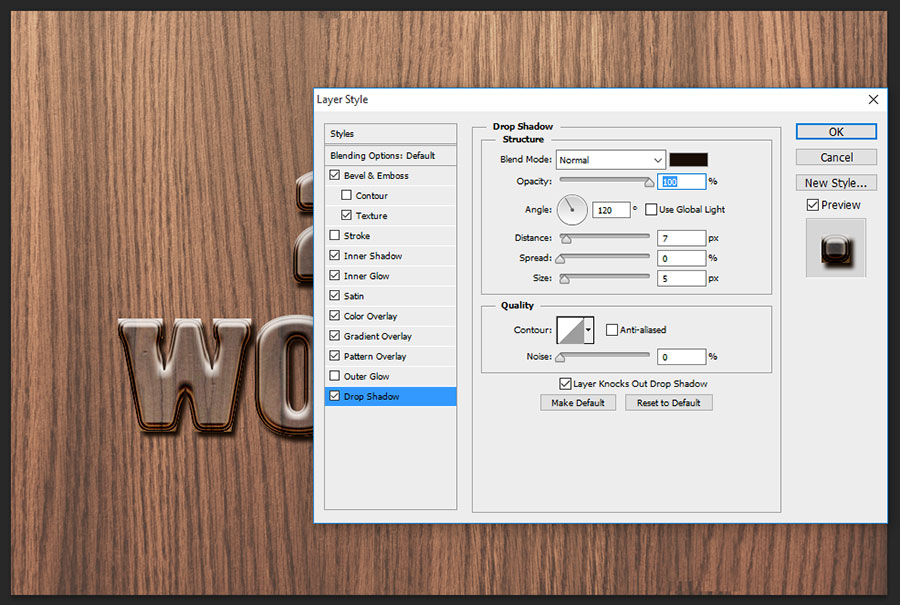
Step-10: We have done well to creating best wood text effect photoshop tutorial and just need to apply the drop shadow to bring some more attraction to the text. for that just change the values as follows;
blend mode-normal,
opacity-100%,
distance-7px,
size-5px.
[ads2]
[button color=”green” size=”medium” link=”https://www.alldesigncreative.com/free-psd/text/wood-text-psd-photoshop-layer-style/” icon=”Download PSD” target=”true”]Download PSD[/button]